Every time that you edit an app information you must publish it, so you can see the changes on Fawi Store and in the users devices.
Get started with Apps
FAWI
Fawi stands for Full Apps Without Installations.. Fawi is a two environments platform, the Fawi Office to create and distribute apps and the Fawi Store for users to access the Fawi Apps without installing them. Users can access all Fawi Apps just installing the Fawi Store on their devices.
Fawi Apps
A Fawi app is a combination between a Web Link and the Fawi platform. So you can develop any Web App (html, css, javascript) using a single codebase, combined with Fawi Native resources (optional), and Publish it on the Fawi Office, providing users cross platform apps without installations and with native full experience through Fawi Store.
Already have an app?
If you already developed apps in the technologies below, follow the next tutorials to Publish on Fawi.
Create an App
To create an app, follow the next steps:
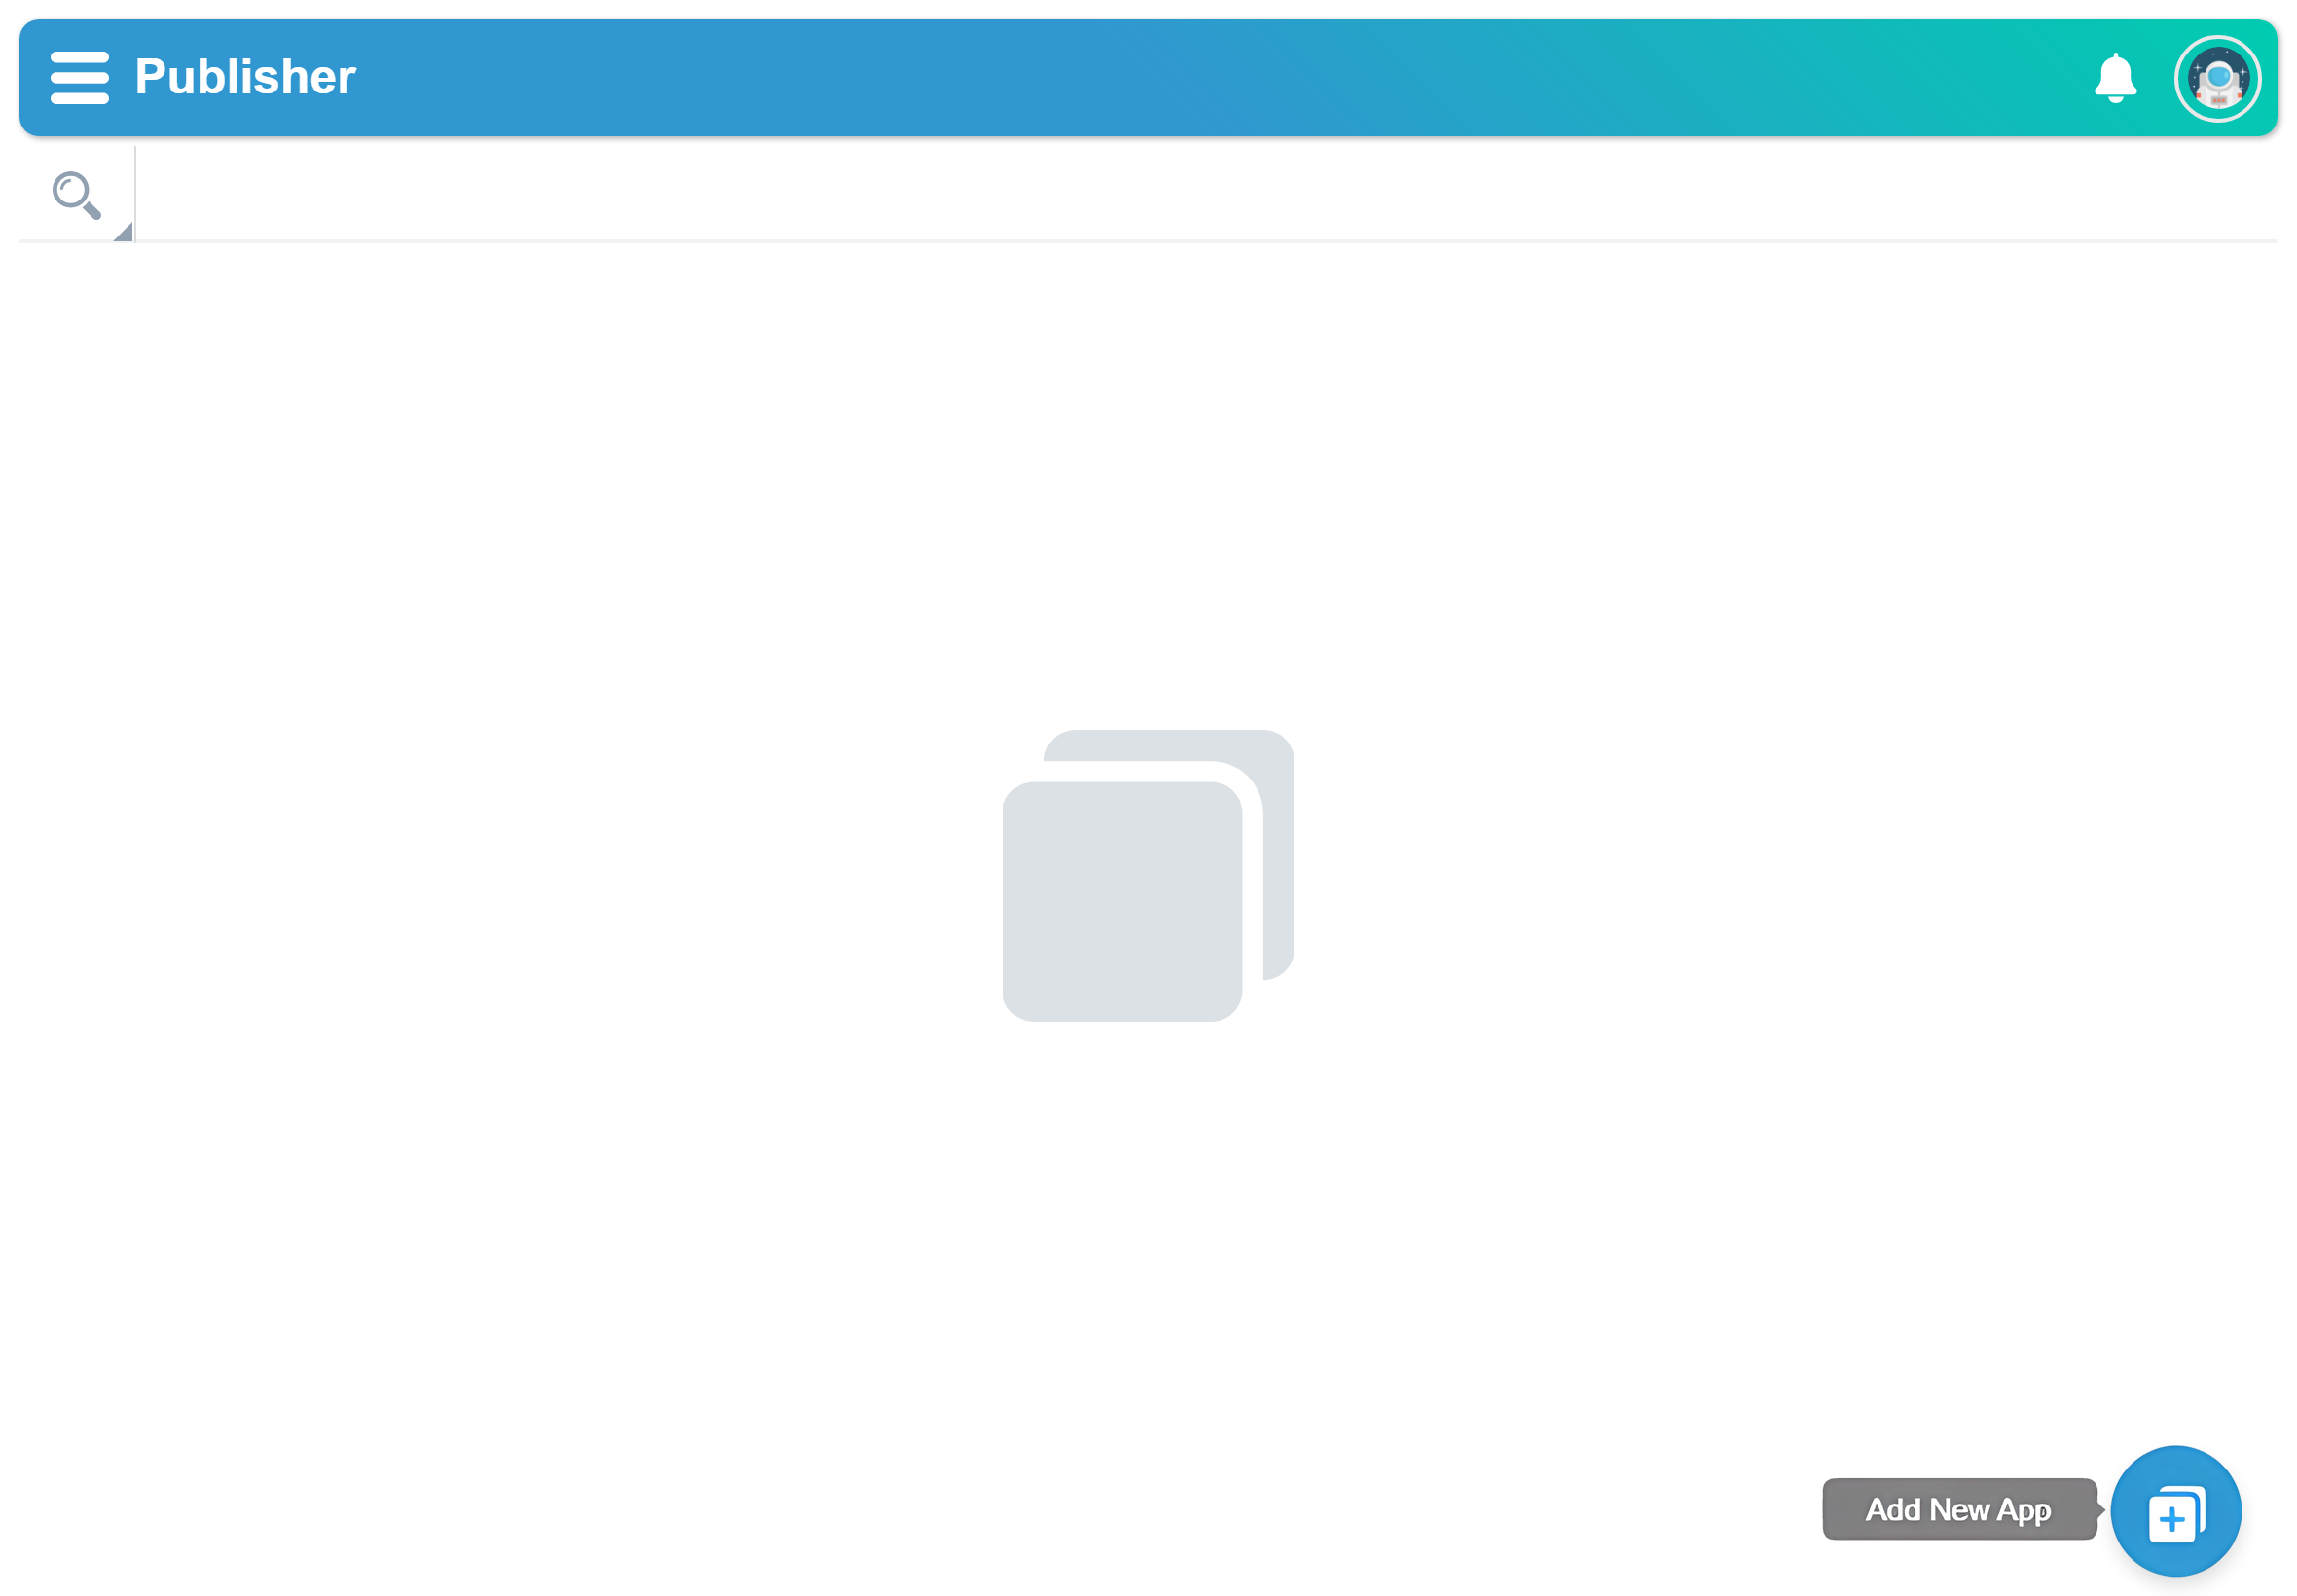
- Open Fawi Office.
- Click the bottom right button to open the Create App page.
- Enter the app information and click the Save button.
NOTE: After you create an app, the app appers on Fawi Office, and the app status is Edited. You can edit it anytime.
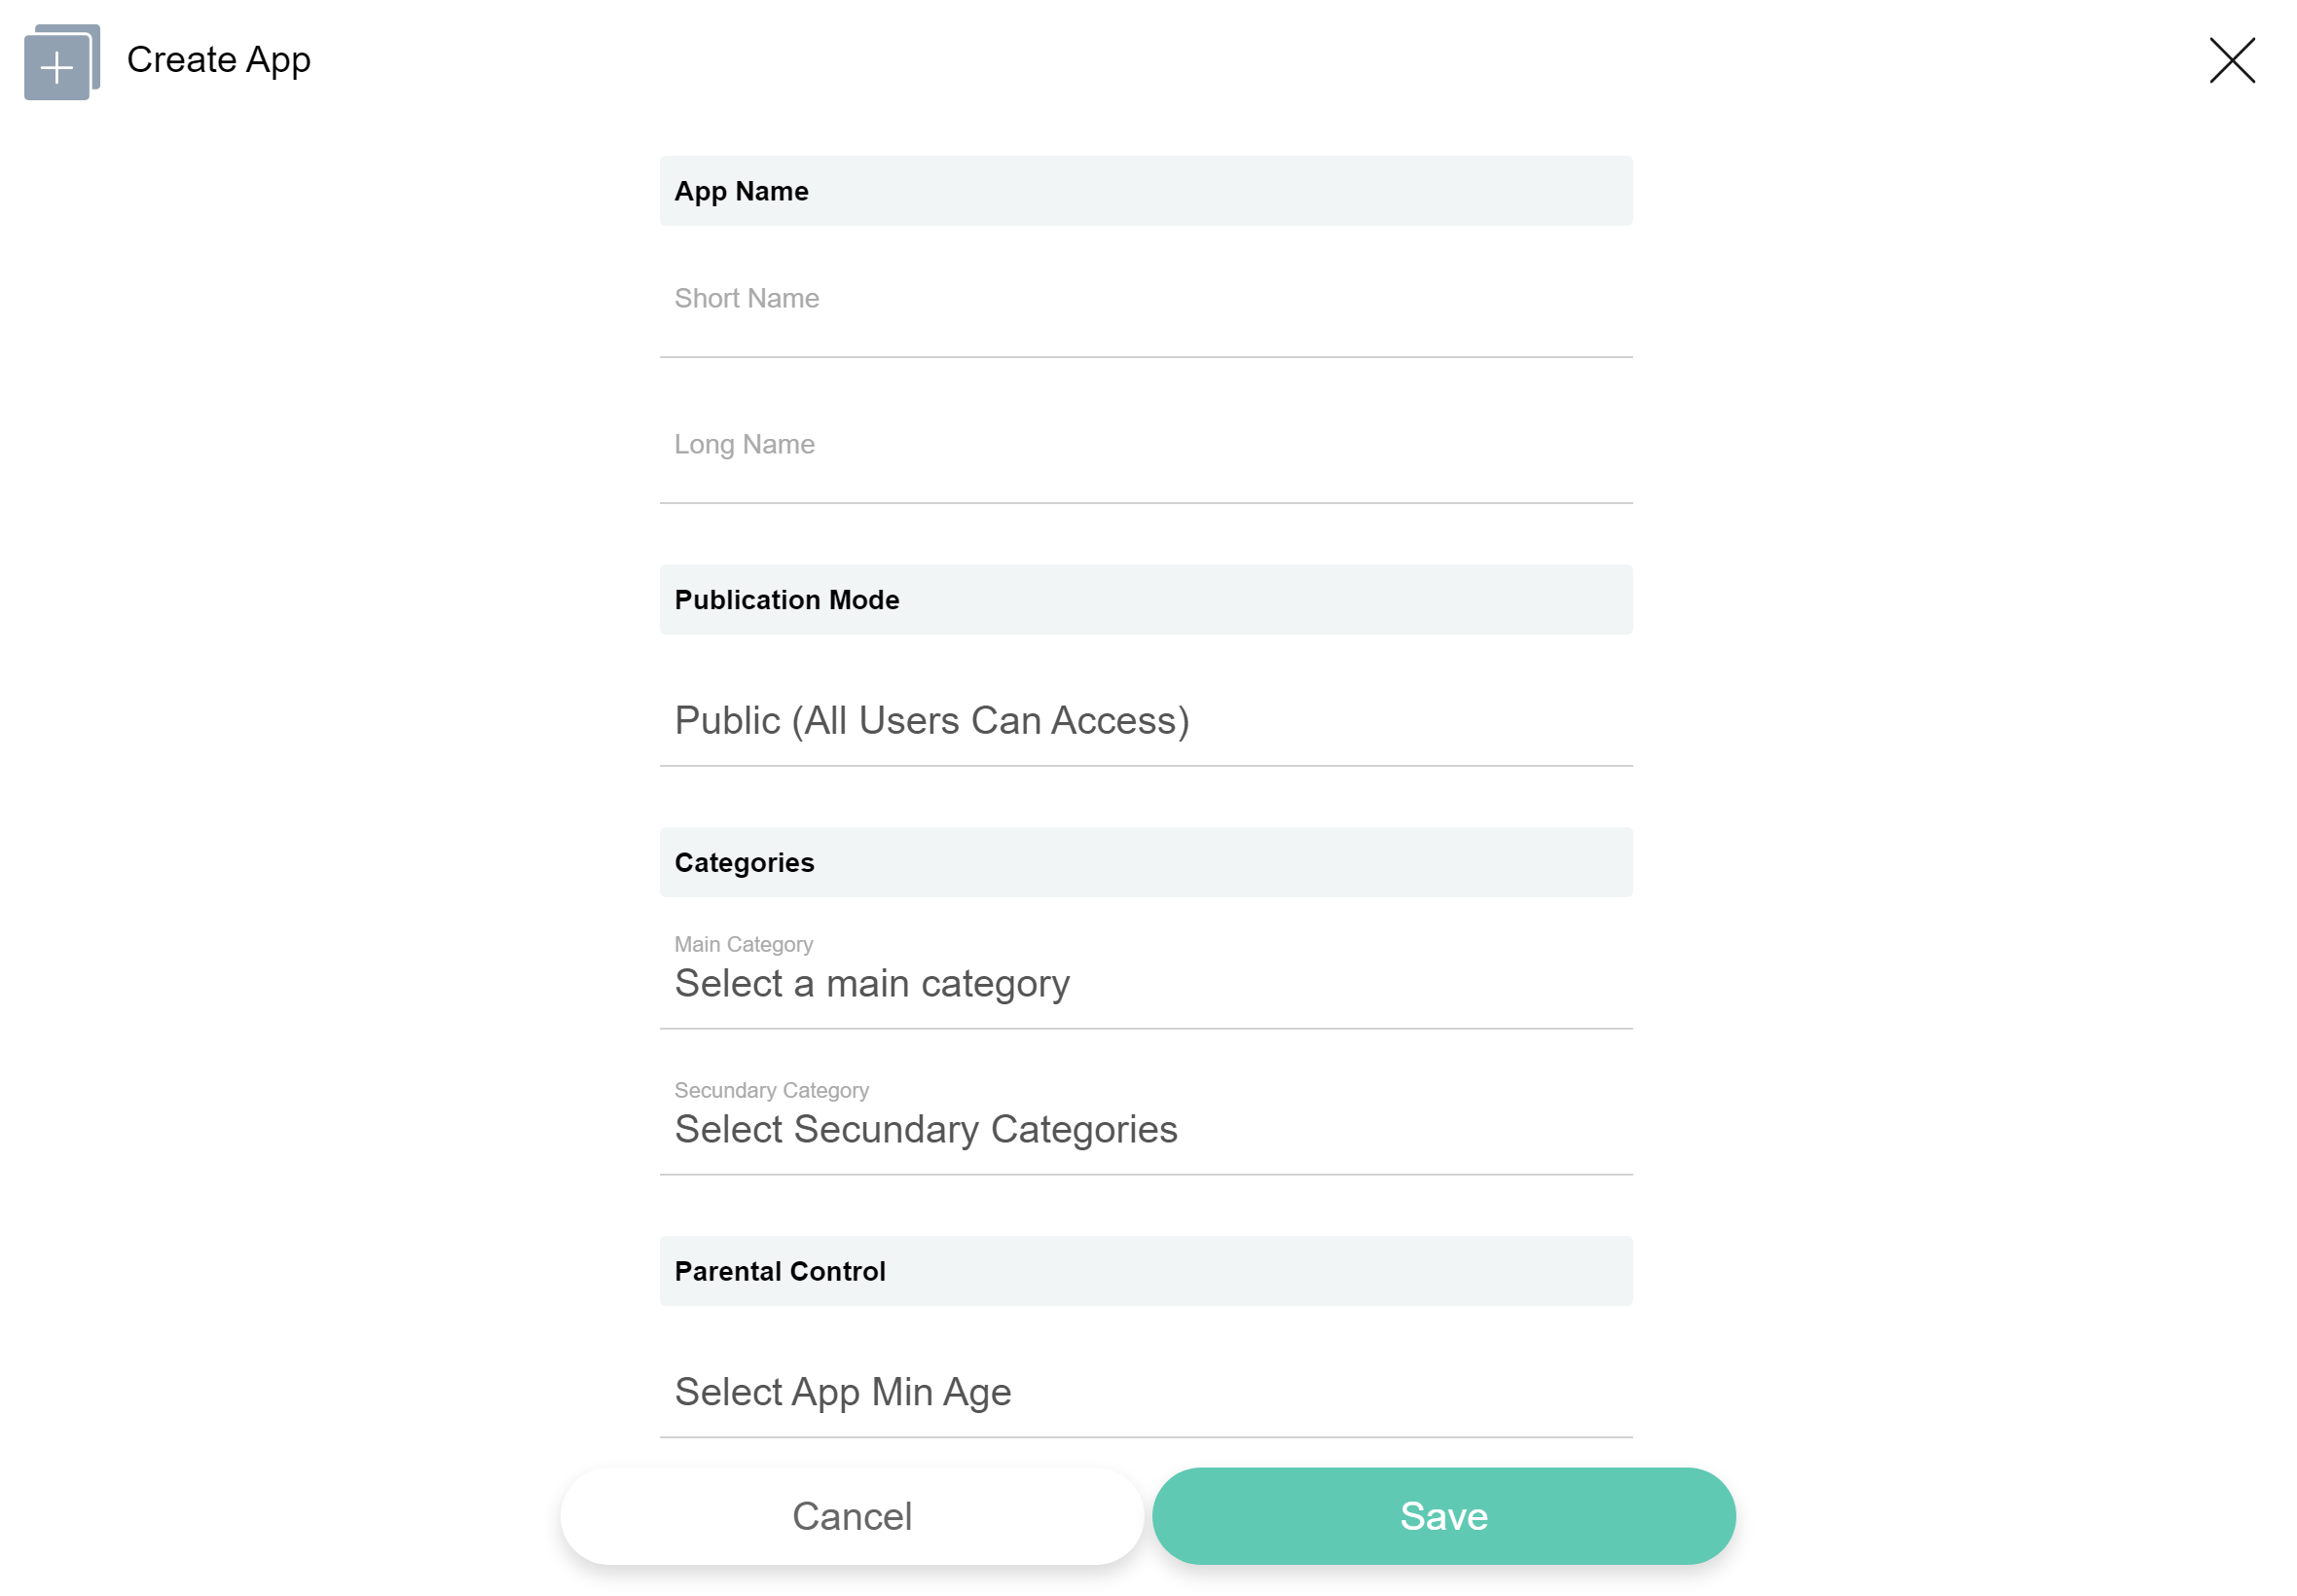
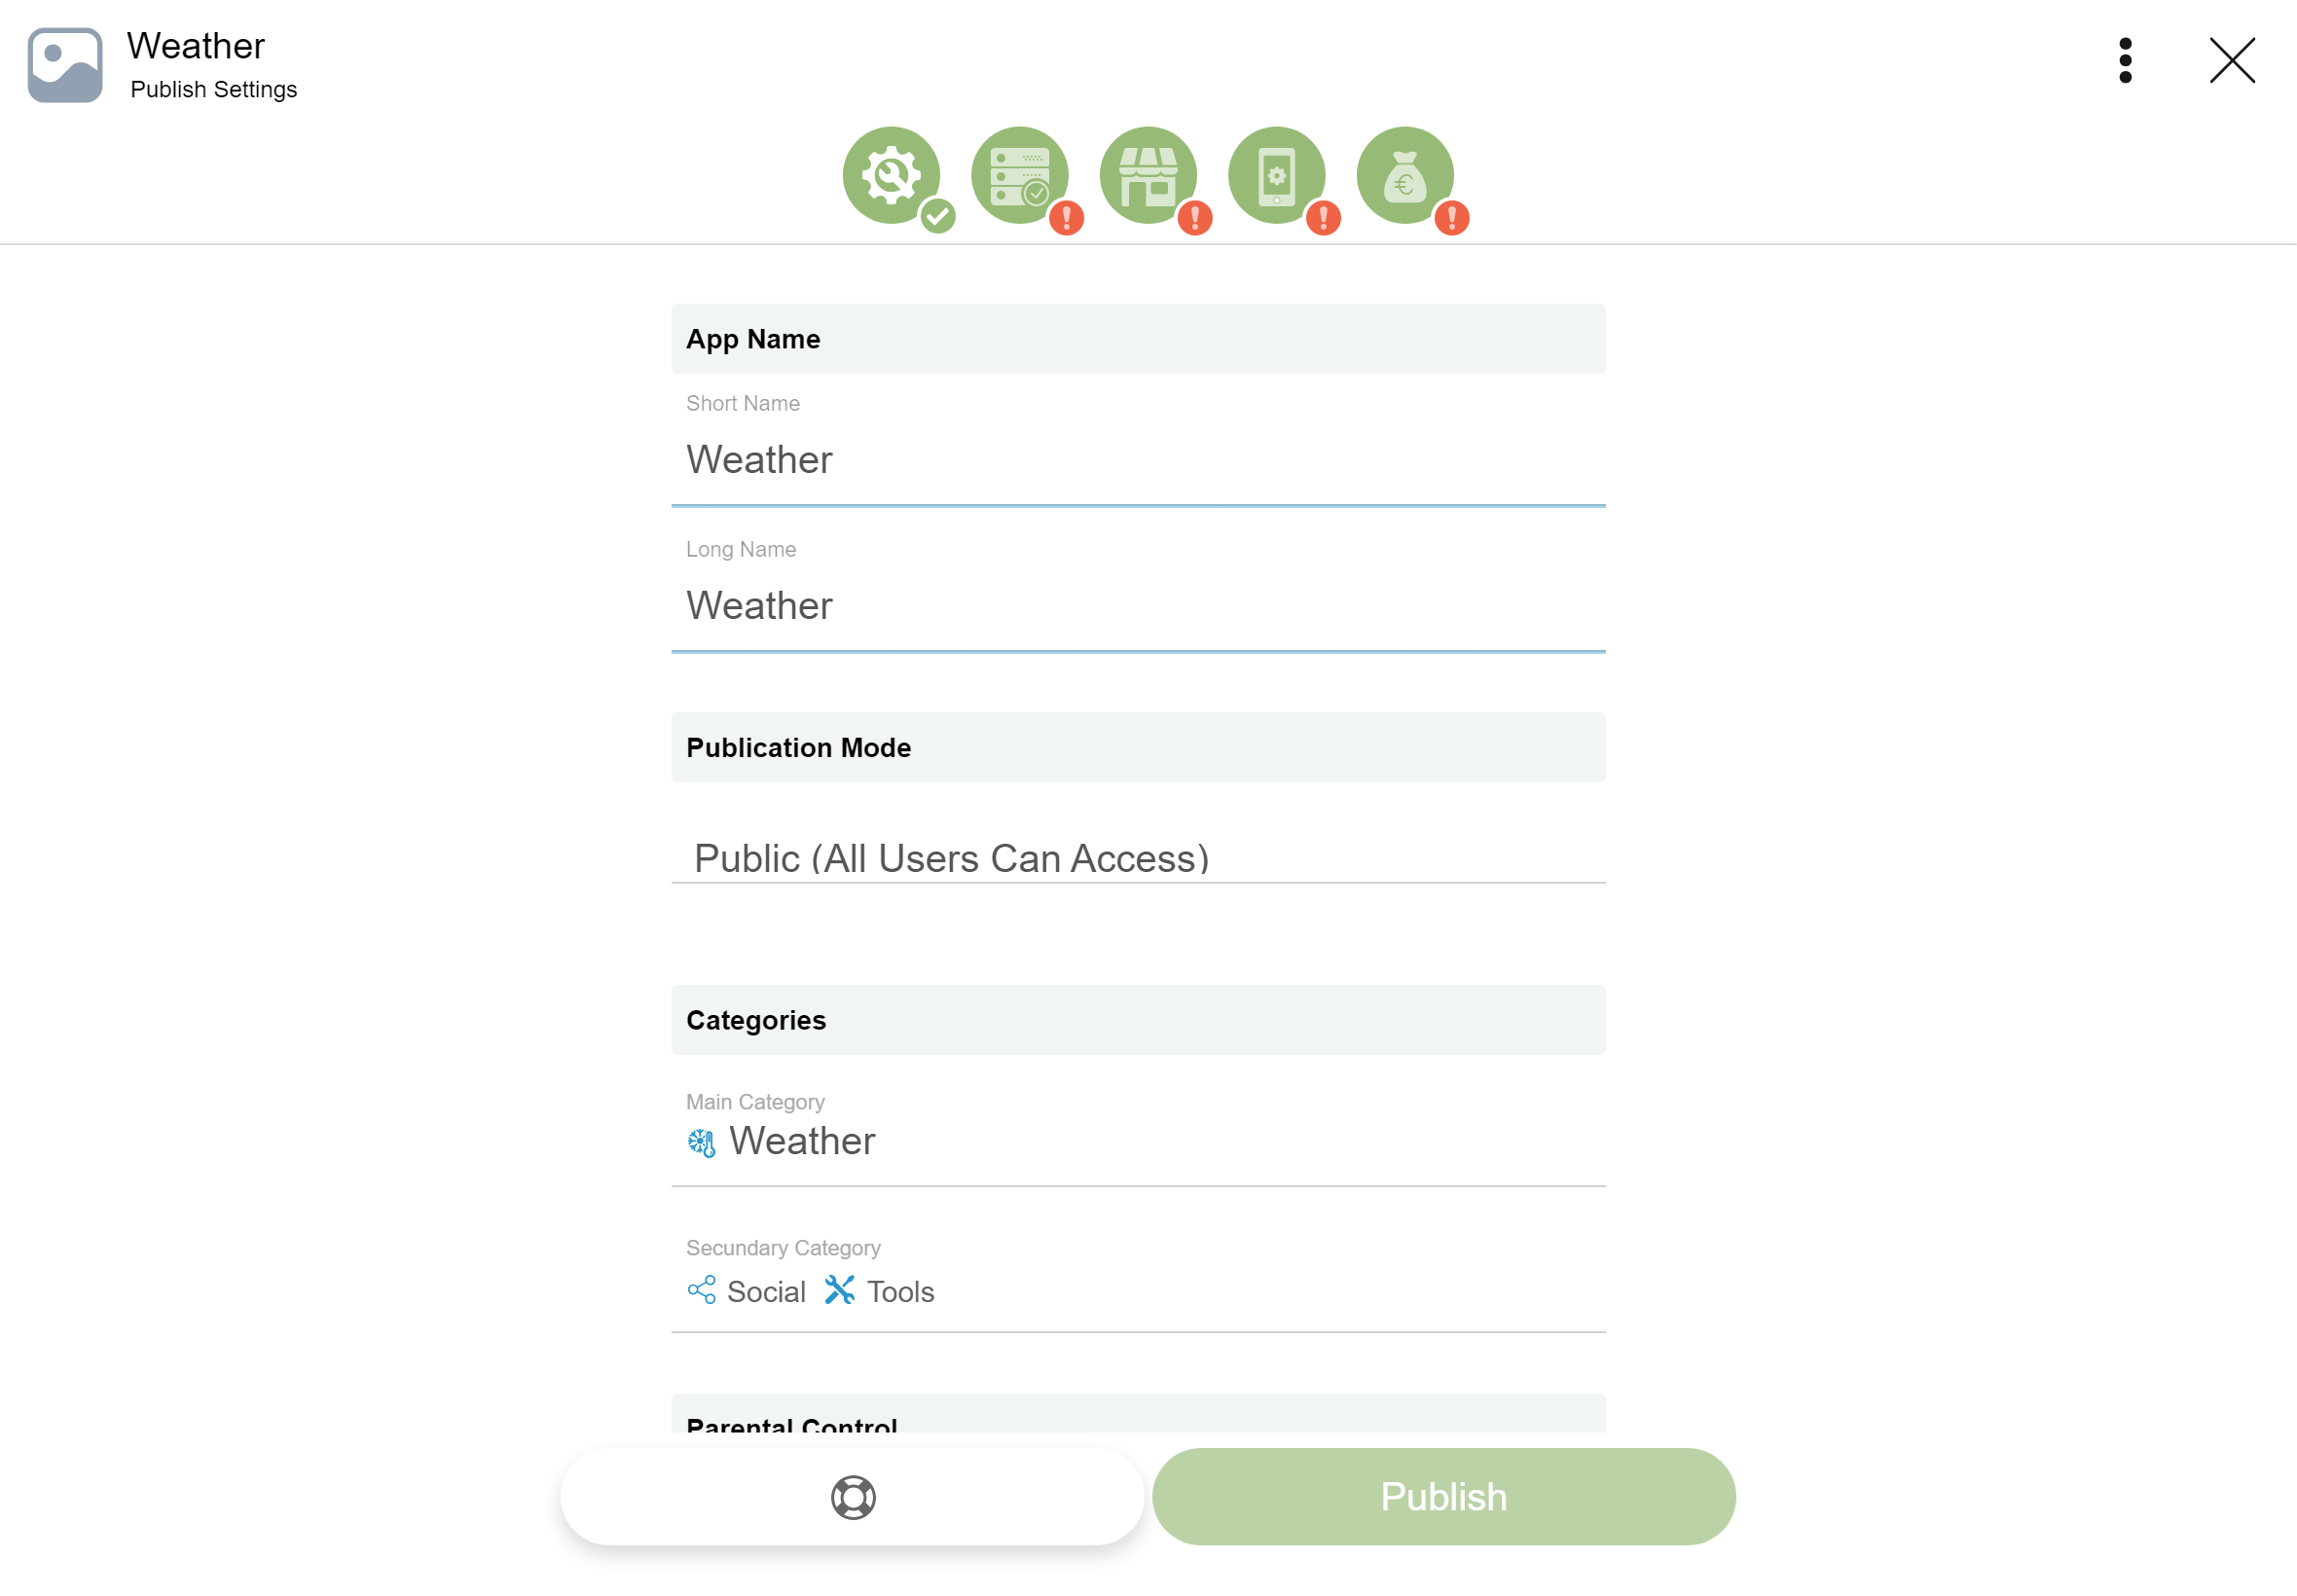
App Name
Specify the app short name and long name. The short name will be used on the app device data and the long name will be used on the Fawi Store. Both names can be the same.
NOTE: The short name and the long name should fill the Fawi Terms requirements.
Publication Mode
Specify who can access the app [Public/Restricted]. The Public option lets anyone use the app and the Restricted option requires you to set your restricted user, in the Restricted Users UI on the Fawi Office.
NOTE: For users to have access to the Restricted Apps, they need to enable the option in the Settings > Advanced > Restricted Apps menu on Fawi Store.
Categories
Select wich categories the app belongs [Main / Secondaries].
NOTE: You can select a maximum of one main category and five secondary categories. The categories must be related to their utility and type of the app.
Parental Control
Select the minimum age to restrict the app users.
NOTE: This information should fill the Fawi Terms requirements and will be used to assist parents in Fawi Store, in their ability to restrict which contents can be seen by their children.
Main Language
Select the app main language.
Main Country
Select the country where this app is supported.
Publish Regions
Select the countries where an app will show up on Fawi Store.
Publish Settings
Before publishing your app, make sure it’s ready to be publicly released and that you’re making the most of it.
Settings
You can edit your app information anytime.
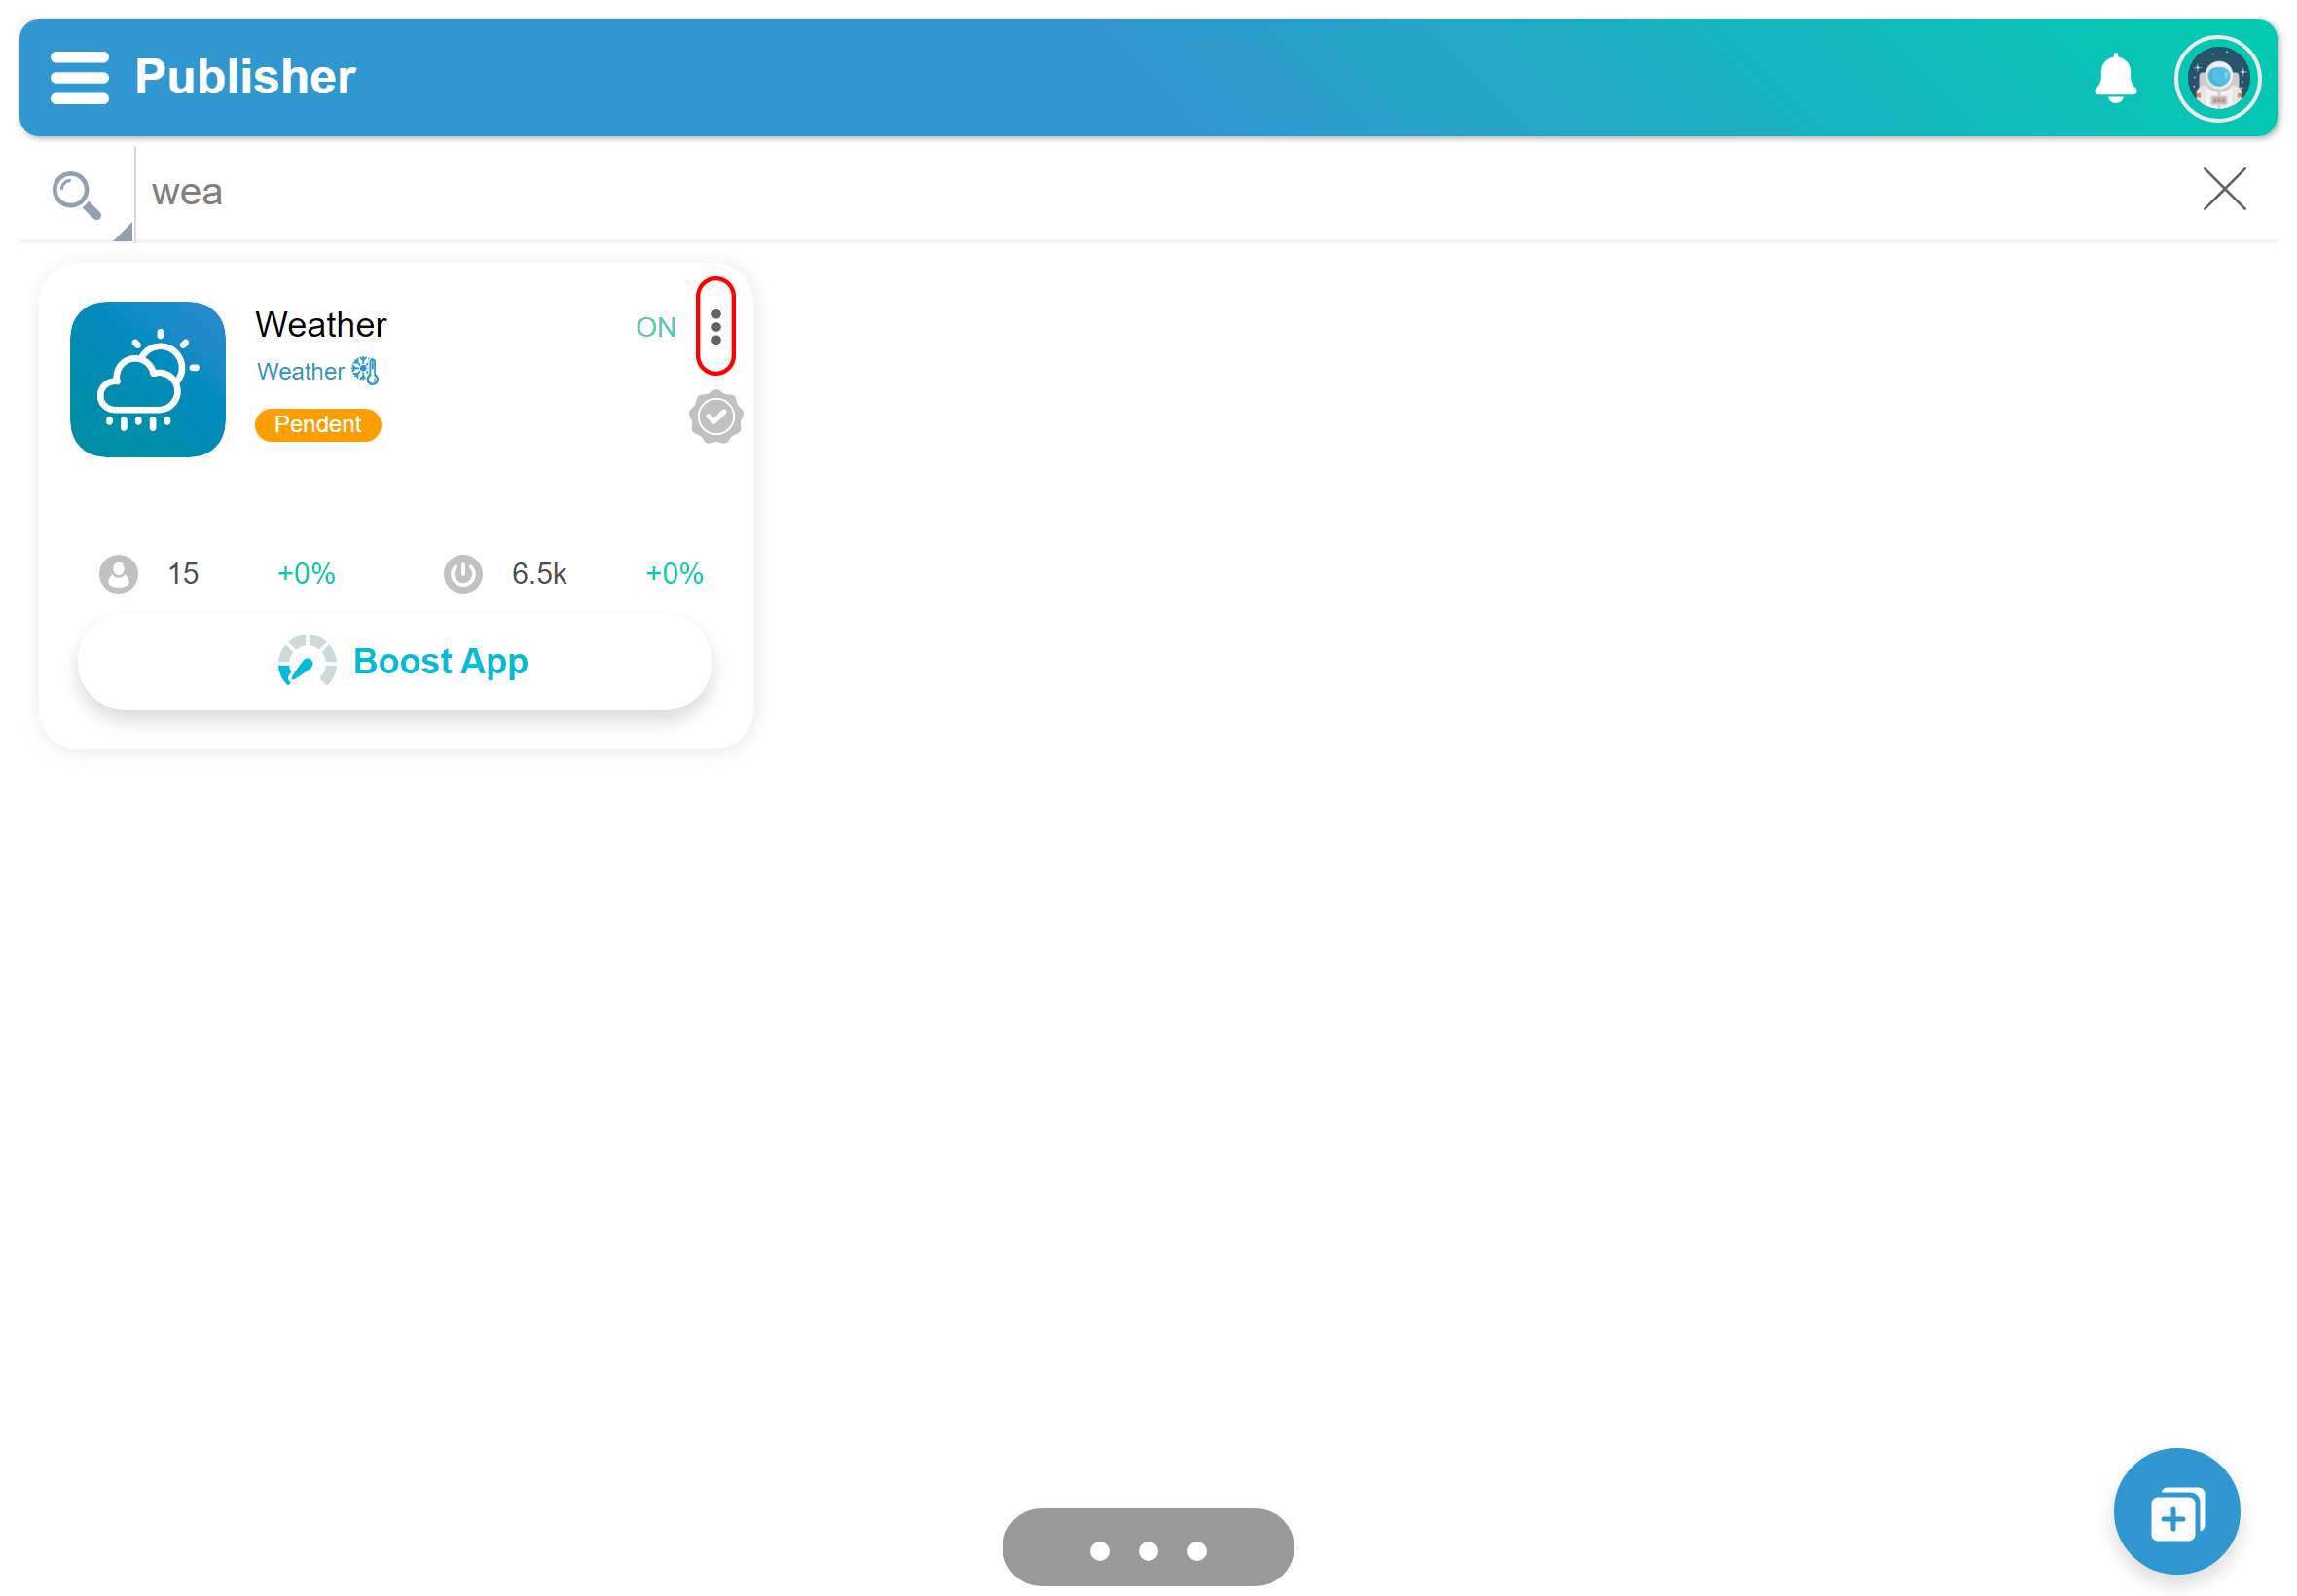
- Open Fawi Office.
- At the top right of an app card, tap more .
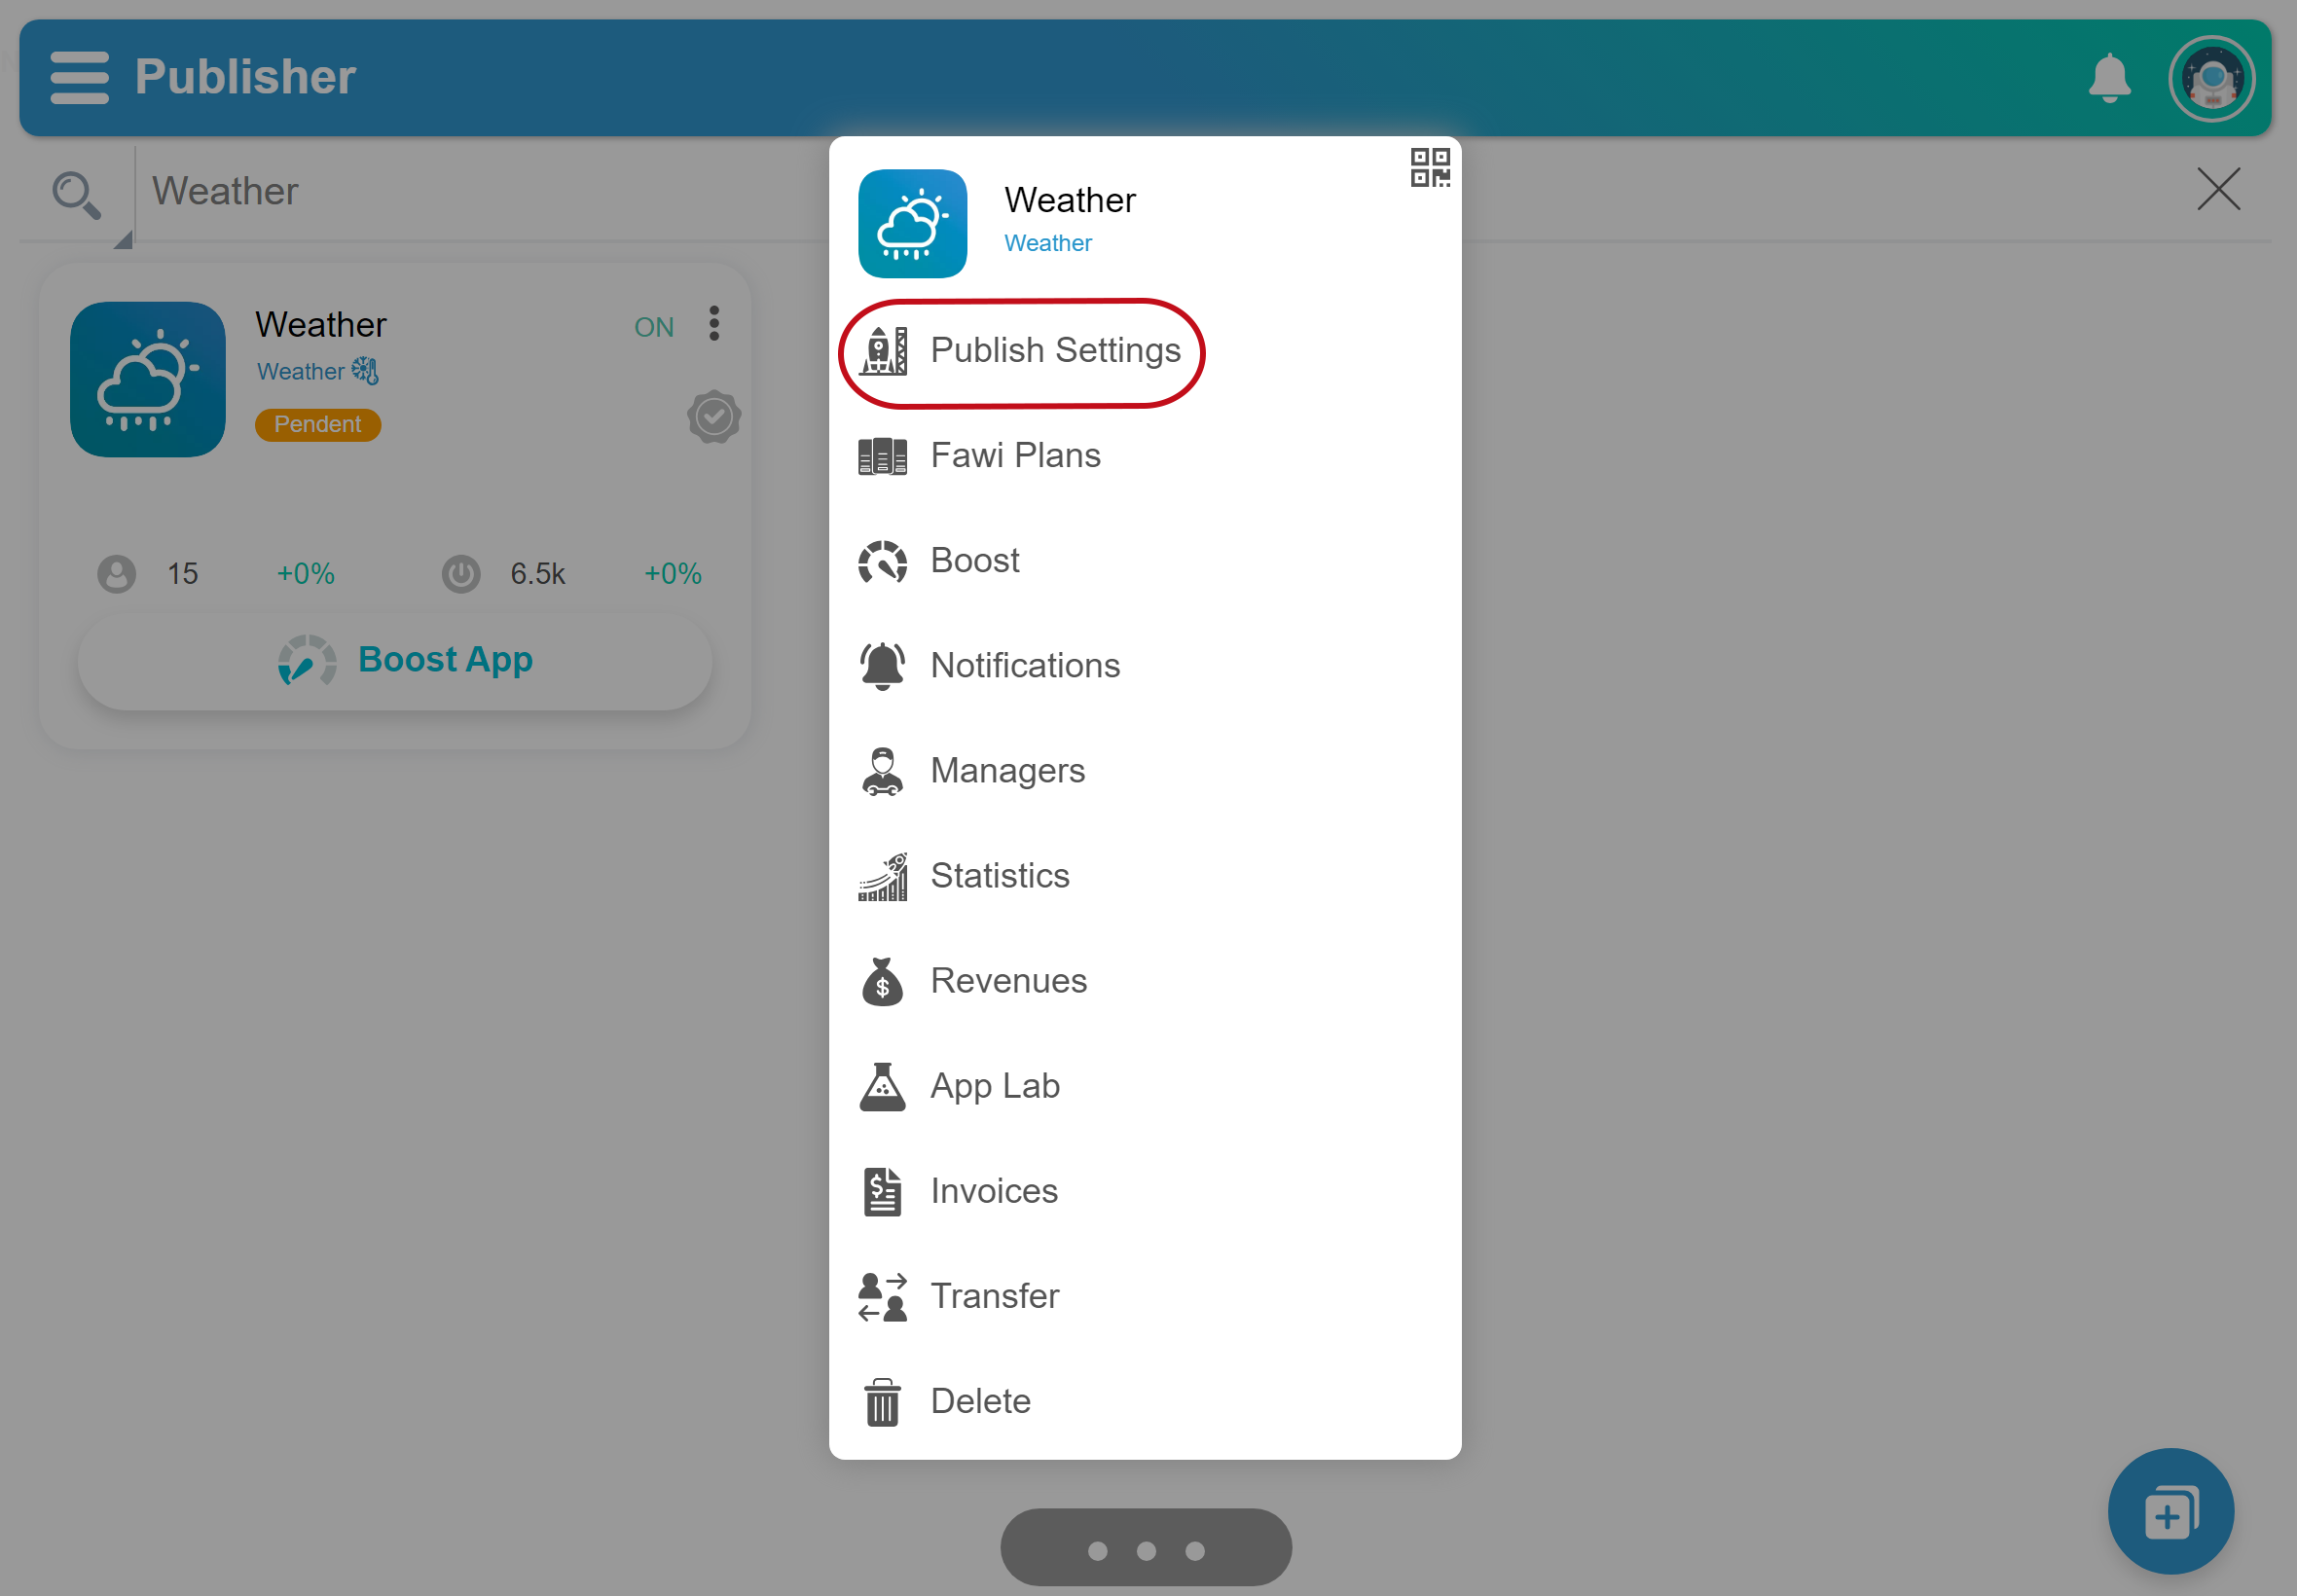
- From the app main menu, select Publish Settings to open the Publish Settings page. NOTE: You can reach this stage clicking the app icon on an app card.
- Tap the Settings tab.
- Edit the app information and click the Save button. NOTE: The app information in the Publish Settings page is the same information that you entered when you created the app.
App Name
Specify the app short name and long name. The short name will be used on the app device data and the long name will be used on the Fawi Store. Both names can be the same.
NOTE: The short name and the long name should fill the Fawi Terms requirements.
Publication Mode
Specify who can access the app [Public/Restricted]. The Public option lets anyone use the app and the Restricted option requires you to set your restricted user, in the Restricted Users UI on the Fawi Office.
NOTE: For users to have access to the Restricted Apps, they need to enable the option in the "Settings > Advanced > Restricted Apps" menu in Fawi Store.
Categories
Select wich categories the app belongs [Main / Secondaries].
NOTE: You can select a maximum of one main category and five secondary categories. The categories must be related to their utility and type of the app.
Parental Control
Select the minimum age to restrict the app users.
NOTE: This information should fill the Fawi Terms requirements and will be used to assist parents in Fawi Store, in their ability to restrict which contents can be seen by their children.
Main Language
Select the app main language.
Main Country
Select the country where this app is supported.
Publish Regions
Select the countries where an app will show up on Fawi Store.
Server
Enter the server information.
- Open Fawi Office.
- At the top right of an app card, tap more .
- From the app main menu, select Publish Settings to open the Publish Settings page. NOTE: You can reach this stage clicking the app icon on an app card.
- Tap the Server tab.
- Setup your server.
- Click the Save button.
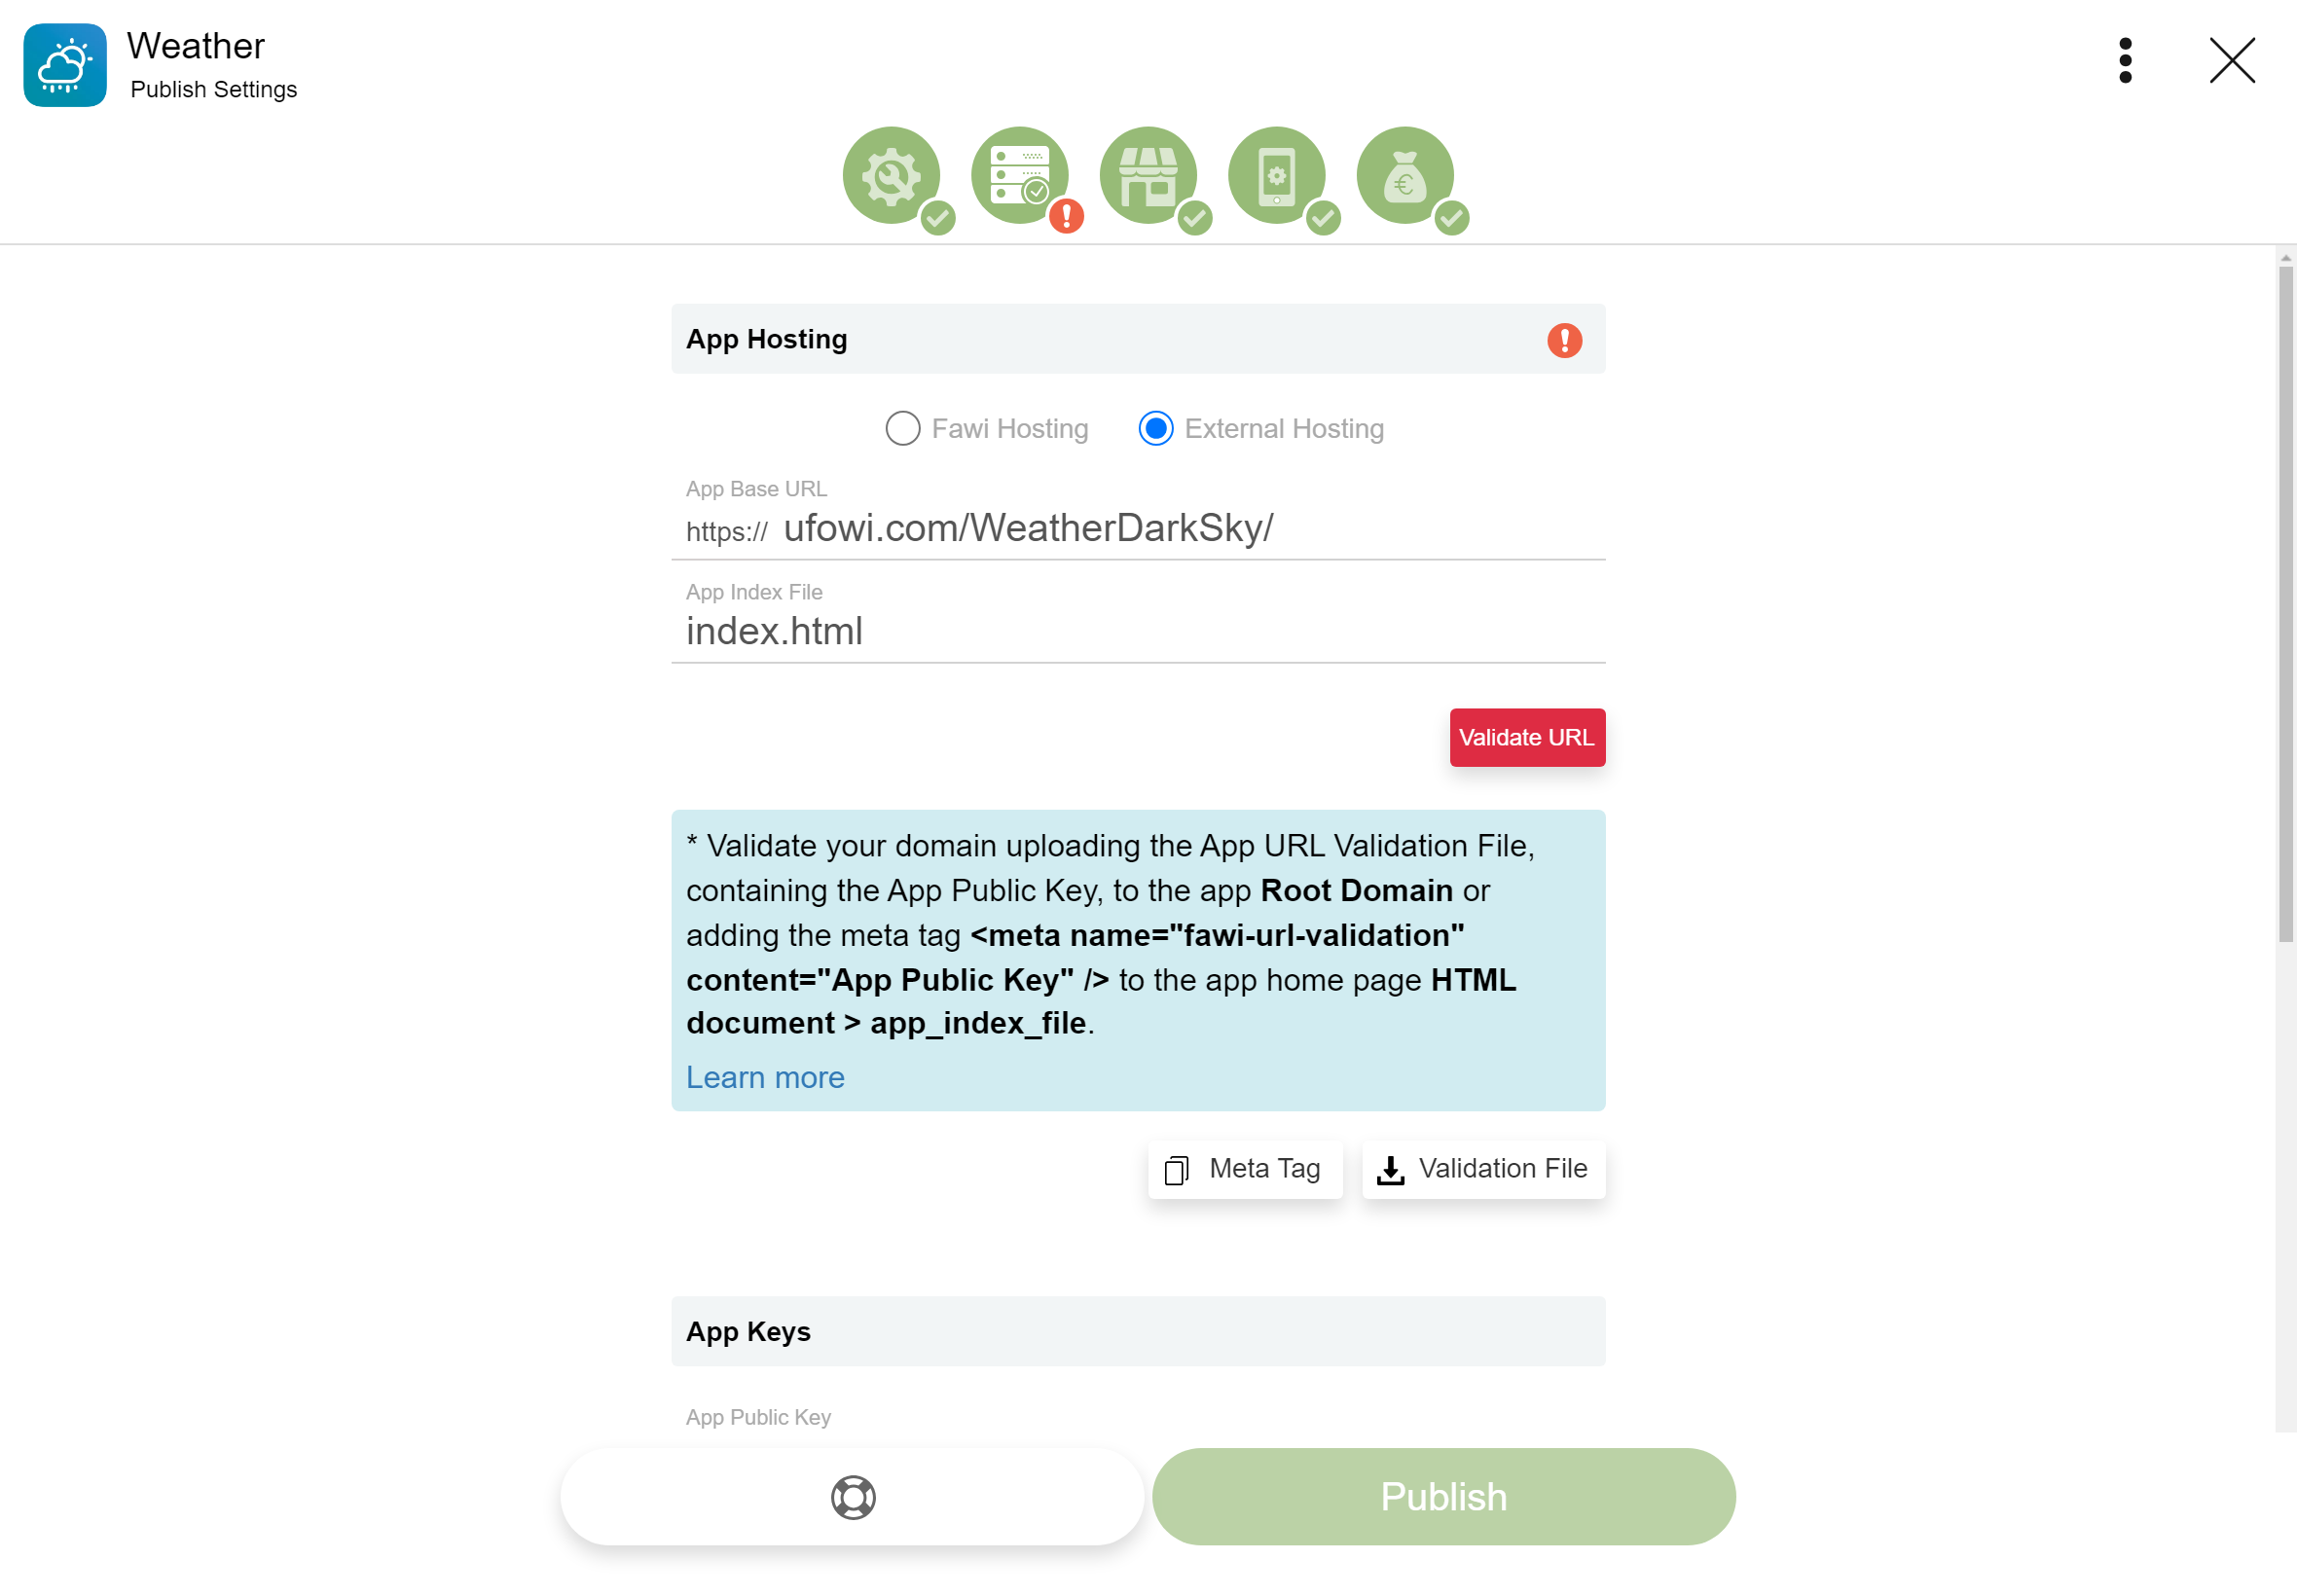
App Hosting
- Select Fawi Hosting and subscribe to a Fawi Hosting Plan and get a Fawi Hosting Domain. NOTE: As soon as you subscribe, we send your credential to your email for you to manage you hosting service.
- Specify the Document Root folder and the App Index File [optional], as shown in figure 2.
Fawi Hosting Domain > fawi_hosting_domain
...
Document Root > document_root
...
App Index File > app_index_file
...
Root Domain > https://fawi_hosting_domain/document_root
...
App Home Page Url Path > https://fawi_hosting_domain/document_root/app_index_file
- If you select External Hosting Domain.
- Specify the App Base URL and the App Index File [optional], as shown in figure 2. NOTE: The server must have HTTPS setup
App Base URL > app_base_url
...
App Index File > app_index_file
...
Root Domain > https://app_base_url
...
App Home Page Url Path > https://app_base_url/app_index_file
If you choose to use a external hosting service, you must validate the App Base URL using one of the methods below:
- Using a validation file:
- Click the Validation File button, to download the fawi.zip file.
- Extract the HTML document from the fawi.zip.
- Upload the extracted HTML document to the Root Domain > https://app_base_url.
- Click the Validate URL button to validate. NOTE: The validation files must be available at your Root Domain folder in the online app version and not limited to an internal localhost (an intranet). For example, https://app_base_url.
- Adding <meta> tag:
- Click the Meta Tag button, to copy the validation meta tag to the clipboard.
- Paste it inside the <head> element, on the app home page HTML document > app_index_file.
- Click the Validate URL button to validate.
- Add <meta> tags in WordPress
- Add <meta> tags in Wix
- Add <meta> tags in Ghost
- Add <meta> tags in Shopify
- Add <meta> tags in Joomla
- Add <meta> tags in Jimdo
- Add <meta> tags in Blogger
- Add <meta> tags in Squarespace
- Add <meta> tags in Drupal
- Add <meta> tags in Weebly
- Add <meta> tags in Carrd
- Add <meta> tags in TYPO3
- Add <meta> tags in HubSpot
- Add <meta> tags in PrestaShop
- Add <meta> tags in Grav
Fawi allows you to download a fawi.zip file containing a HTML document to validate your domain. Upload the HTML document to the app Root Domain then click the Validate URL button. Uploading the file doesn't affect your app:
Example:
App Index File Code:
<!DOCTYPE html>
<html lang="en">
<head>
...
<meta name="fawi-url-validation" content="app_public_key">
...
</head>
NOTE: Here are some tutorials if you use CMS to make your app:
App Keys
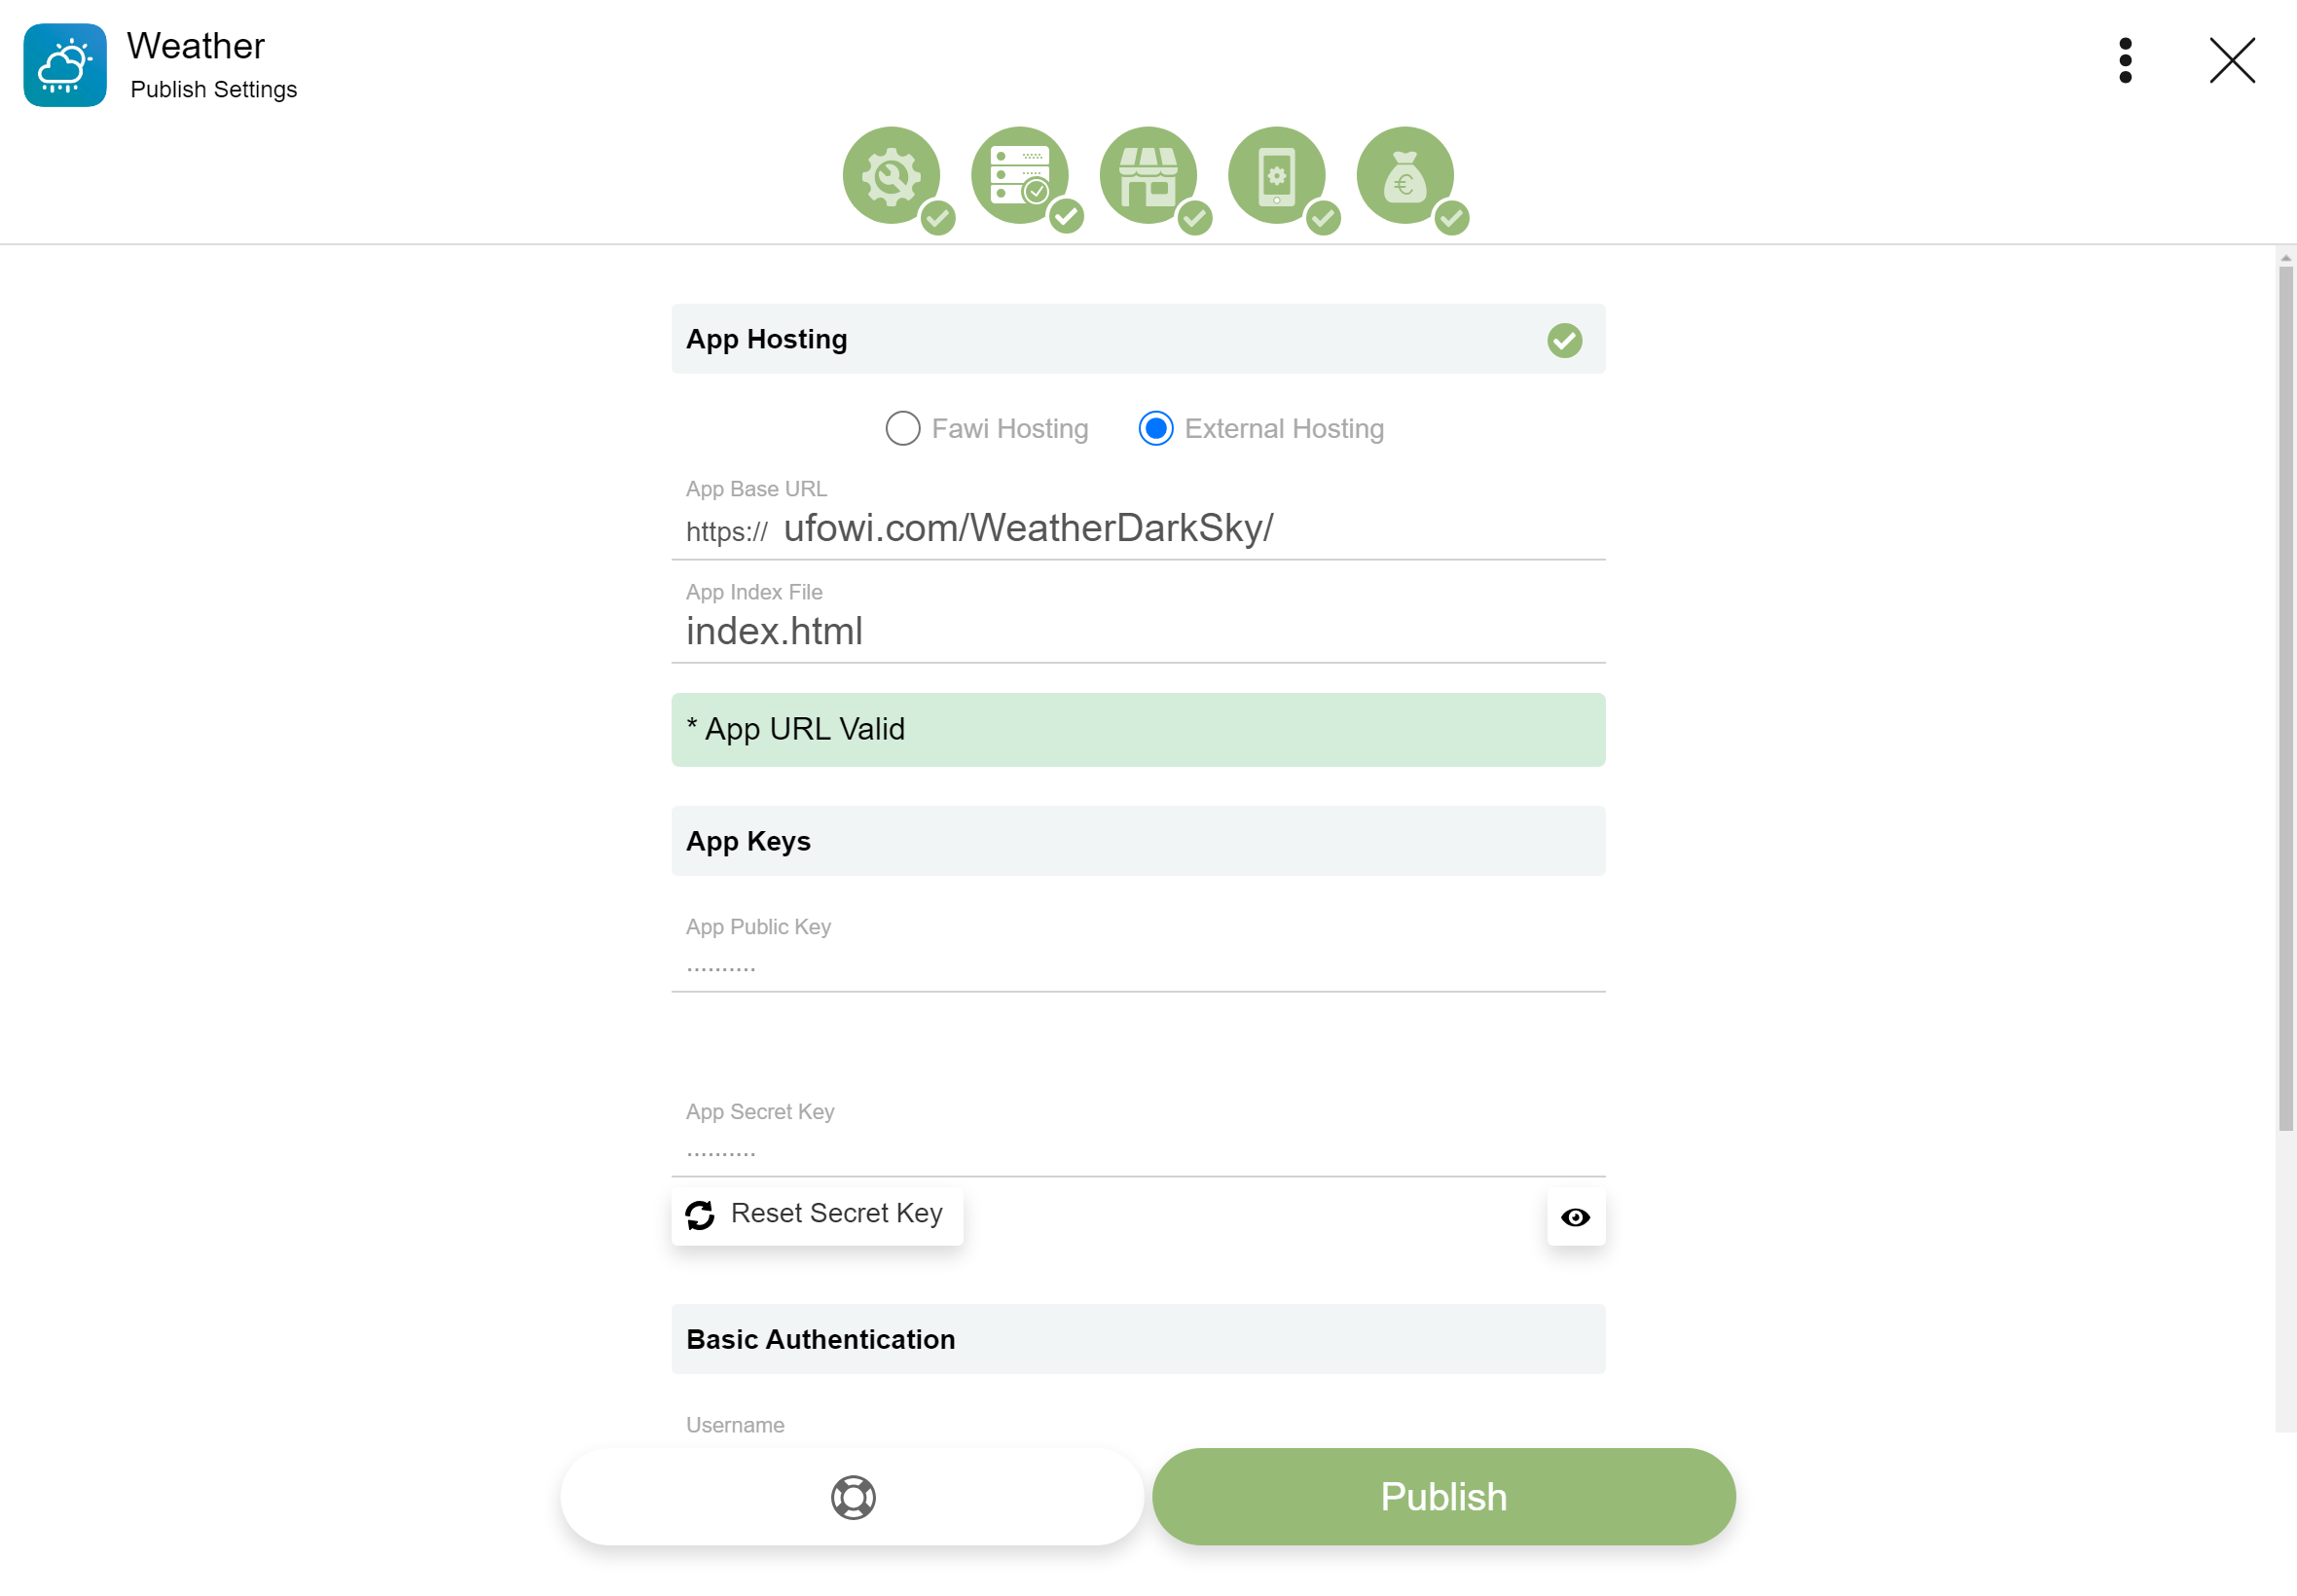
The App Keys are automatically generated when an app is created, but they can be reseted. Use the App Public Key in your client-side code and the App Secret Key to authenticate Fawi API requests on your server.
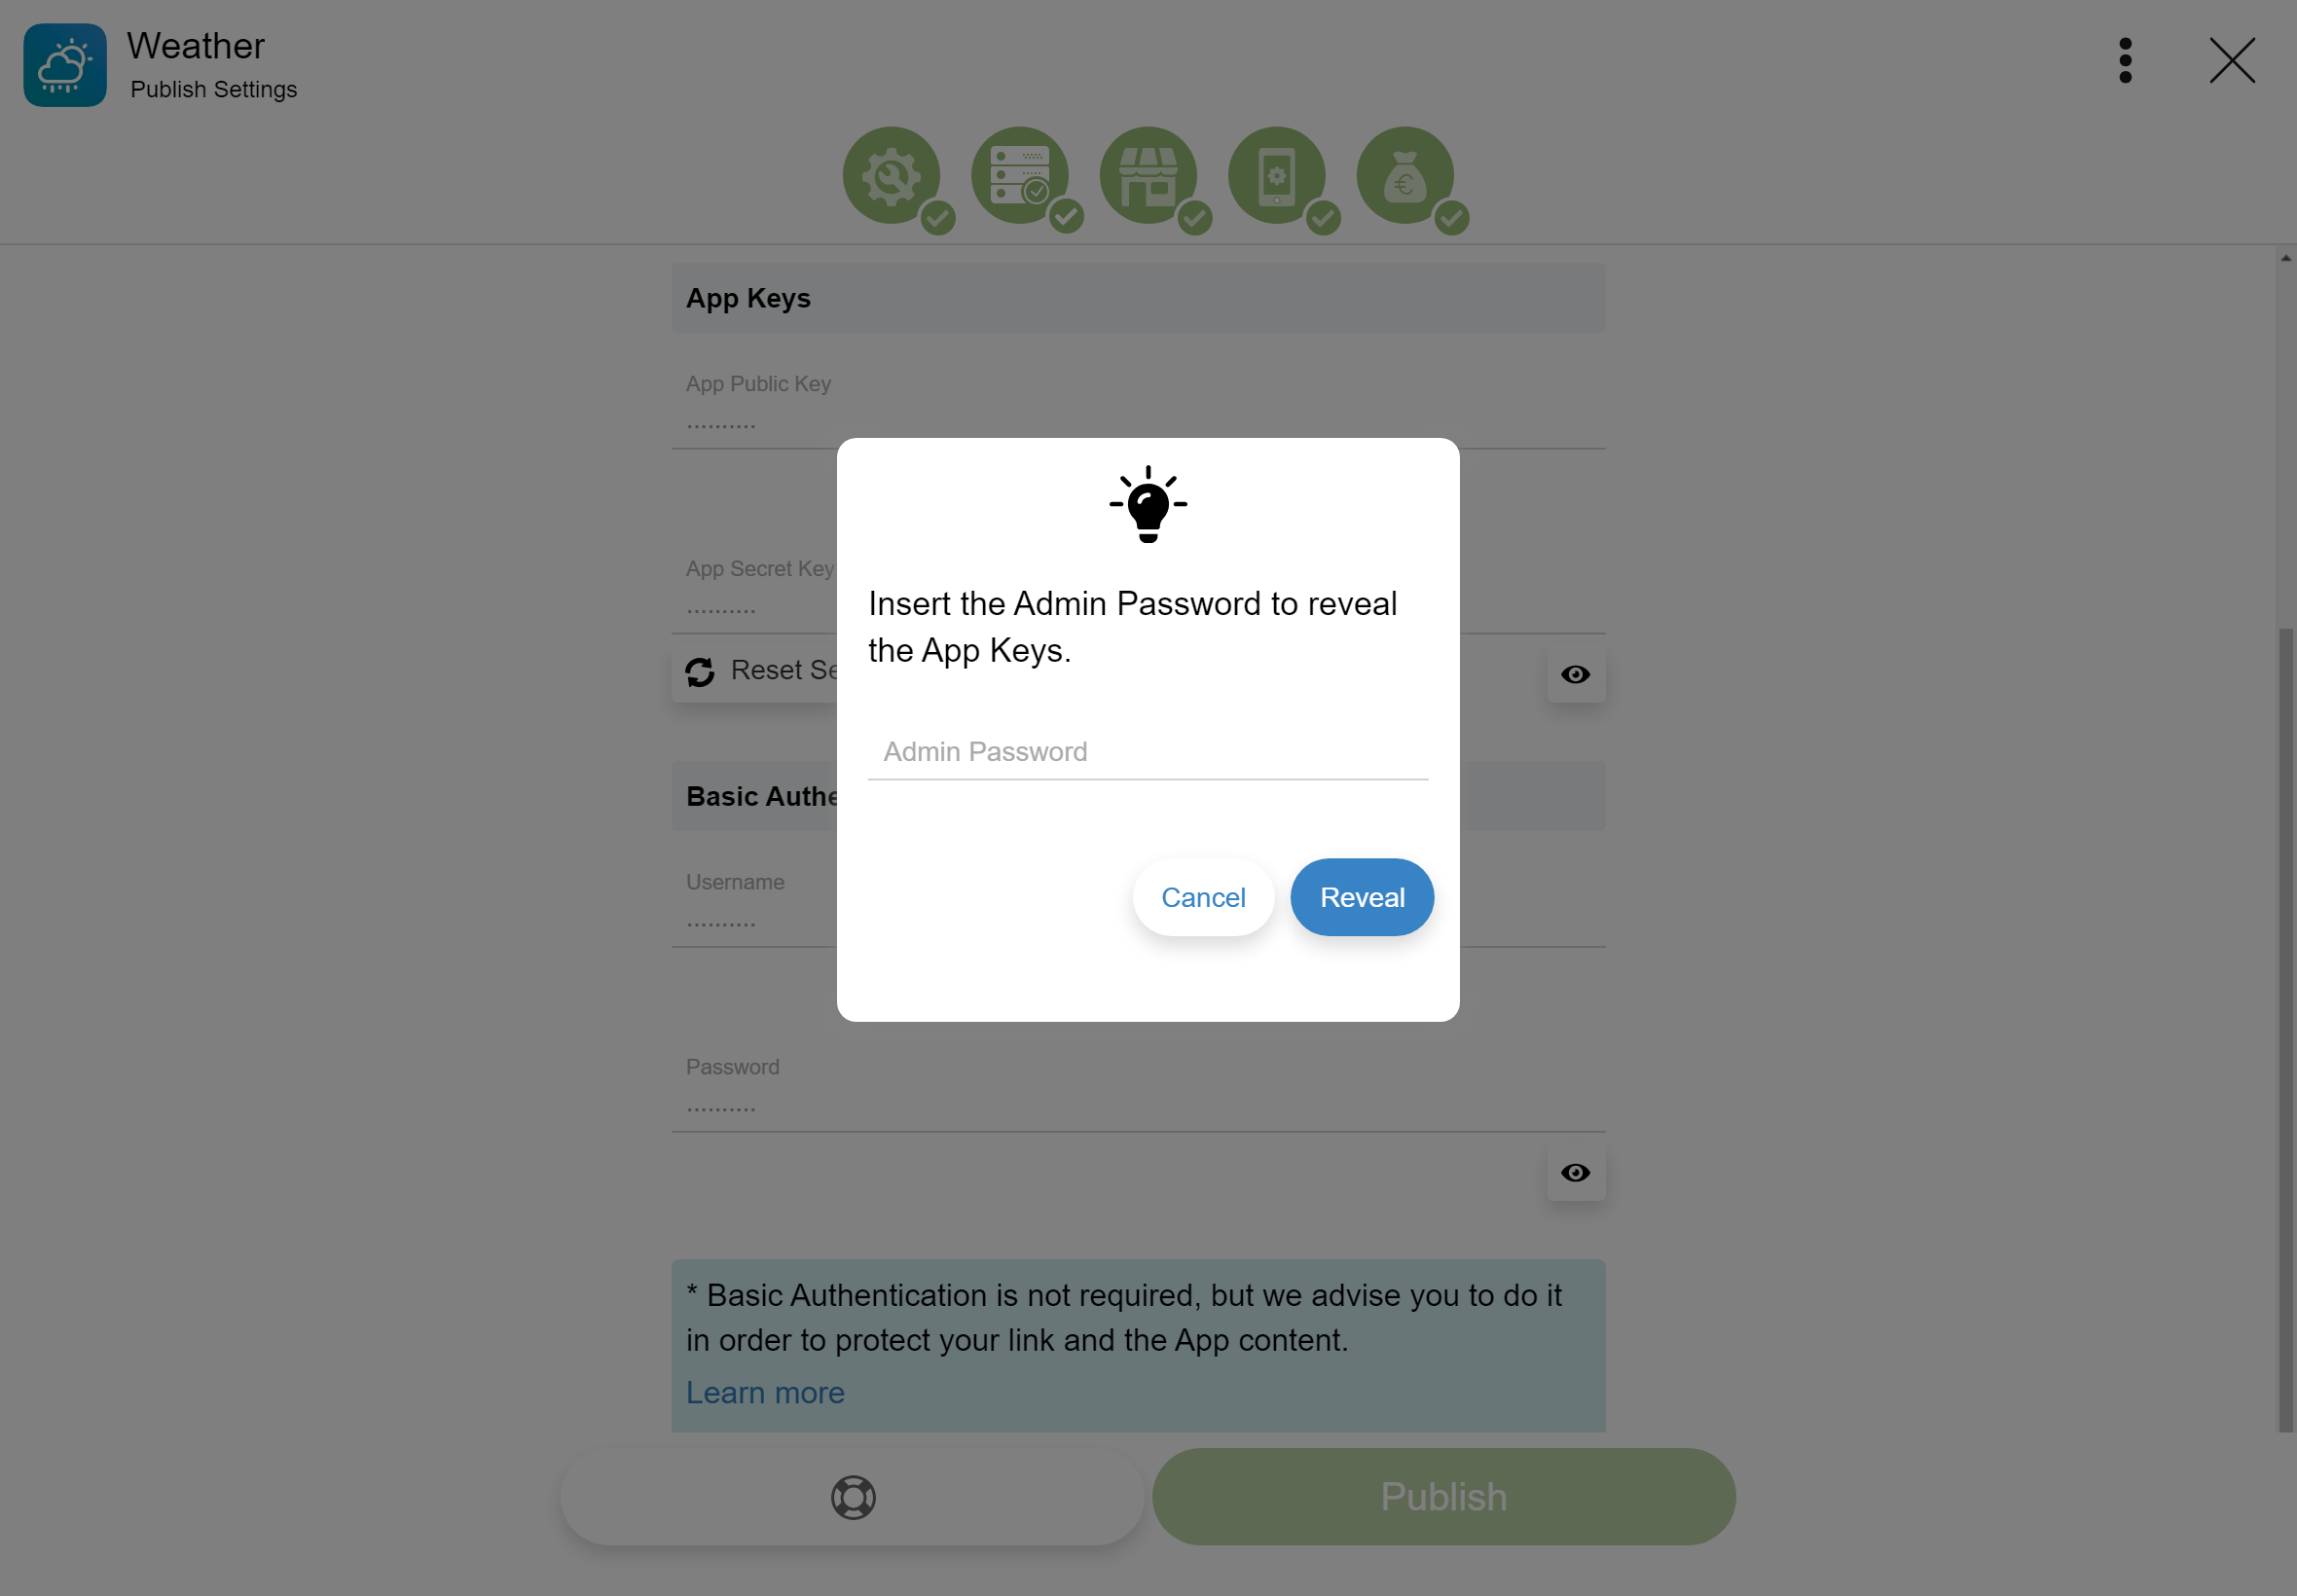
Reveal you App Keys:
- Open Fawi Office.
- At the top right of an app card, tap more .
- From the app main menu, select Publish Settings to open the Publish Settings page. NOTE: You can reach this stage clicking the app icon on an app card.
- Tap the Server tab.
- Scroll to the App Keys section.
- Click the button to open the Reveal dialog.
- Enter the Admin Password and click the Reveal button.
Reset you App Secret Key:
- Open Fawi Office.
- At the top right of an app card, tap more .
- From the app main menu, select Publish Settings to open the Publish Settings page. NOTE: You can reach this stage clicking the app icon on an app card.
- Tap the Server tab.
- Scroll to the App Keys section.
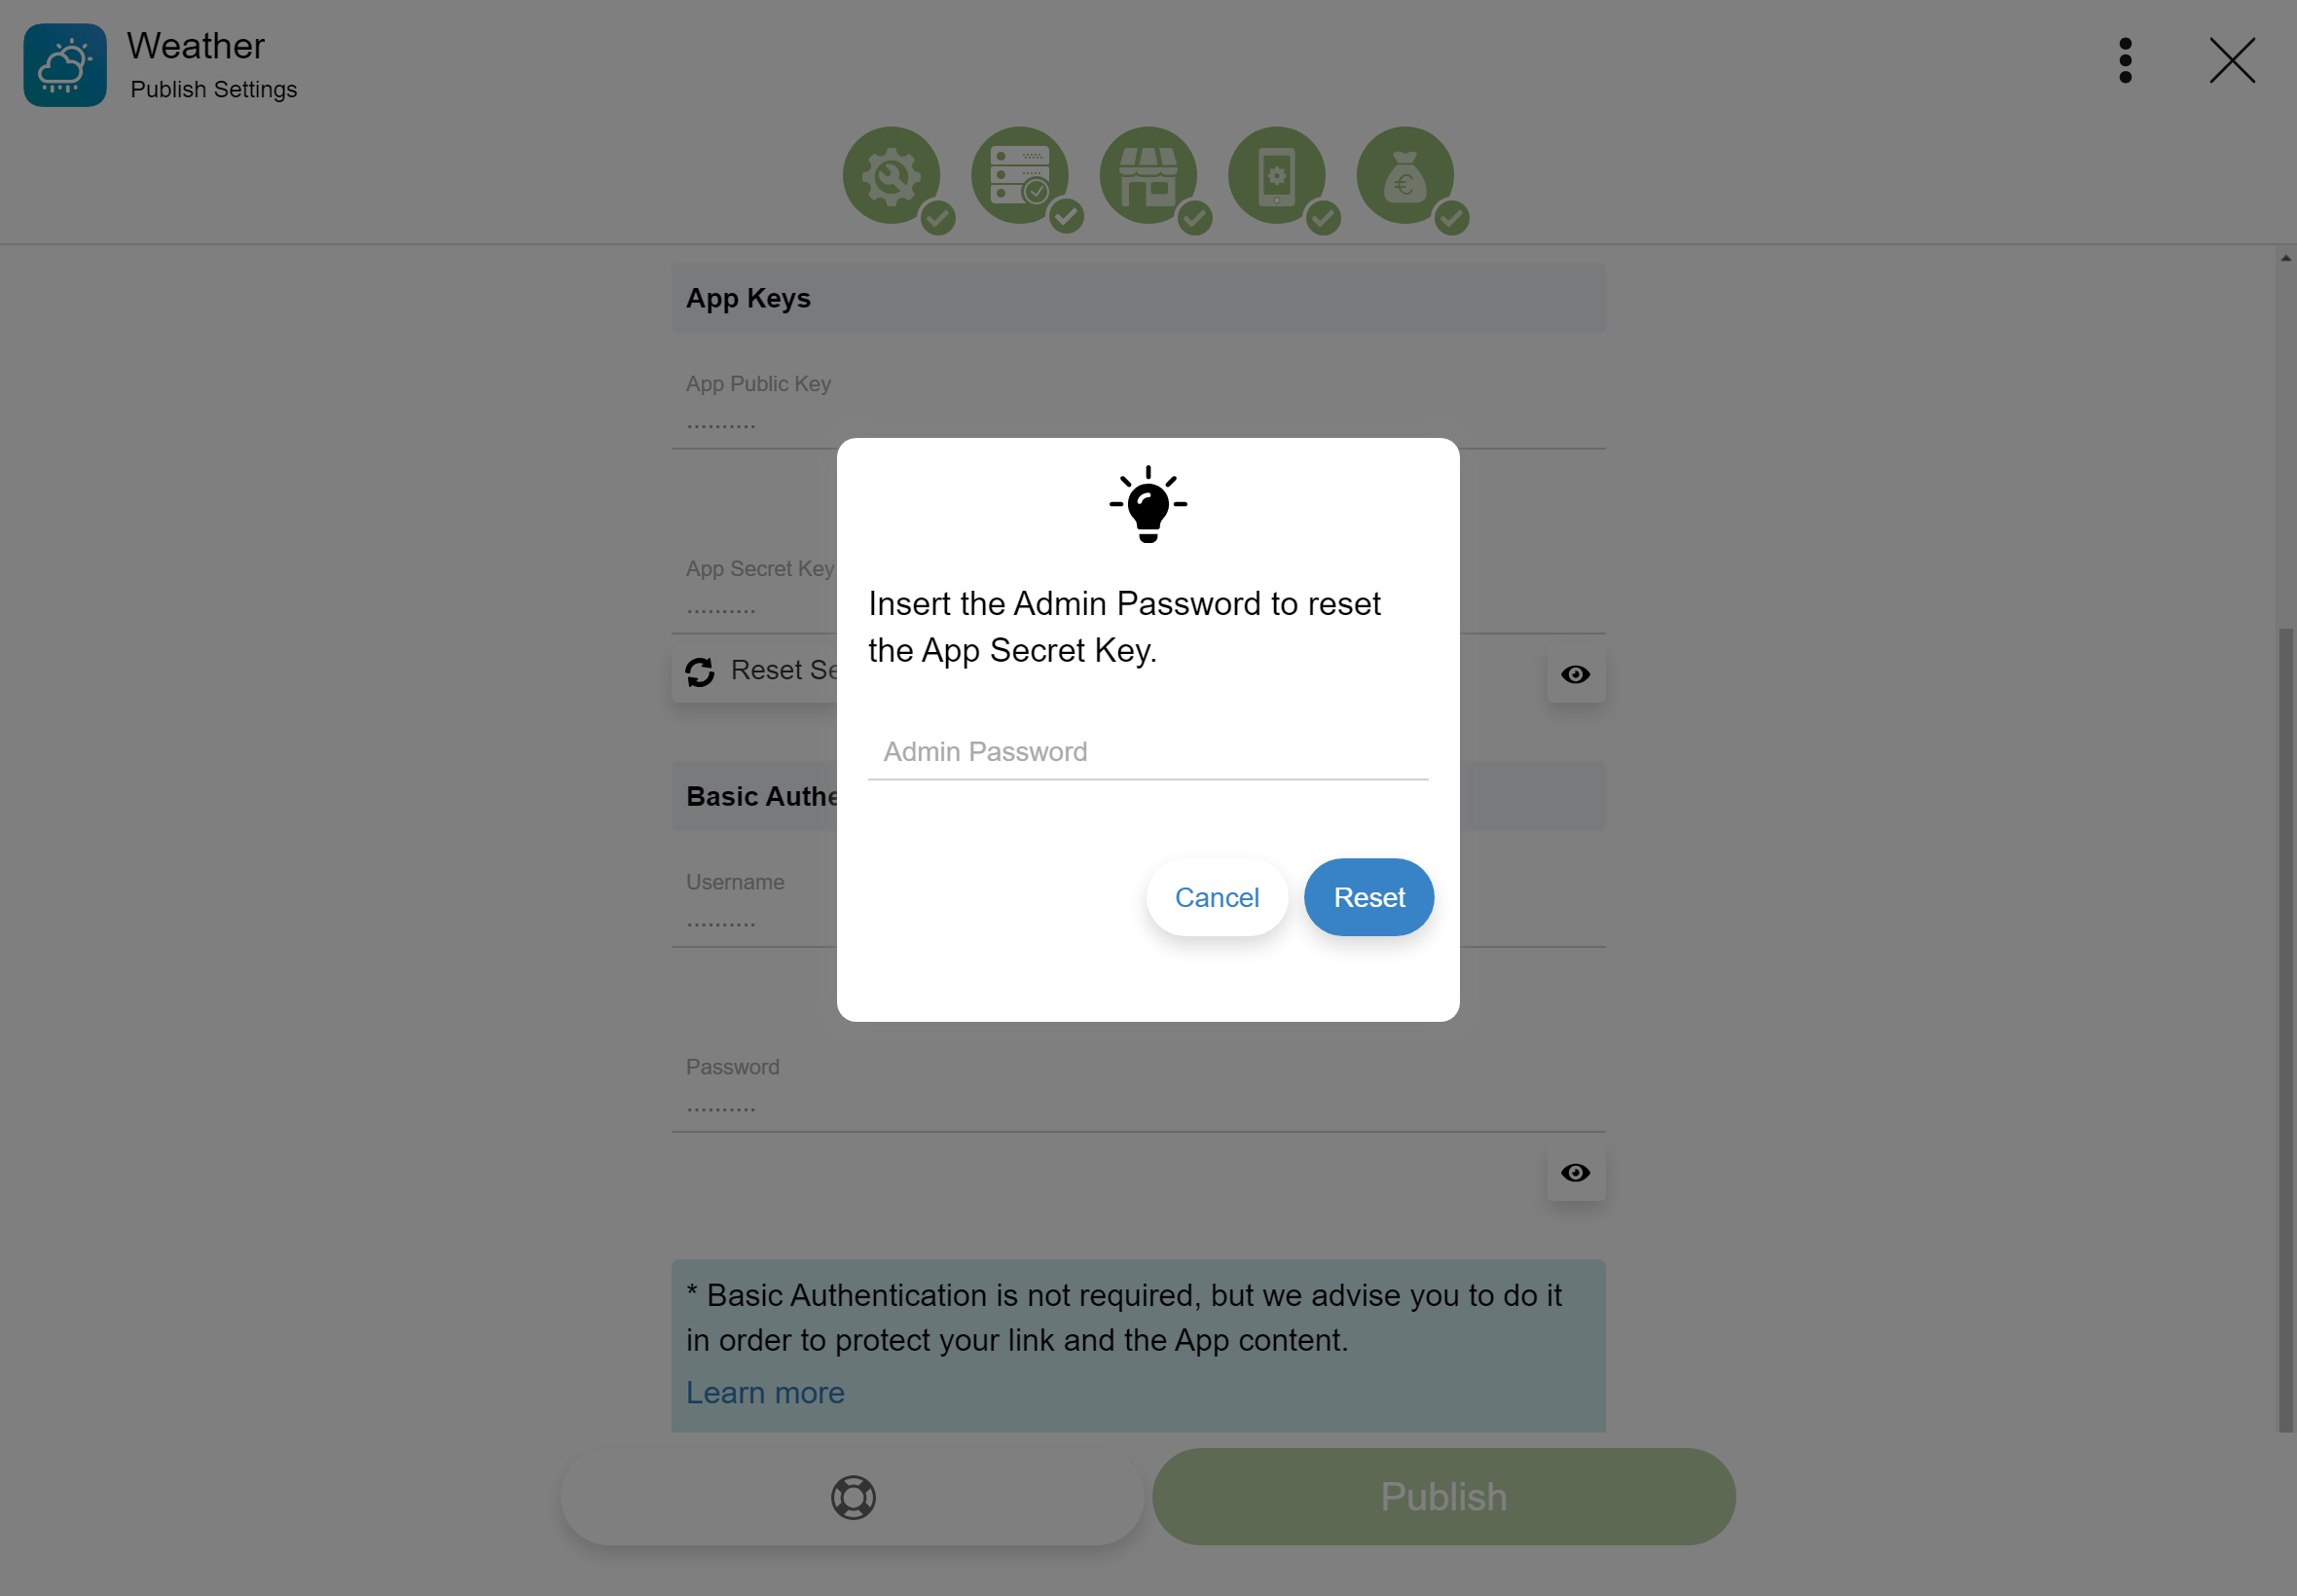
- Click the Reset Secret Key button, to open the Reset dialog.
- Enter the Admin Password and click the Reset button.
Basic Authentication
If your are using Basic Authentication security, you need to add the credentials [Username/Password] to allow Fawi access.Learn More
Reveal basic authentication security credentials:
- Open Fawi Office.
- At the top right of an app card, tap more .
- From the app main menu, select Publish Settings to open the Publish Settings page. NOTE: You can reach this stage clicking the app icon on an app card.
- Tap the Server tab.
- Scroll to the Basic Authentication section.
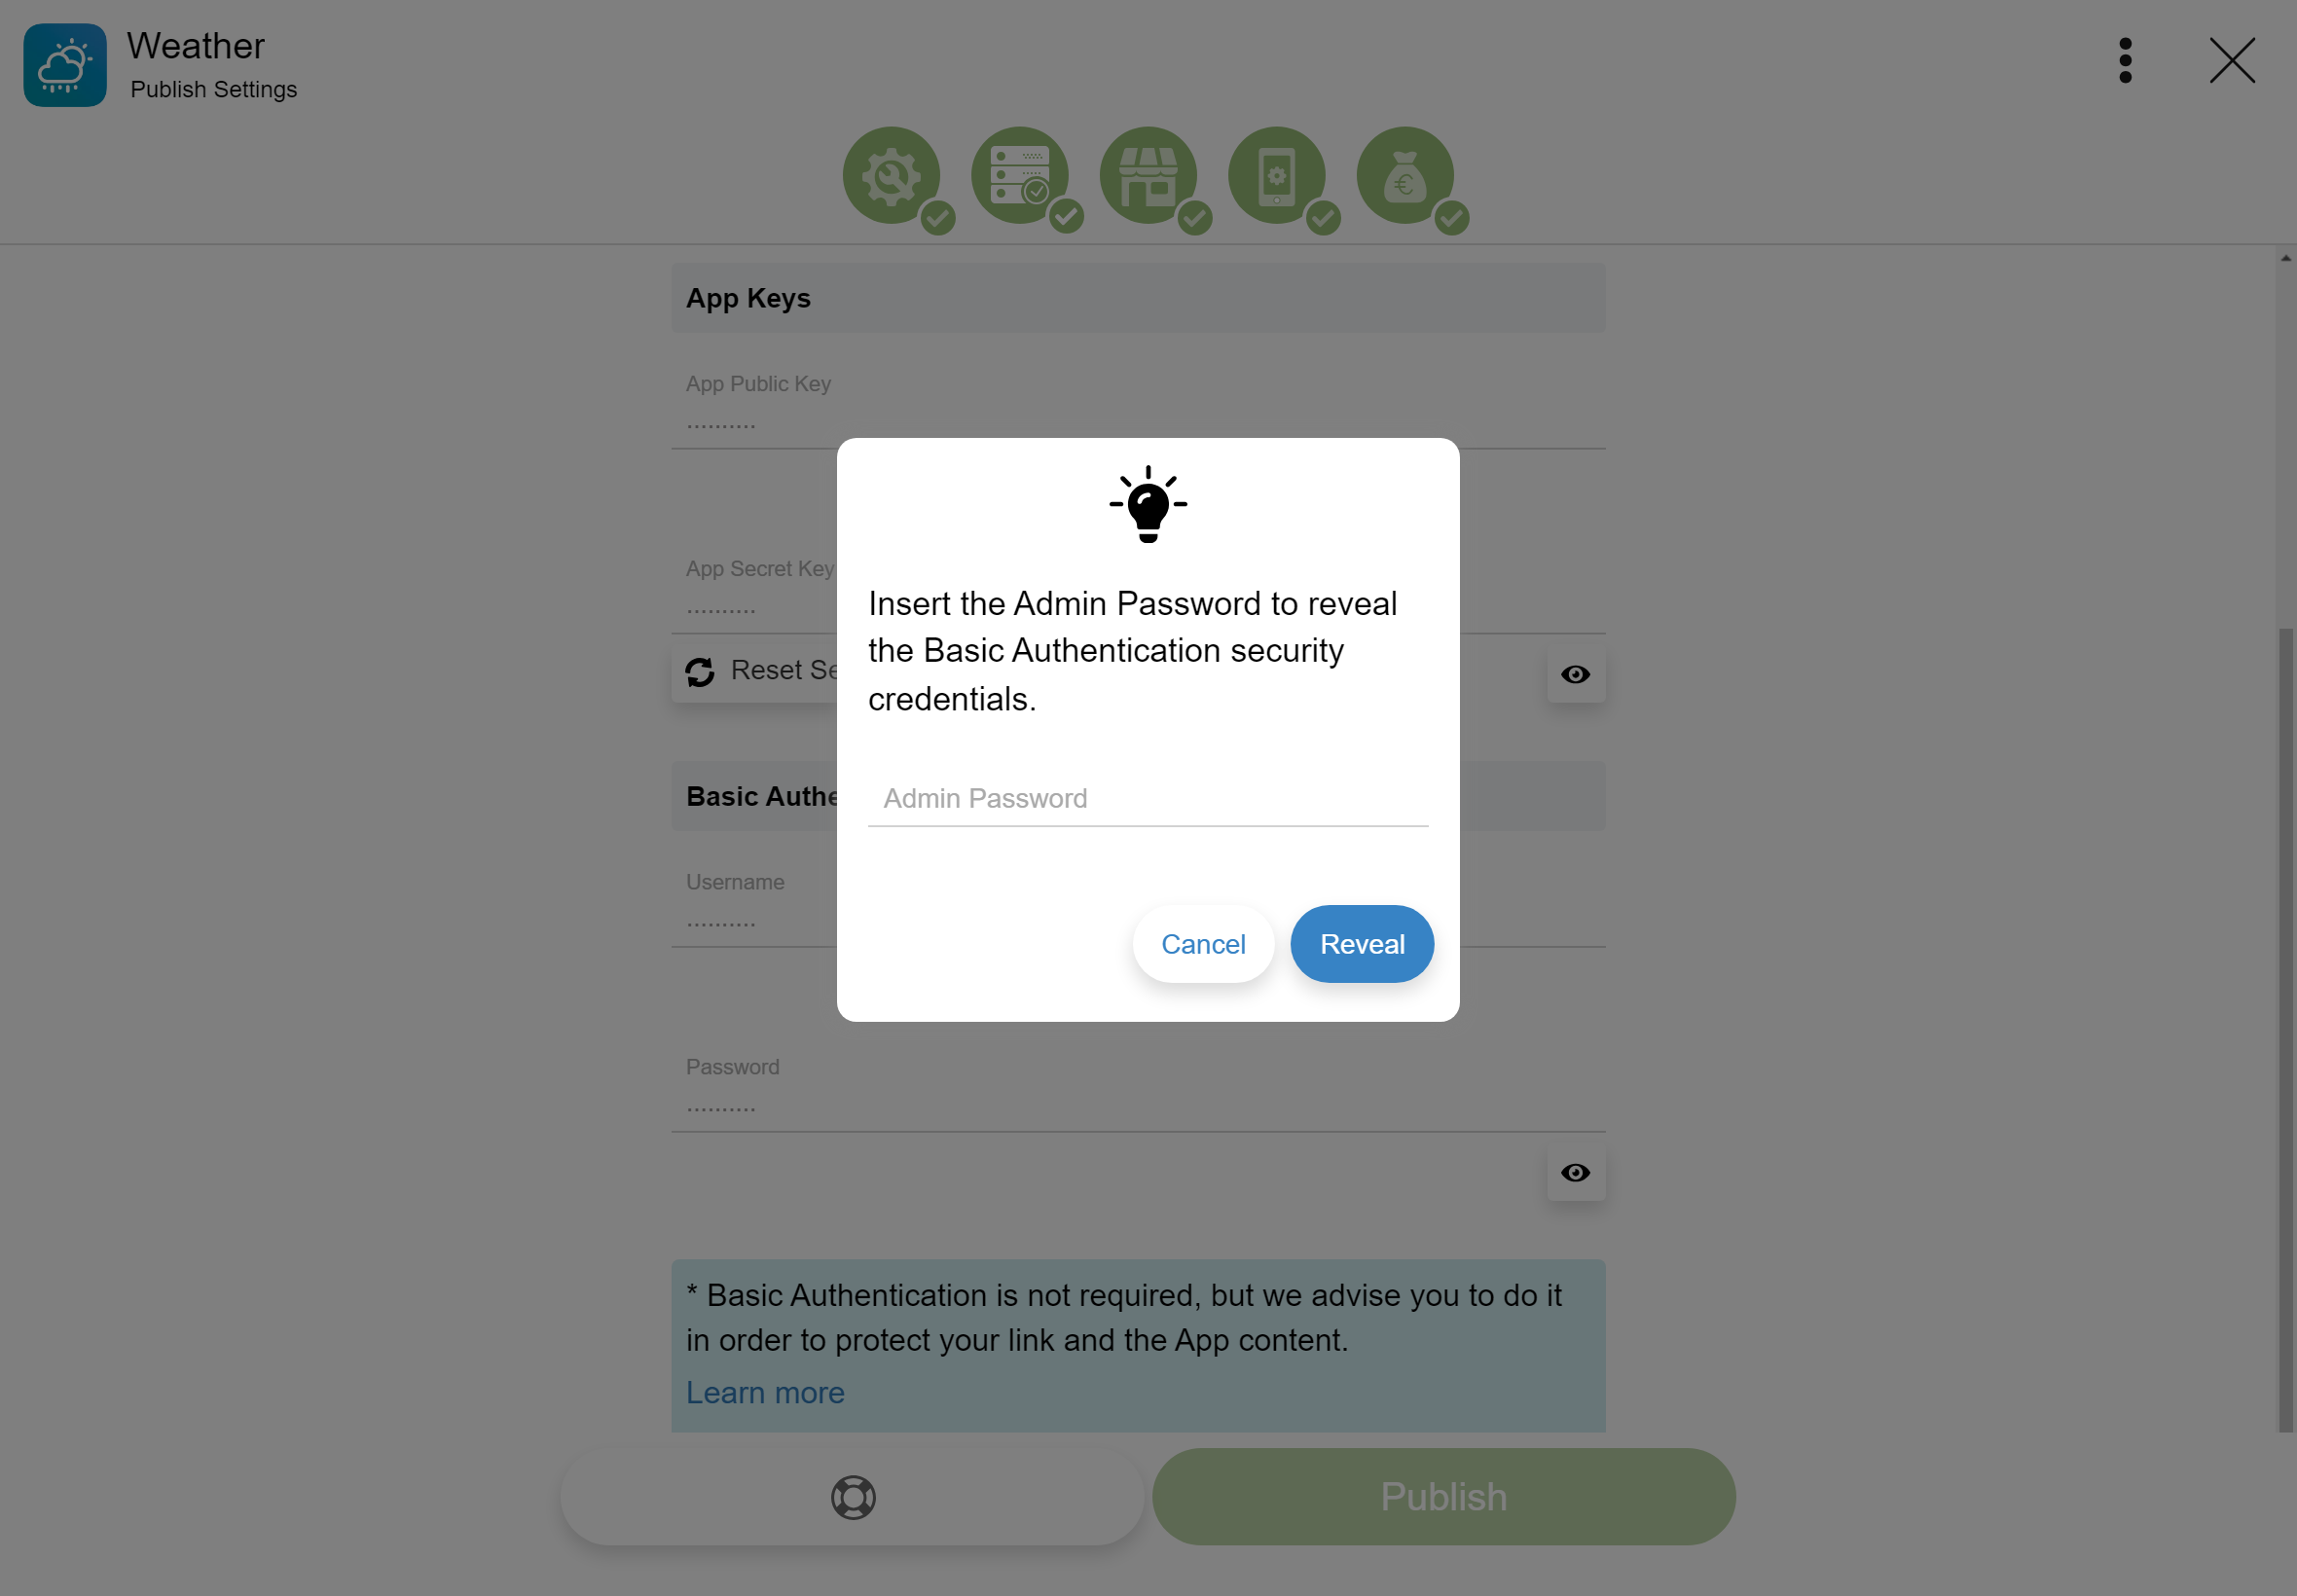
- Click the button to open the Reveal dialog.
- Enter the Admin Password and click the Reveal button.
Store Info
Manage your app content and information.
- Open Fawi Office.
- At the top right of an app card, tap more .
- From the app main menu, select Publish Settings to open the Publish Settings page. NOTE: You can reach this stage clicking the app icon on an app card.
- Tap the Store Info tab.
- Provide all app content and information. NOTE: This content and information is used to represent your app in different sections of the Fawi Store.
- Click the Save button.
App Icon
Once you are in the Store Info tab.
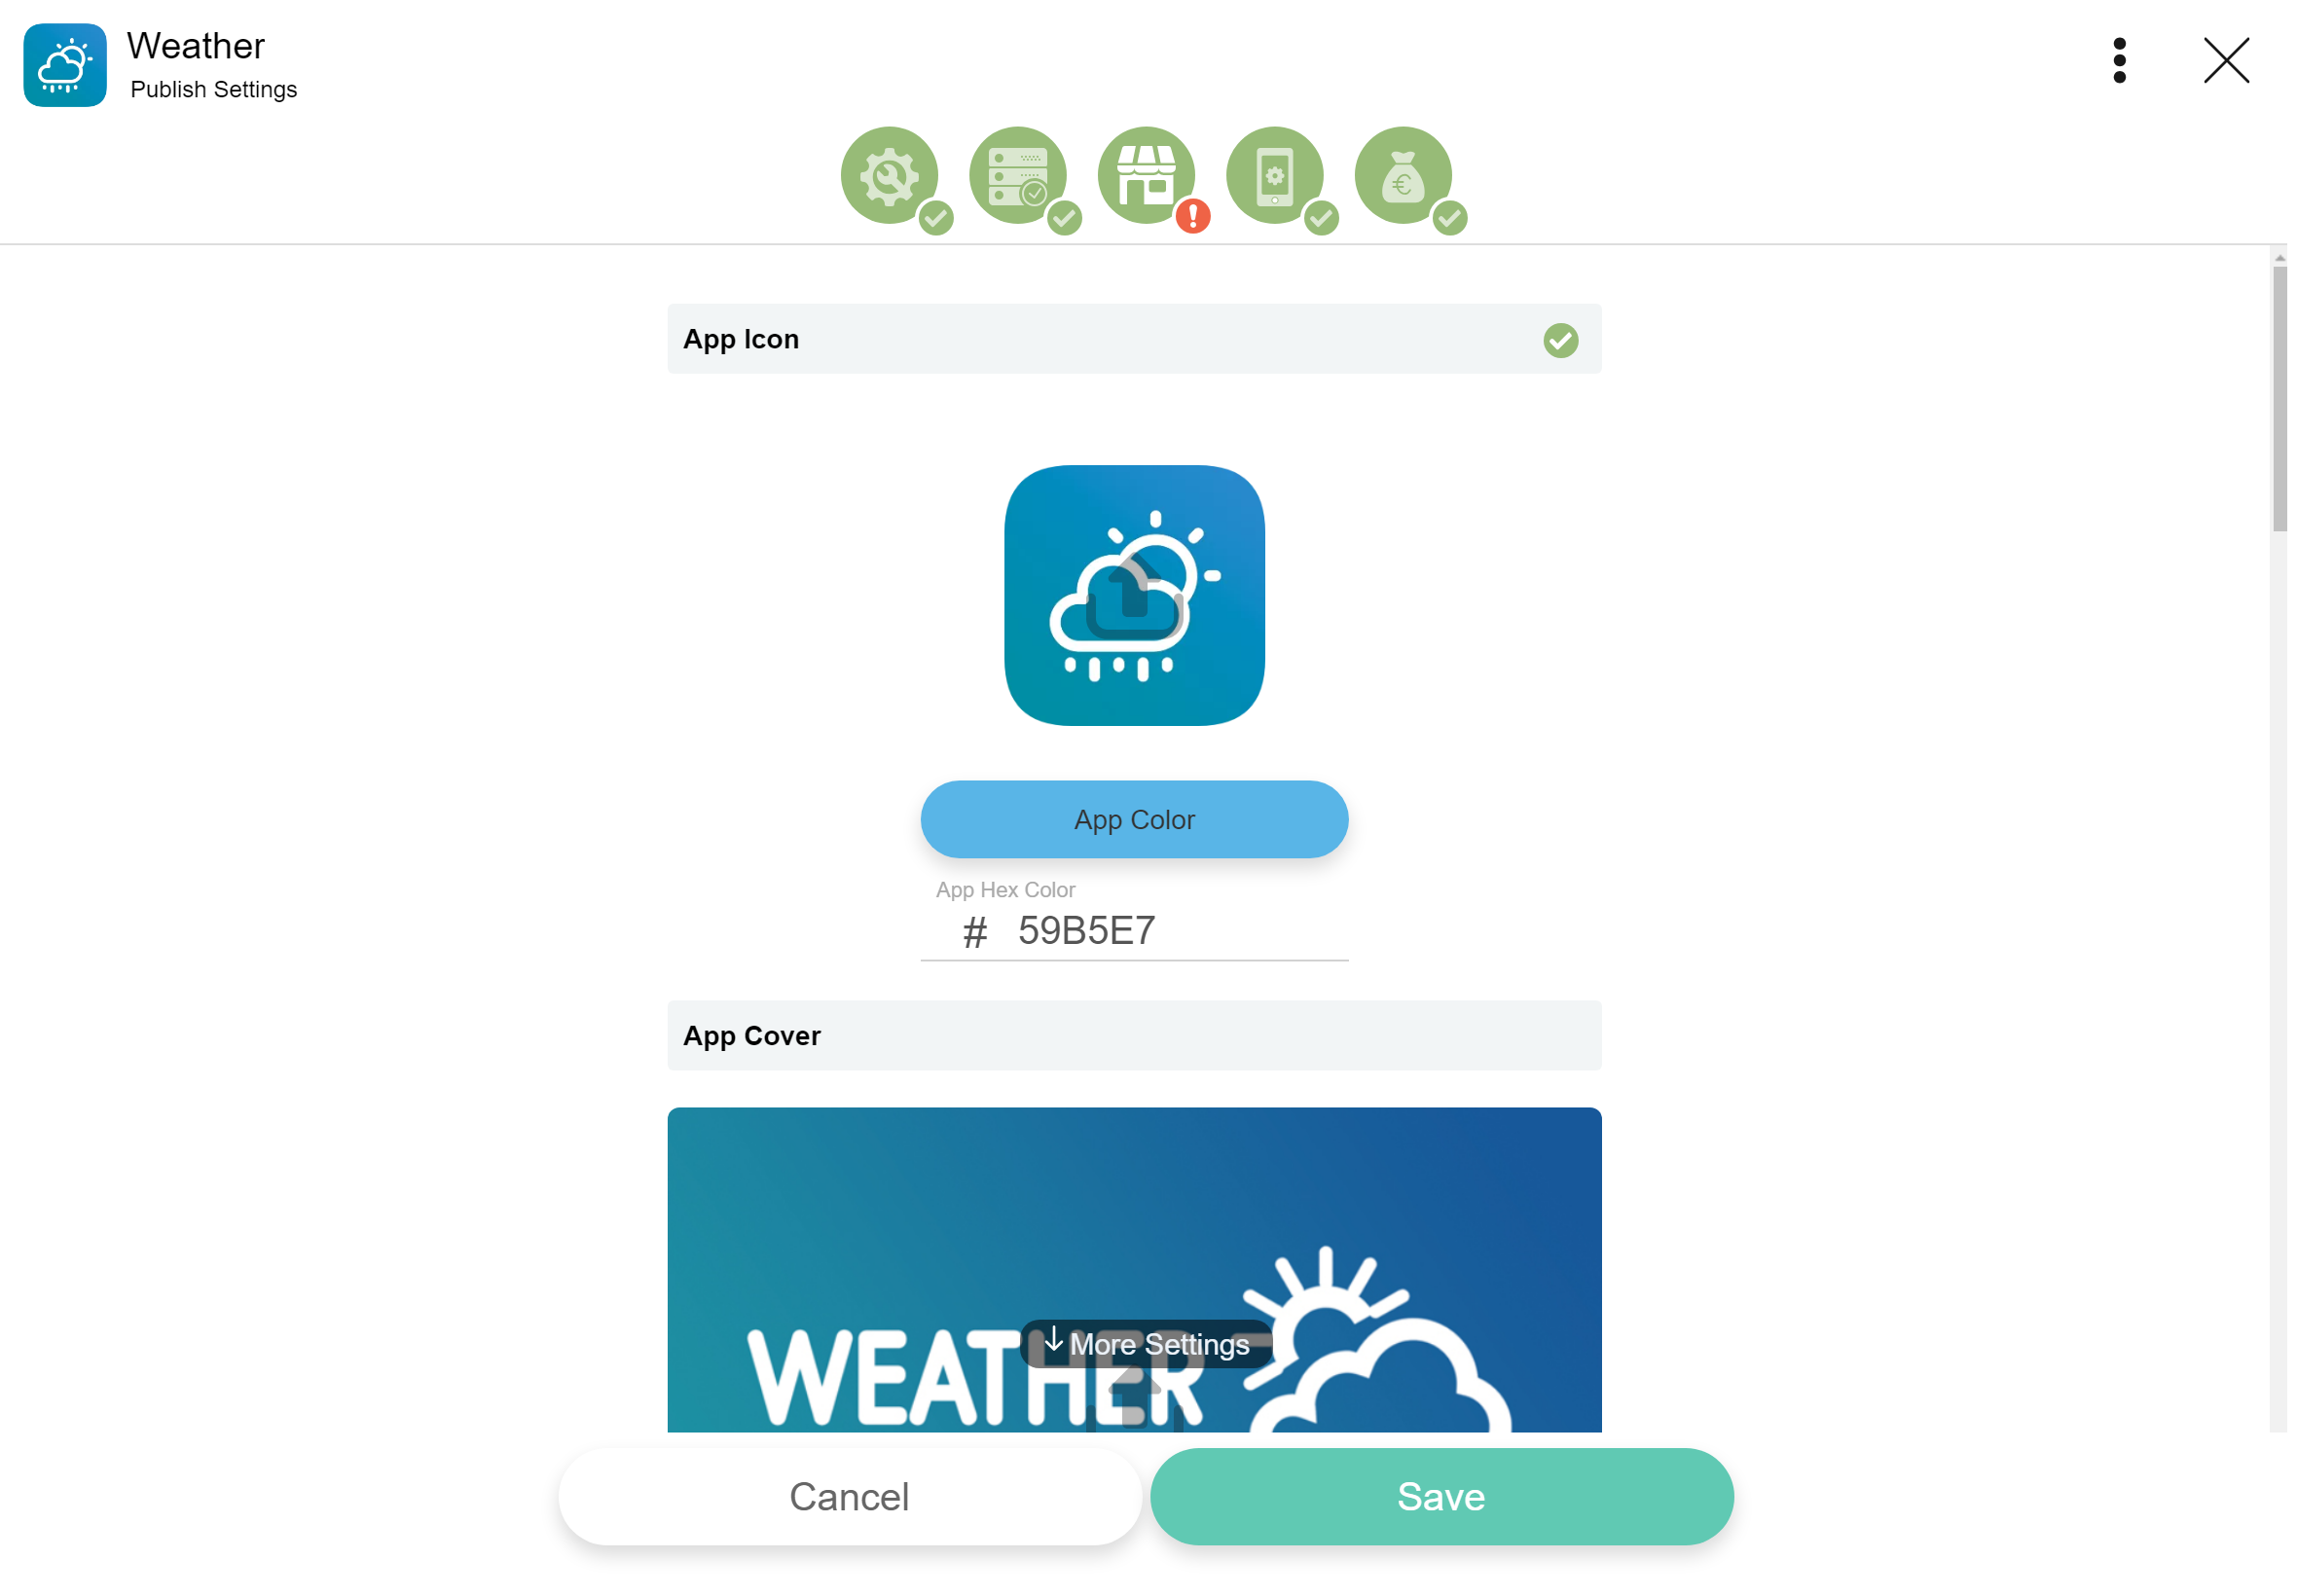
- Click upload , to open the App Icon page.
- Select an icon and click the Done button. NOTE: Fawi Office dynamically render rounded corners for your app icon, you should omit it from your original asset.
- Click the Save button.
When creating your artwork, ensure it conforms to the following:
Size: 500px x 500px
Format: PNG, JPG, JPEG, WEBP
Shape: Full square
NOTE: The icon should fill the Fawi Terms requirements.
App Cover
Once you are in the Store Info tab.
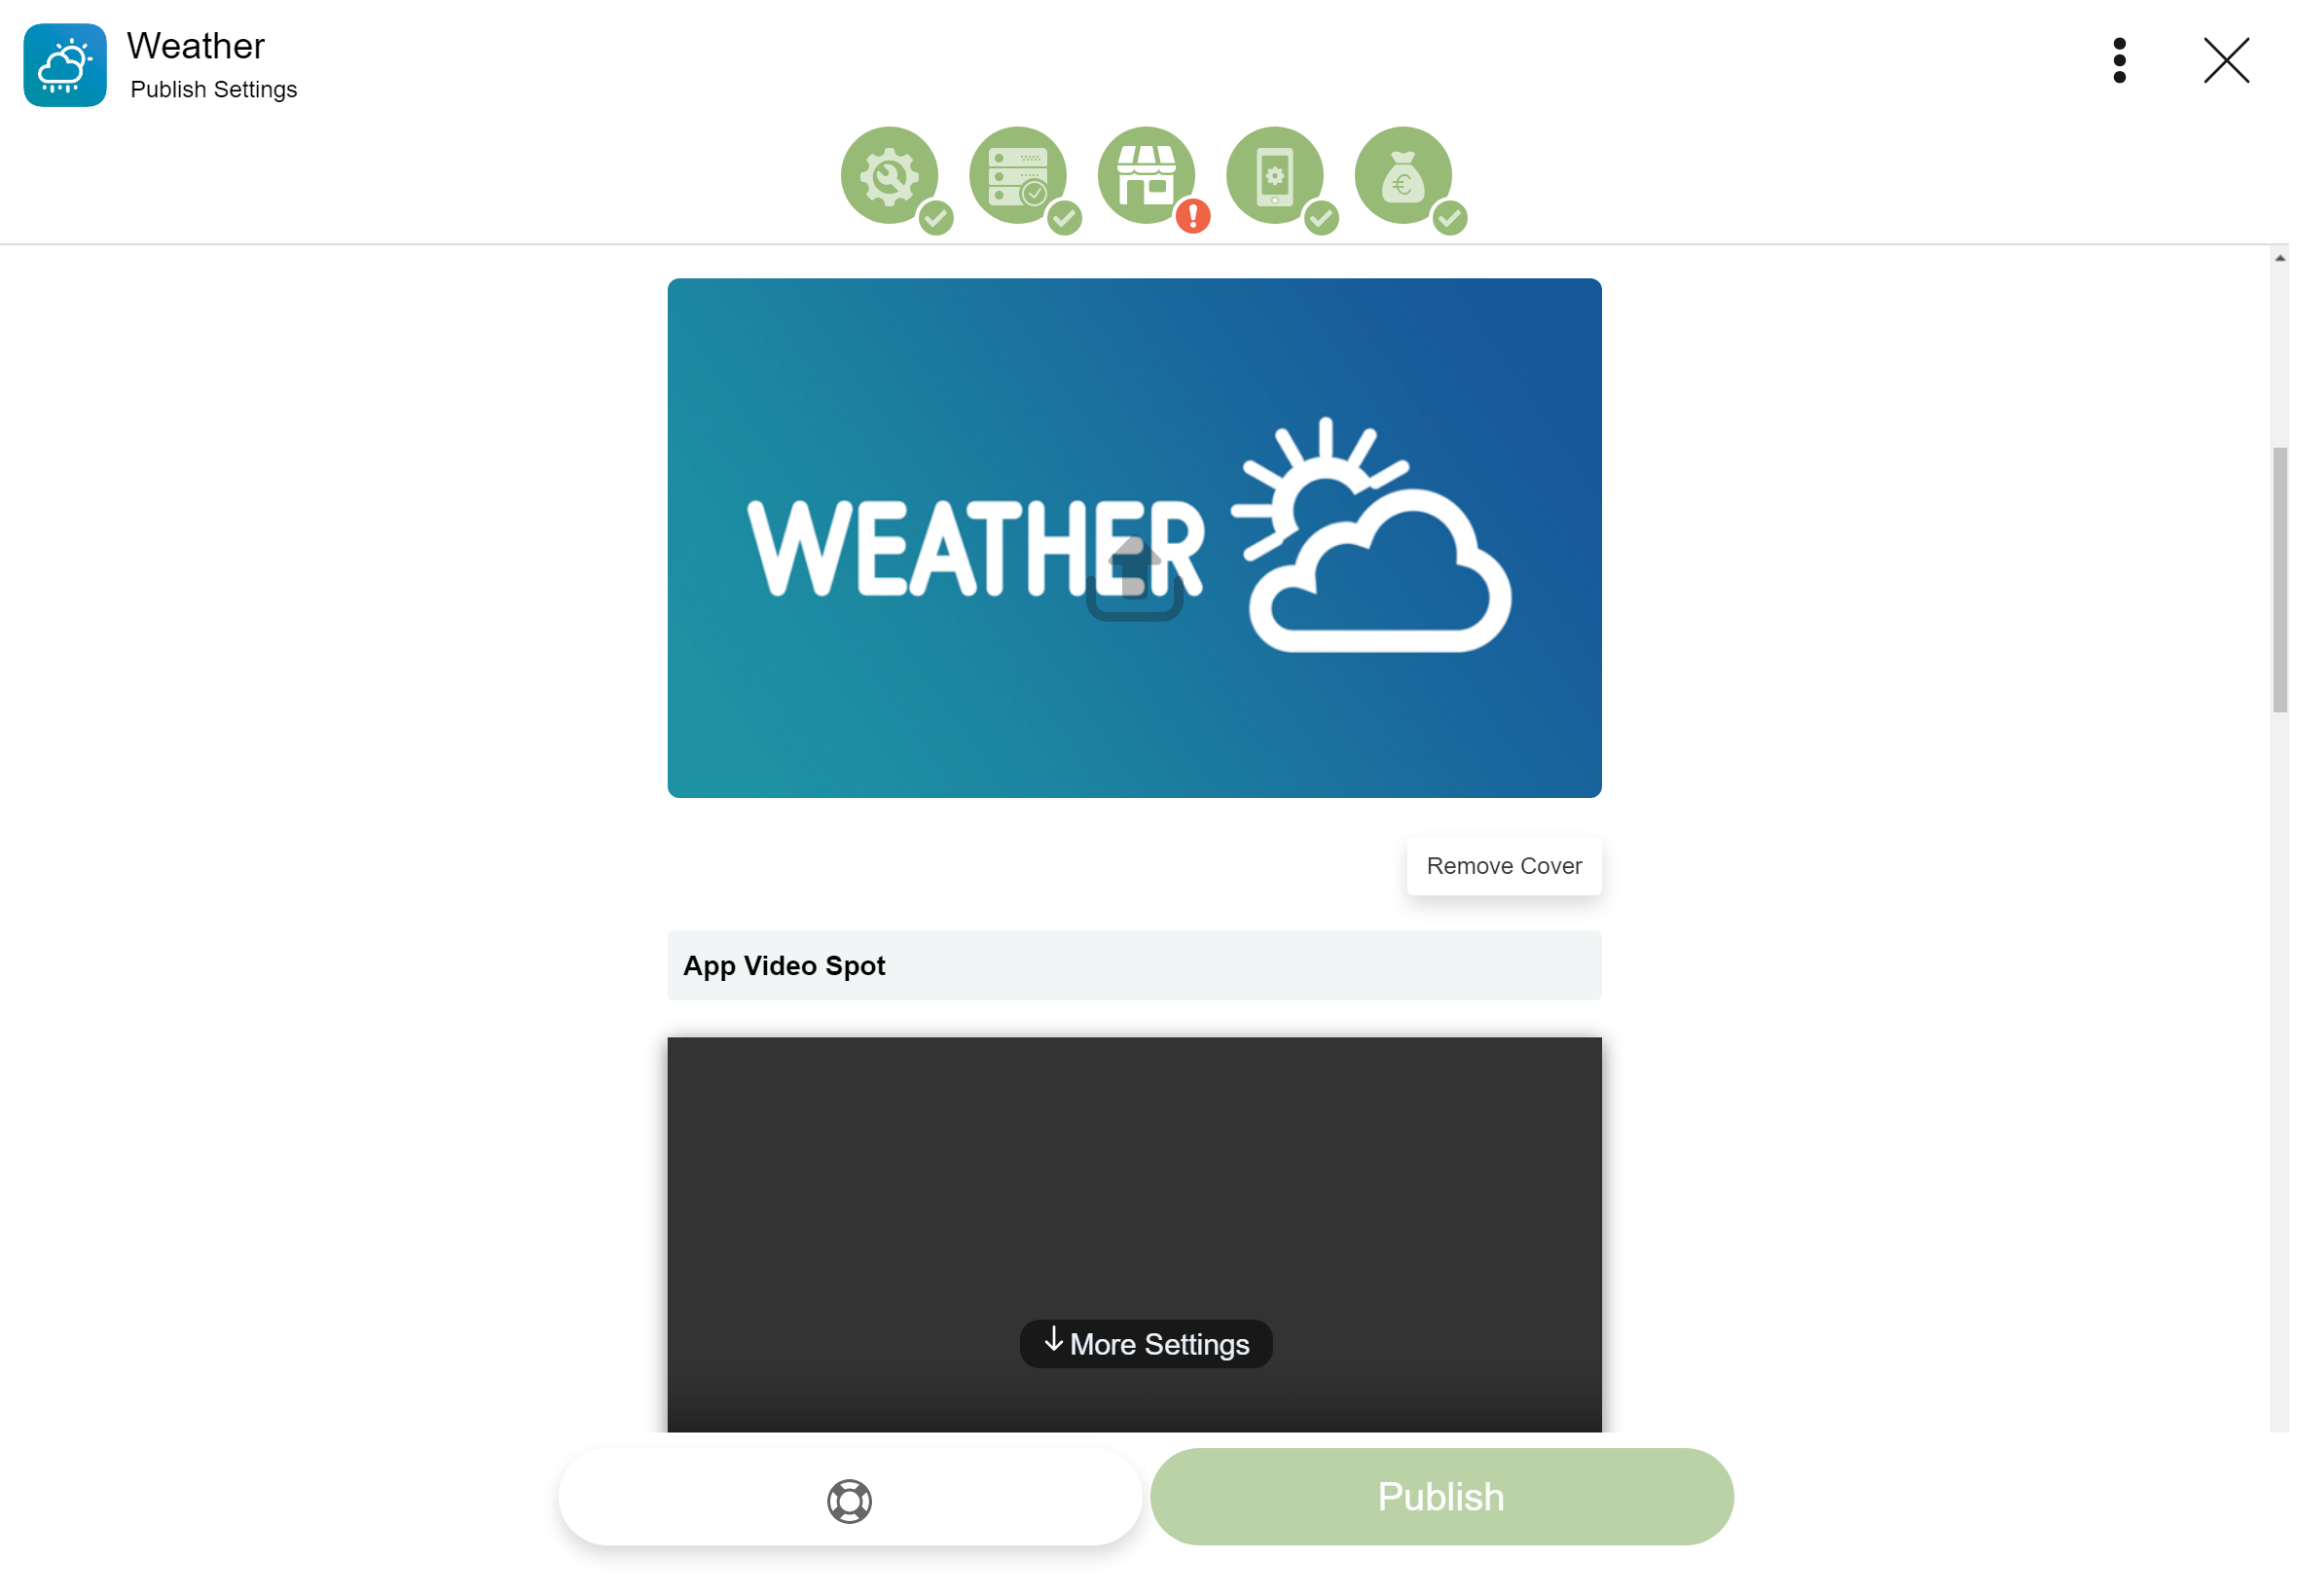
- Scroll down to the App Cover section.
- Click upload , to open the App Cover page.
- Select a cover and click the Done button.
- Click the Save button.
When creating your artwork, ensure it conforms to the following:
Format: PNG, JPG, JPEG, WEBP
NOTE: The cover should fill the Fawi Terms requirements.
App Video Spot
Once you are in the Store Info tab.
- Scroll down to the App Video Spot section.
- Click the Upload button, to select a video.
- Click the Save button.
When editing your video, ensure it conforms to the following:
Size: 720px x 1280px or more with (16:9 aspect ratio)
Format: MP4, WEBM
Duration: 30 seconds or less
NOTE: The video spot should fill the Fawi Terms requirements.
Youtube Video Link
Enter a youtube video link that shows your app running. [Optional]
Description
Once you are in the Store Info tab.
- Scroll down to the Description section.
- Click the Edit button, to open the Description page.
- Enter your app description and click the Done button. NOTE: Enter useful information about the app, that describes how it works.
- Click the Save button.
Prints
Once you are in the Store Info tab.
- Scroll down to the Prints section.
- Click upload , to select a print. NOTE: Select prints that illustrates the app user interface experience.
- Click the Save button.
NOTE: To publish your App you need to upload at least one print.
App Version
Enter your app current development version.
In-App Purchase
Specify if this app contains payed services.
In-App Ads
Specify if this app contains ads.
Developer
Enter the app developer’s name.
Contact
Enter the app publisher’s email and web site.
Terms
Enter the Terms and Policy URL.
NOTE: The Publisher Web Site and the Terms and Policy URL are optional, but if specified they need to be validated as same as the App Base URL.
Adding the <meta> tag to the page HTML document:
Developer Web Site home page HTML Document:
<!DOCTYPE html>
<html lang="en">
<head>
...
<meta name="fawi-developersite-validation" content="app_public_key">
...
</head>
Terms and Policy Web Site home page HTML Document:
<!DOCTYPE html>
<html lang="en">
<head>
...
<meta name="fawi-termsite-validation" content="app_public_key">
...
</head>
Locals
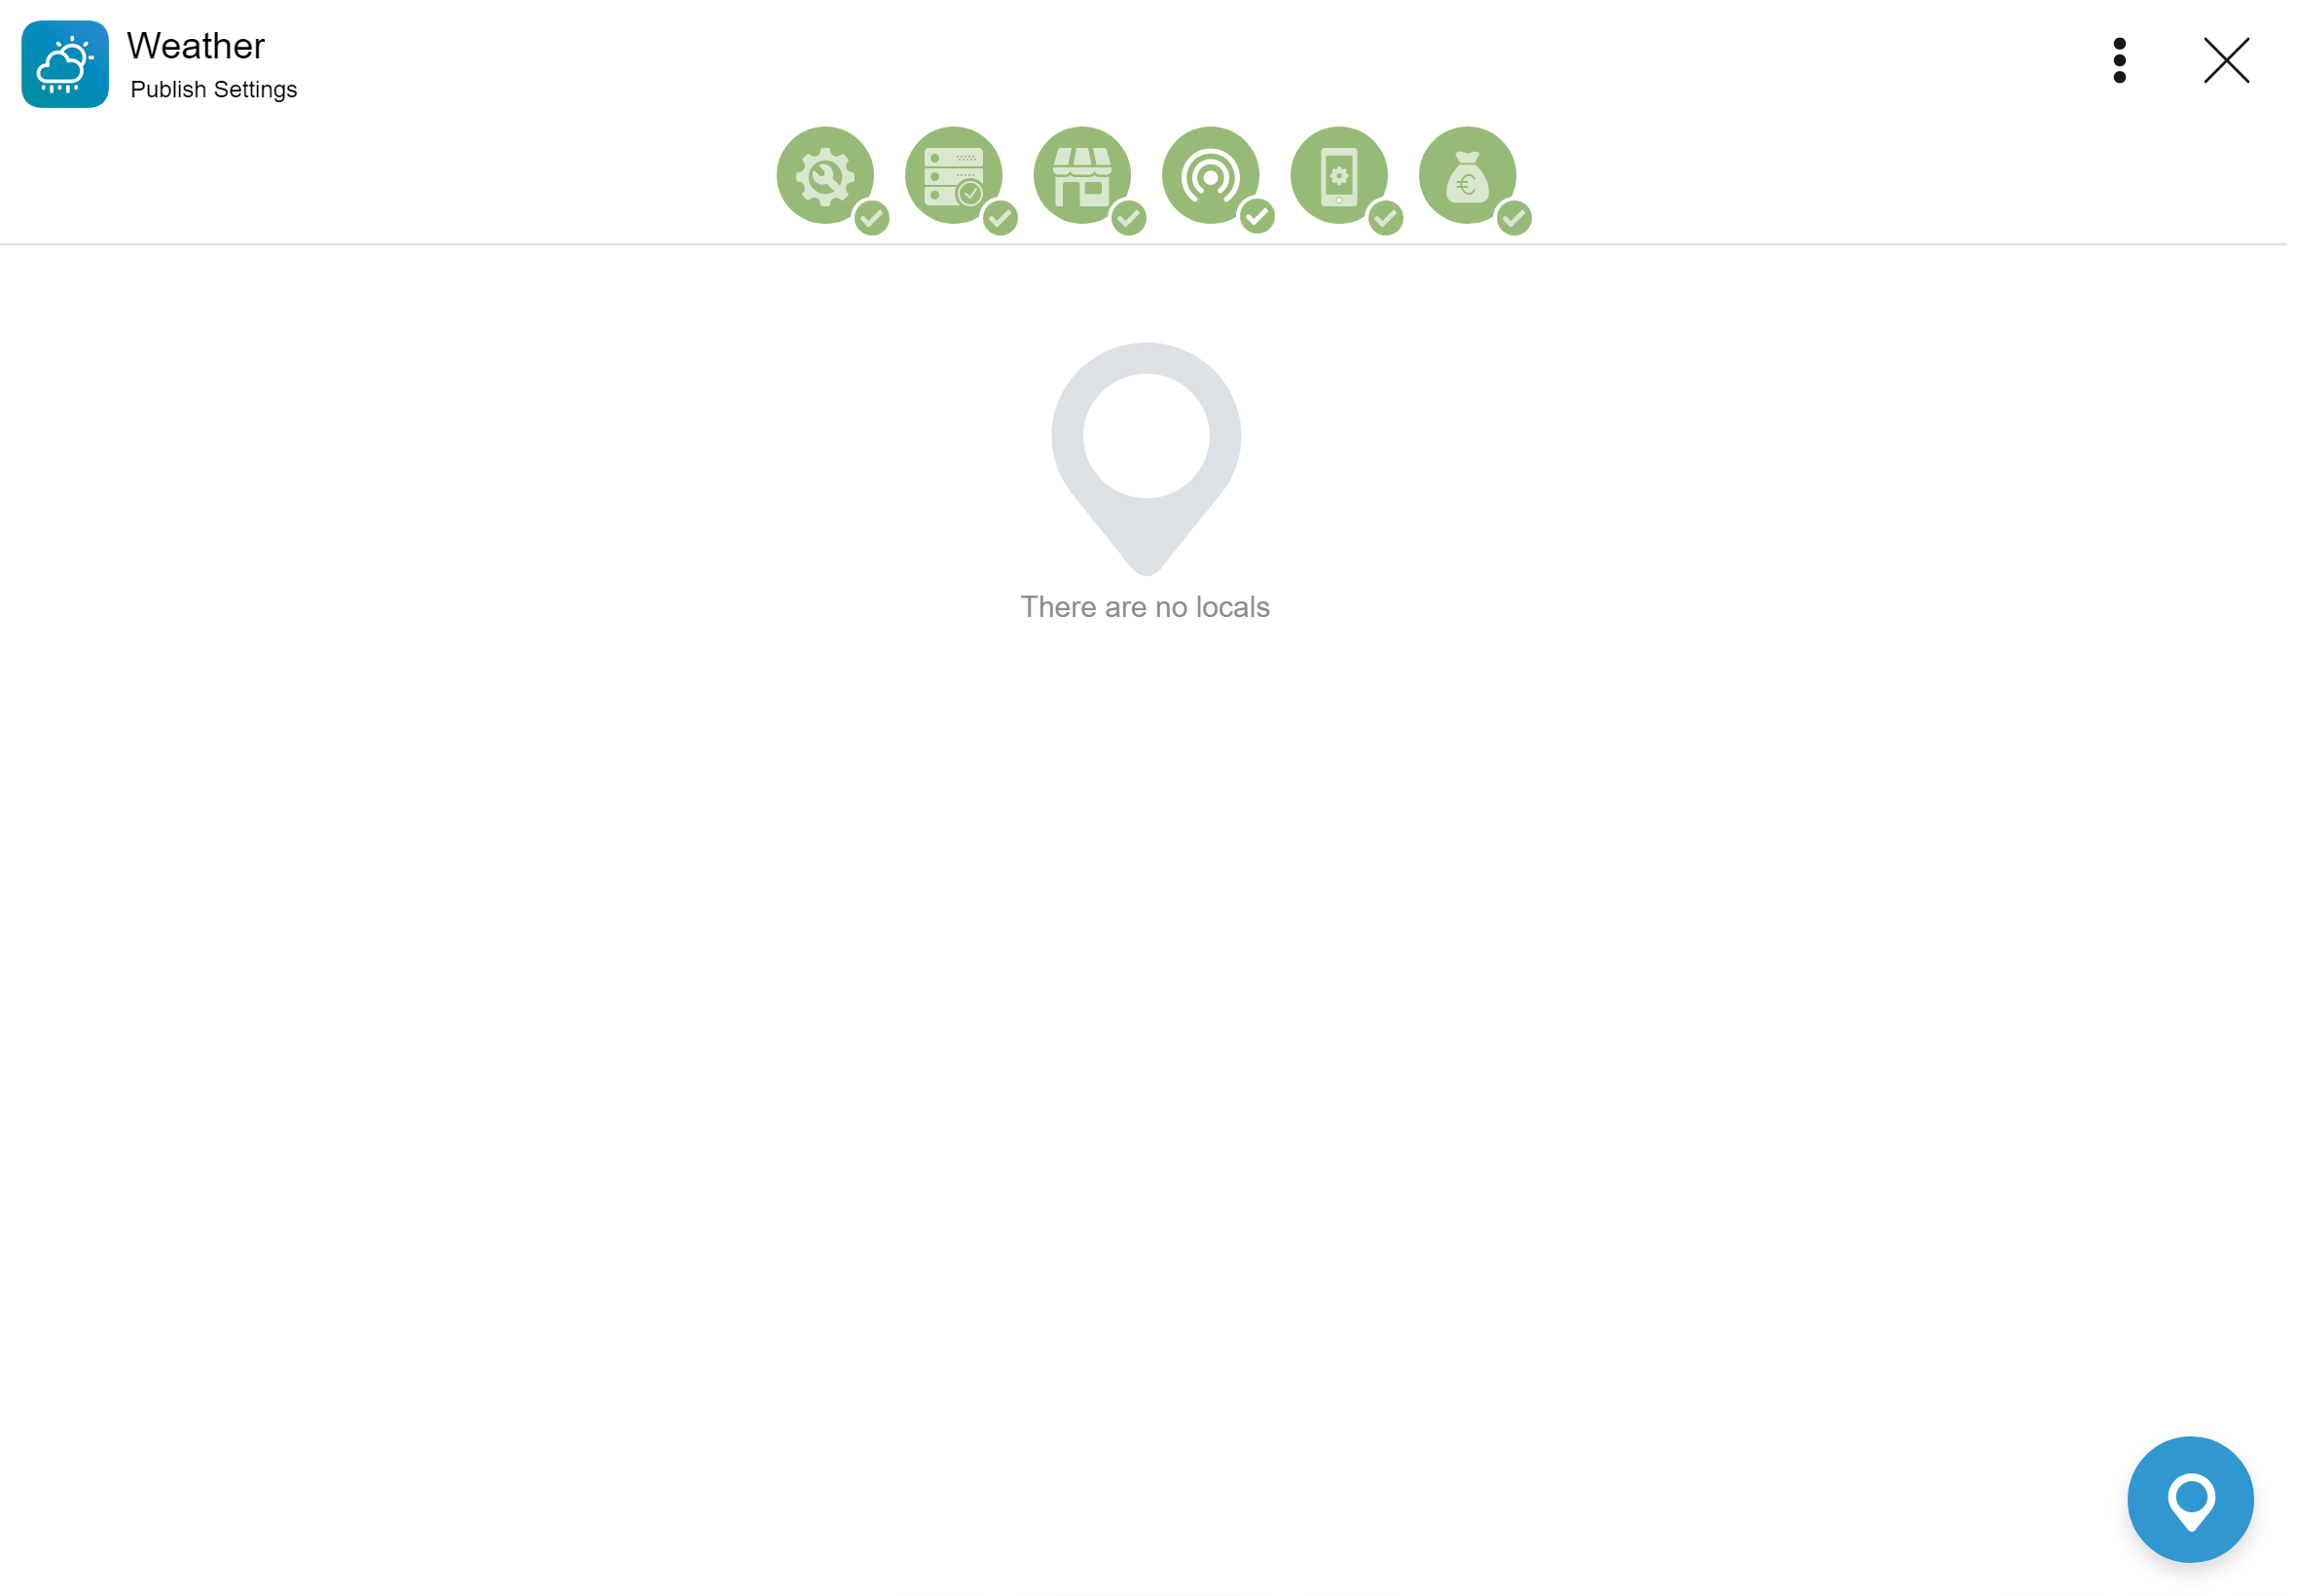
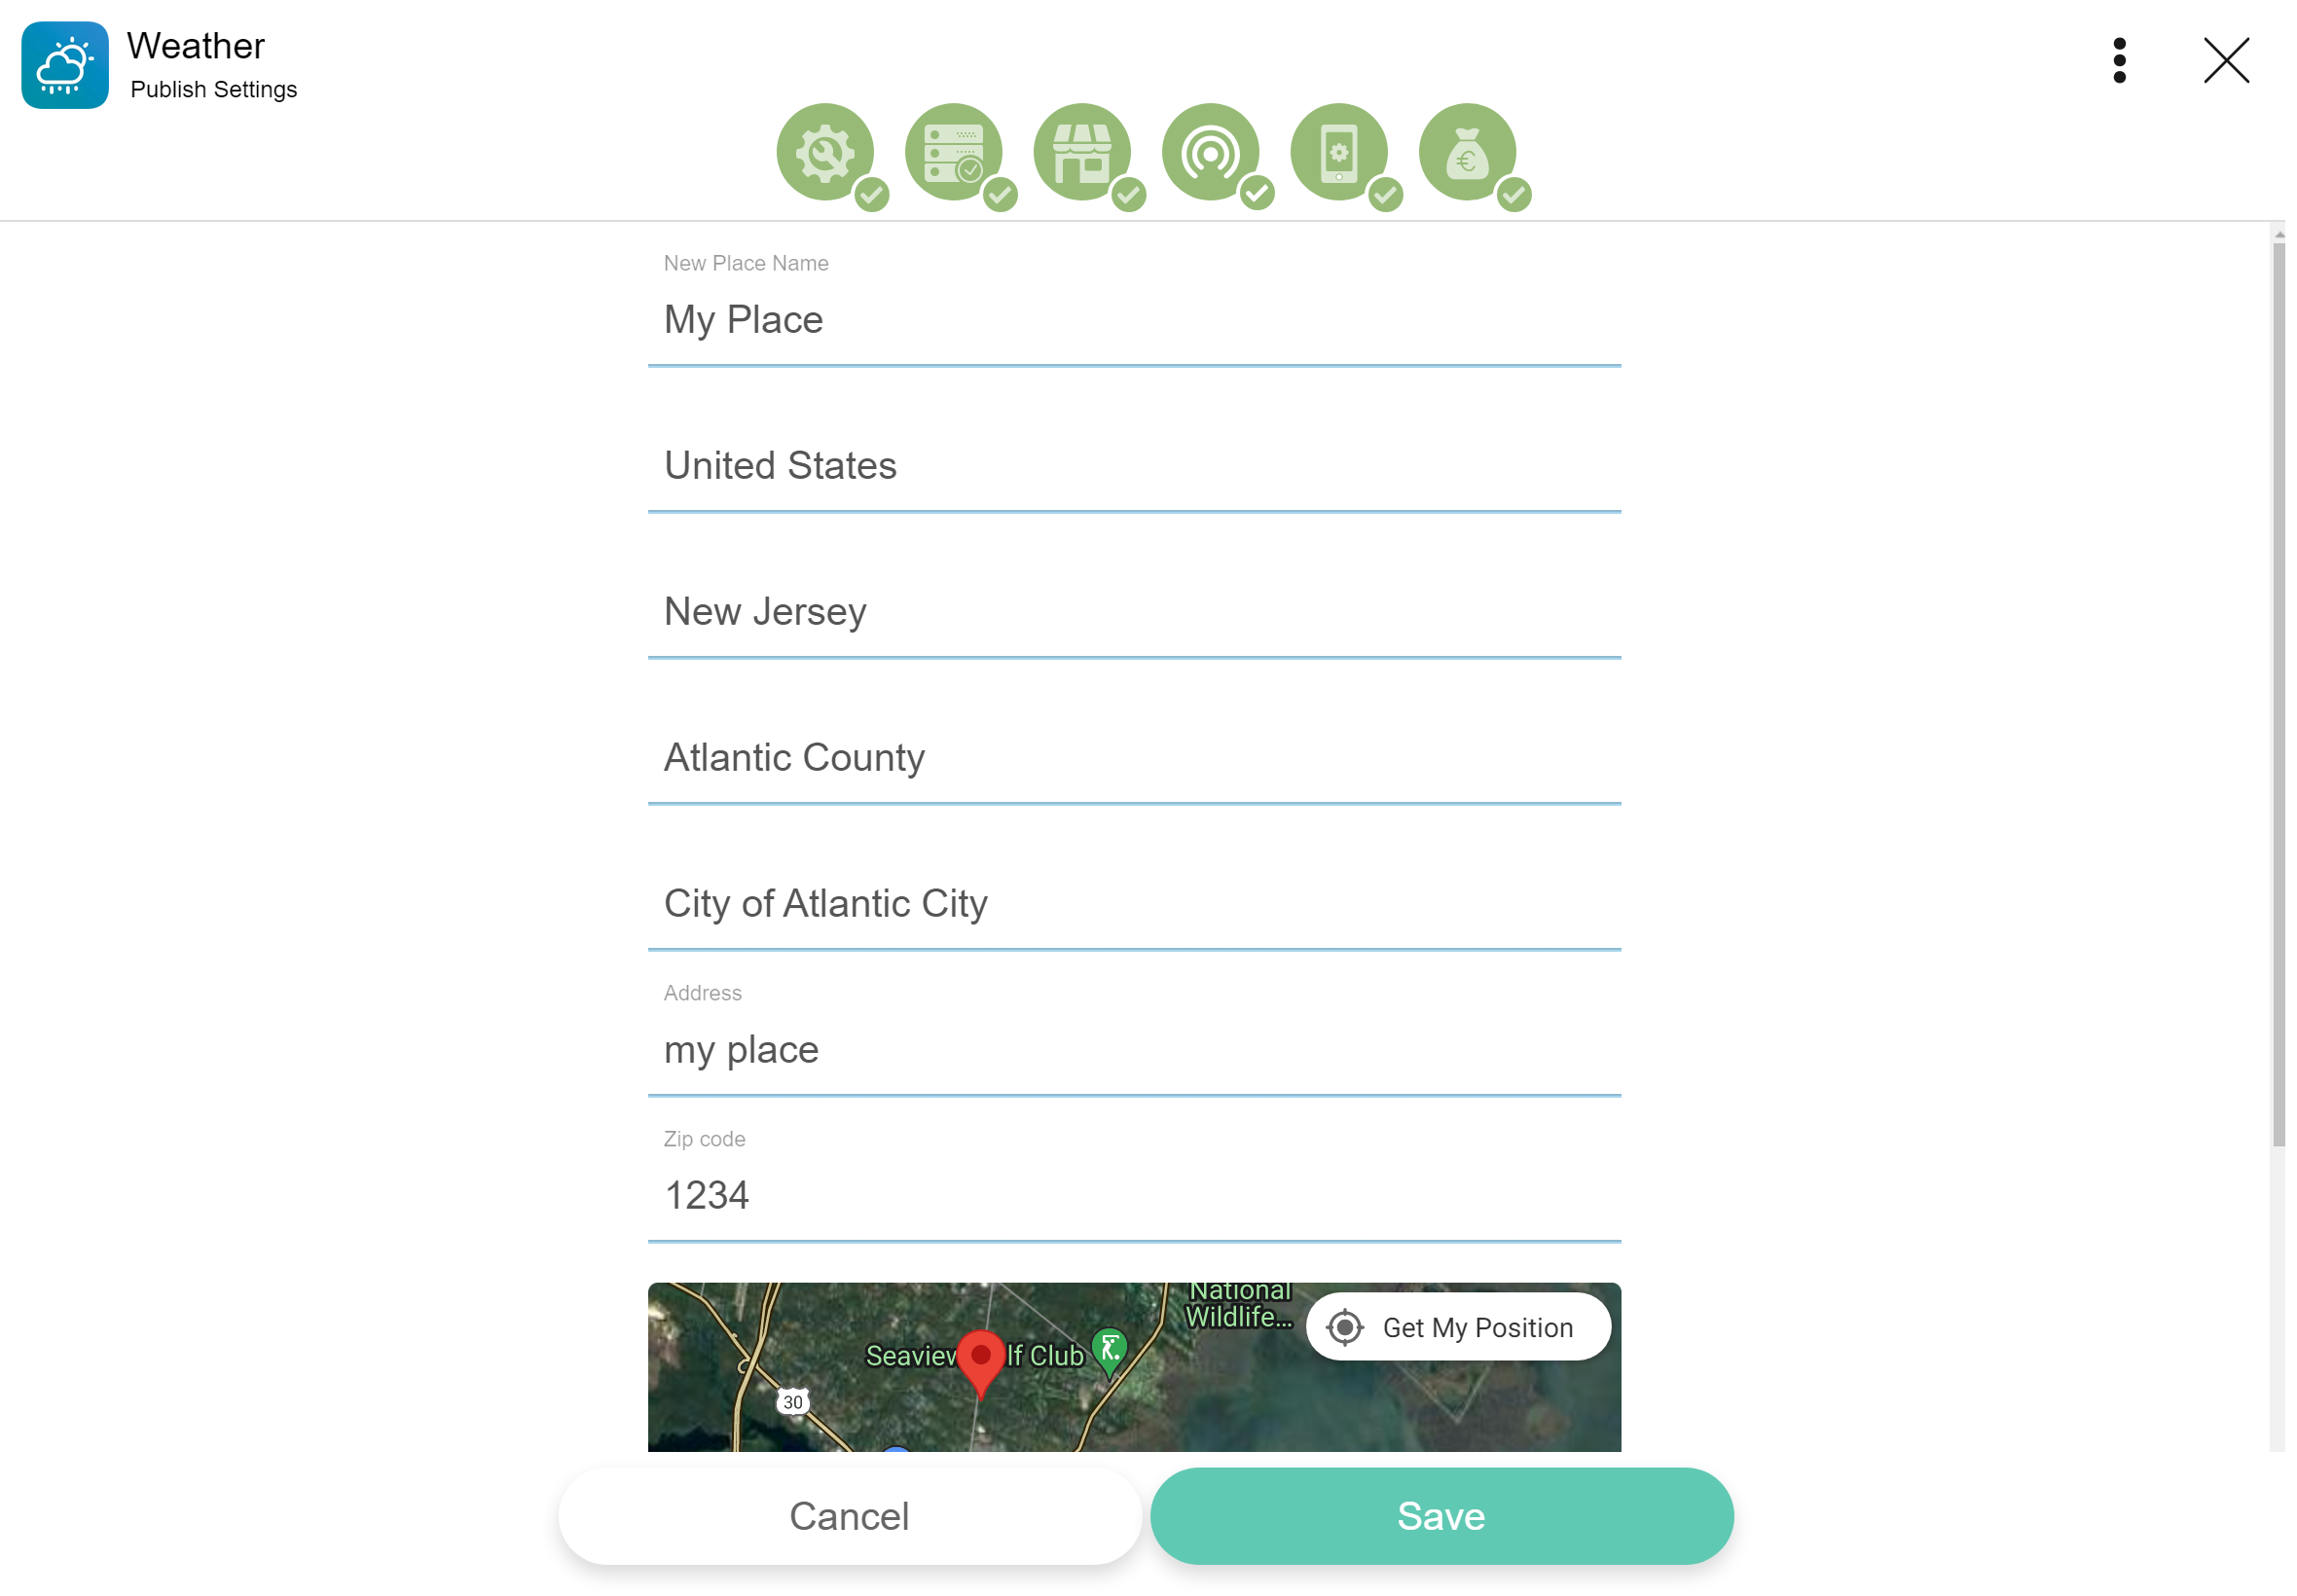
In case your app belongs to the Services category, usualy intended for local services, you can add addresses and coordinates using a map in the Locals tab on your app main menu, allowing the users to find your app through GPS position on Fawi Store.
- Open Fawi Office.
- At the top right of an app card, tap more .
- From the app main menu, select Publish Settings to open the Publish Settings page. NOTE: You can reach this stage clicking the app icon on an app card.
- Tap the Locals tab.
- Click the bottom right button to open the Add Locals page:
- Enter the place name .
- Specify the local region. NOTE: The region appears in the map below.
- Click the Save button. NOTE: The local appers in the Locals tab.
Device
Manage how your app looks like in the users devices.
- Open Fawi Office.
- At the top right of an app card, tap more .
- From the app main menu, select Publish Settings to open the Publish Settings page. NOTE: You can reach this stage clicking the app icon on an app card.
- Tap the Device tab.
- Customize how your app looks like in the users devices.
- Click the Save button.
Fawi Account Authentication
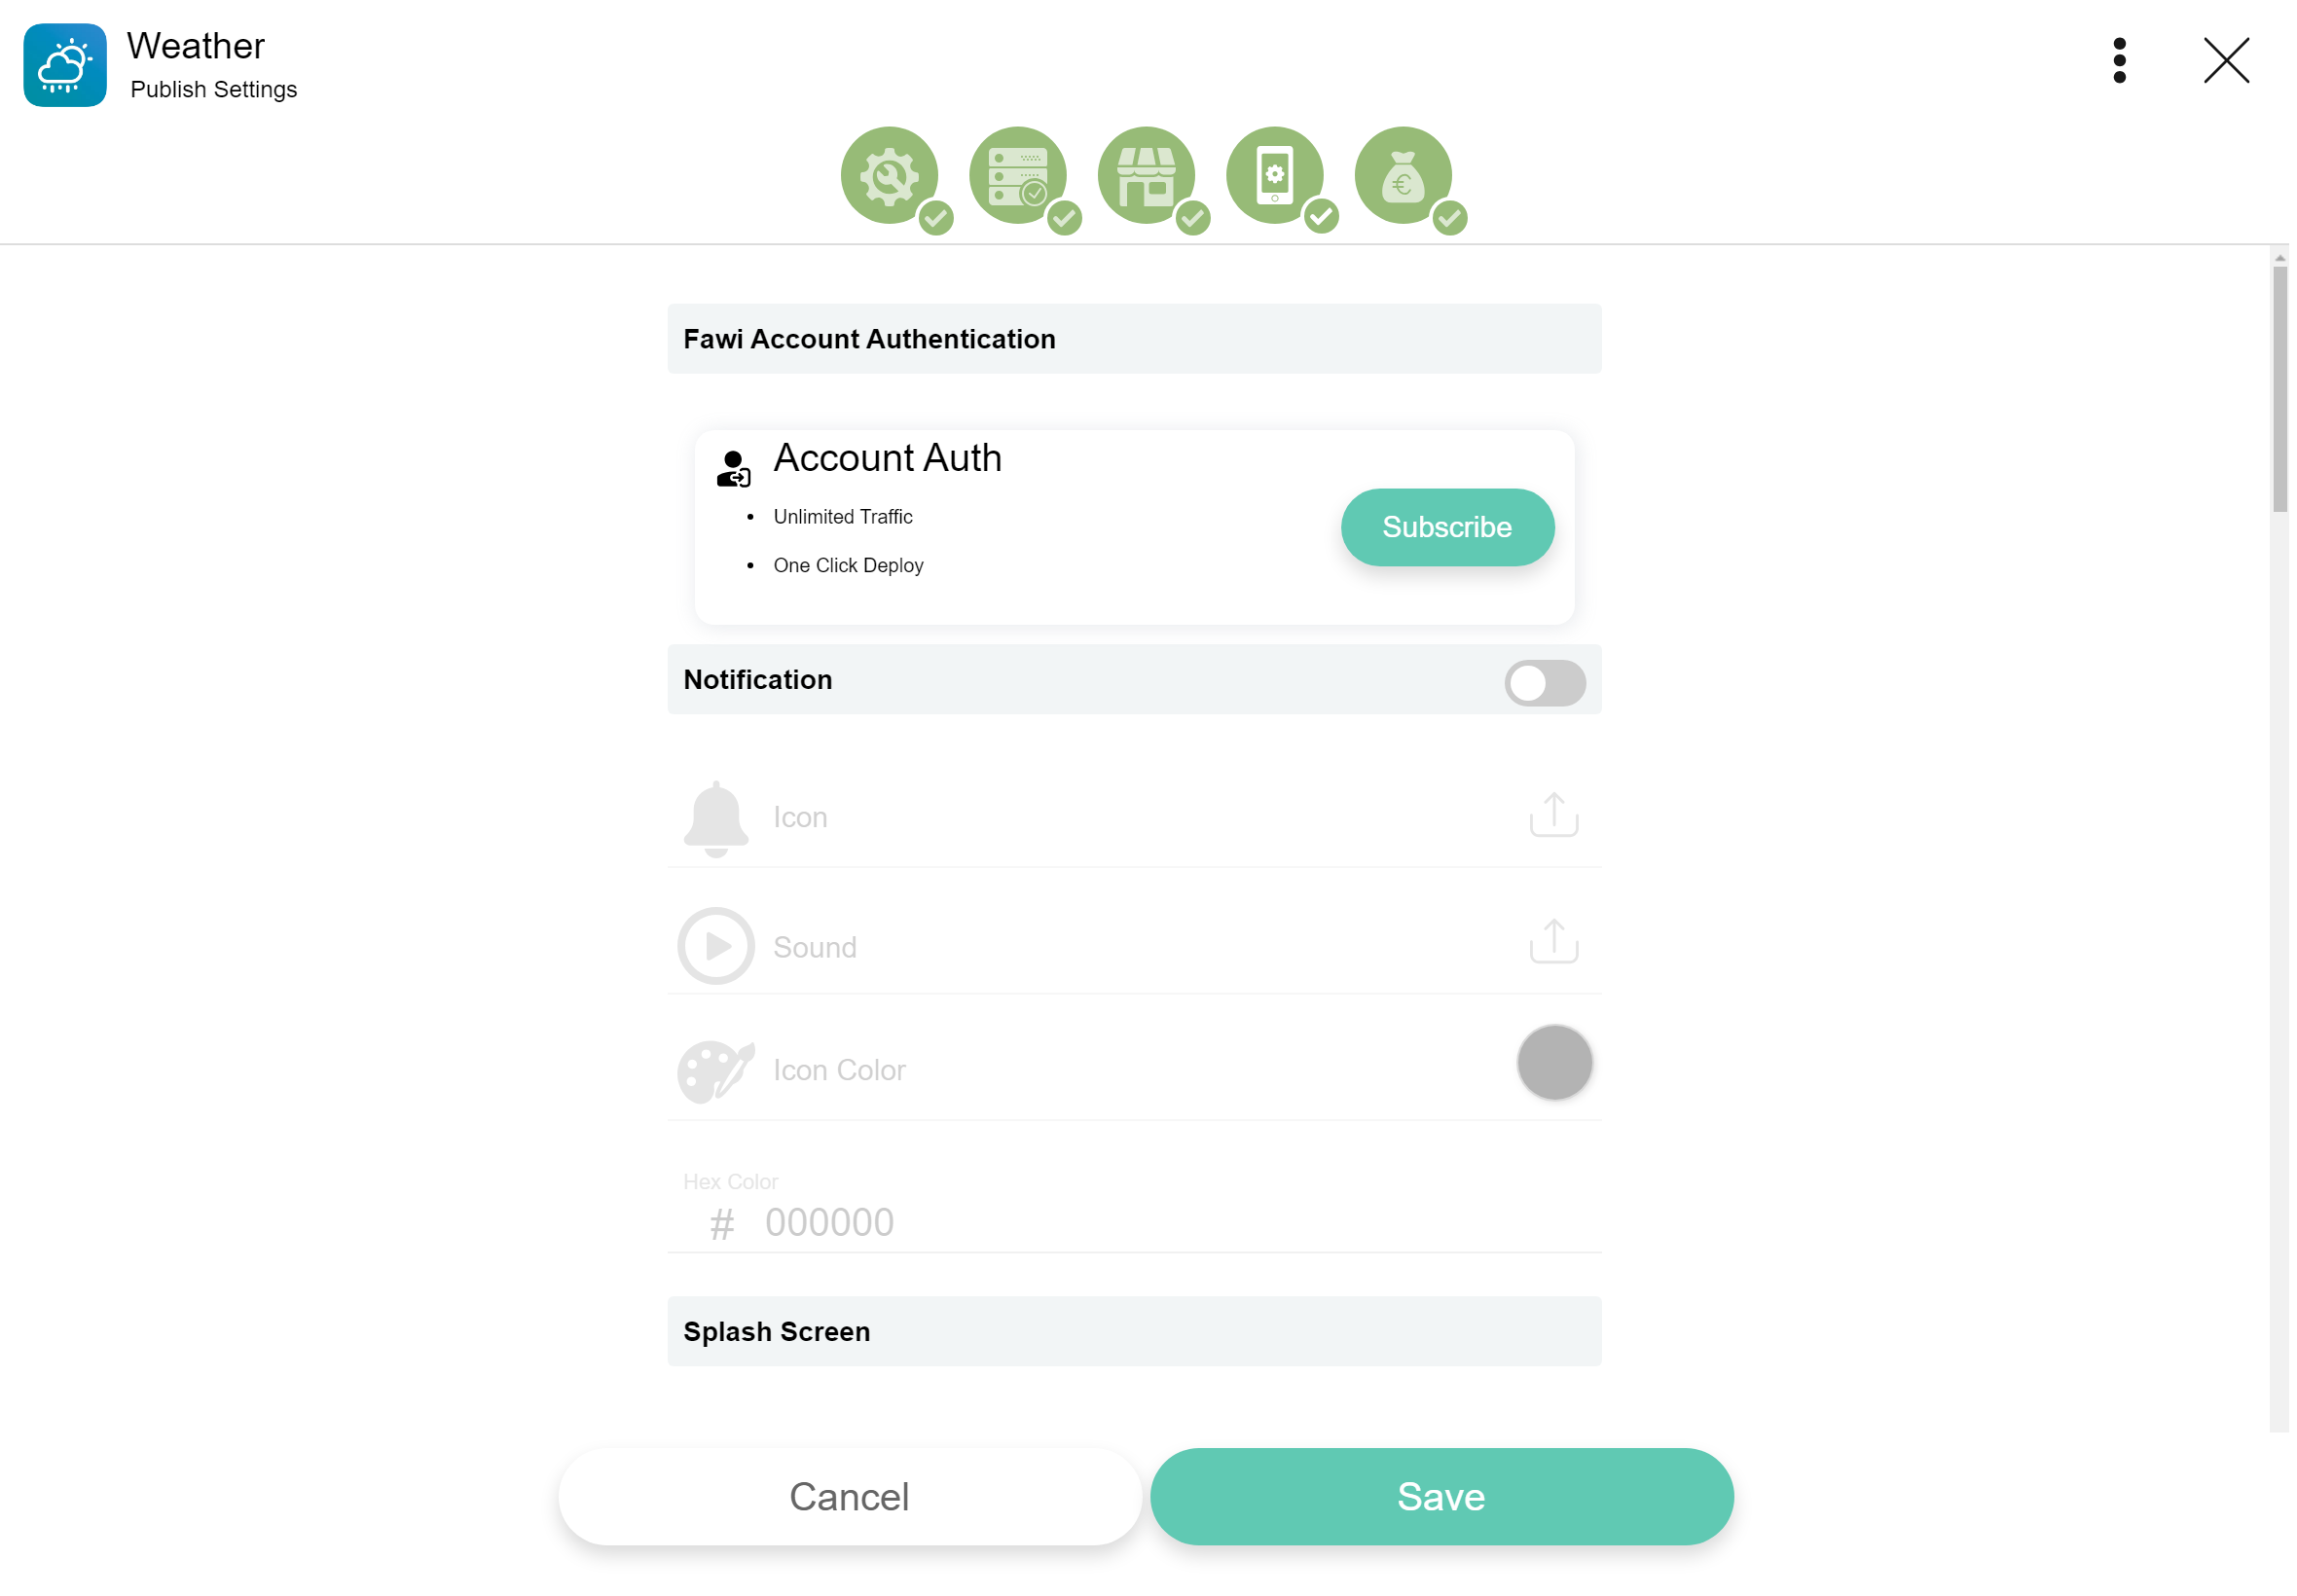
Subscribe to a Fawi Authentication Plan for authenticating users on your app.
Once you are in the Device tab:
- Scroll to the Fawi Account Authentication section.
- Click the Subscribe button, to open the Fawi Authentication plans.
- Subscribe to a plan.
Notification
Subscribe to a Fawi Notification Plan, to get in touch with the app users to re-engage and retain them. Customize how the notifications looks like for users, by setting up the icon, sound and color. [All Optional]
Once you are in the Device tab:
- Scroll to the Notification section.
- Click the Subscribe button, to open the Fawi Notification plans.
- Subscribe to a plan.
- Click upload icon , to select an icon. NOTE: If you don't select an icon, Fawi uses the app icon.
- Click upload sound , to select a sound.
- Pick a color or enter the color hex code.
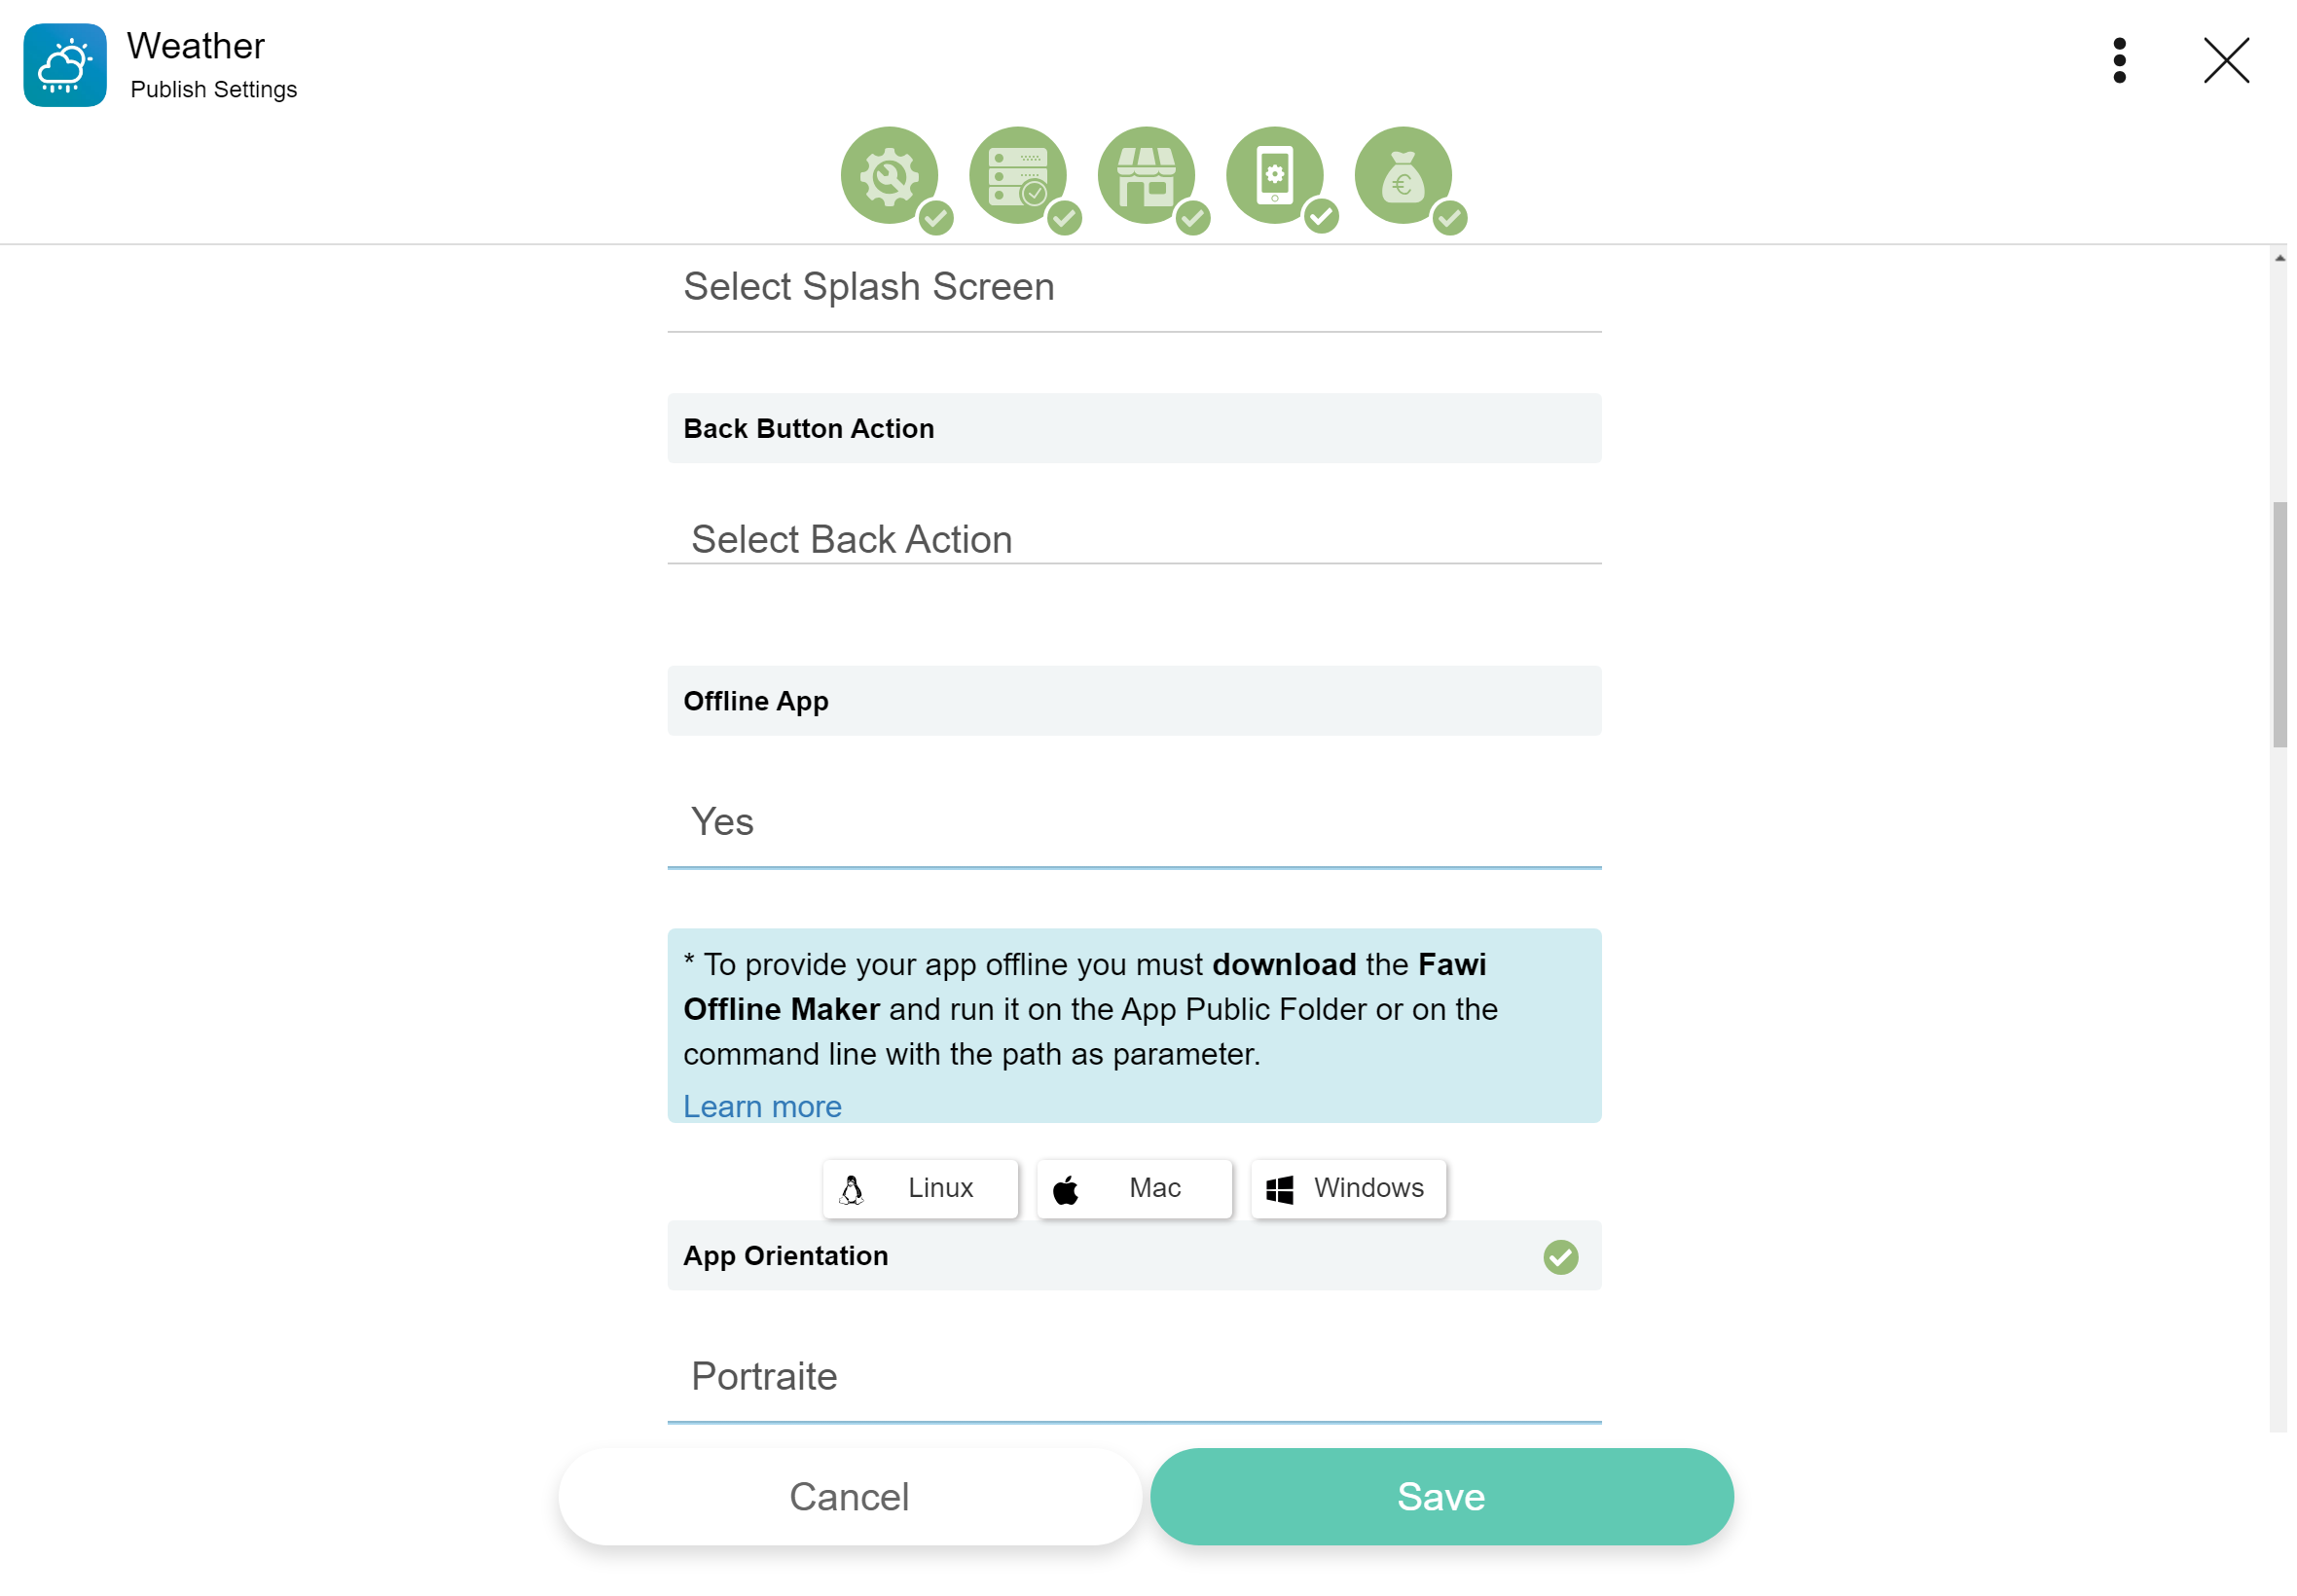
Splash Screen
Select your app splashscreen mode that defines the app opening look.
Back Button Action
Select your app back button action.
Offline App
Specify if your app is provided in offline mode or not. To provide it in offline mode, you must download the fawiOfflineMaker file for your server operating system and run it in your App Public Folder or in the command line with the folder path as parameter. Learn more
Once you are in the Device tab:
- Scroll to the Offline App section.
- Click the Download button with your server operating system icon, to download the fawiOfflineMaker file.
- Run the file in your App Public Folder or in the command line with the folder path as parameter.
Running the file in the command line, supposing the fawiOfflineMaker is in the downloads folder:
Linux
linux@linux-pc:~/Downloads$ fawiOfflineMaker.sh ~/path
...
Mac
mac@mac-pc:~/Downloads$ fawiOfflineMaker.sh ~/path
...
Windows
C:\Users\windows\Downloads> fawiOfflineMaker.bat ~/path
App Orientation
Select the default orientation of your app [landscape / portrait / any].
Add the MIME Types your app supports to Open and Share. [All Optional]
Once you are in the Device tab:
- Scroll to the Open / Share section.
- Enter your app Open / Share URL.
- Click the Share File MIME Types, then select the MIME Types.
- Click the Open File MIME Types, then select the MIME Types.
Fawi Version
Select the Fawi current version that supports your app.
Devices
Select your app supported devices.
Hardware Requirements
Specify the minimum hardware requirements to run your app. [Optional]
Permissions
Select the permissions your app needs to use Fawi Native resources. [Optional]
If required, you can't use Fawi Native APIs without setting the App permissions.
Monetize
Monetize your app defining a Plan price on Fawi Store, by few clicks, or by using the Fawi Wallet API In-App Purchases. Earn 100% of revenues without Fawi comissions and taxes for minim withdraw values.
- Open Fawi Office.
- At the top right of an app card, tap more .
- From the app main menu, select Publish Settings to open the Publish Settings page. NOTE: You can reach this stage clicking the app icon on an app card.
- Tap the Monetize tab.
- Select a payment method, then generate a plan.
- Click the Save button.
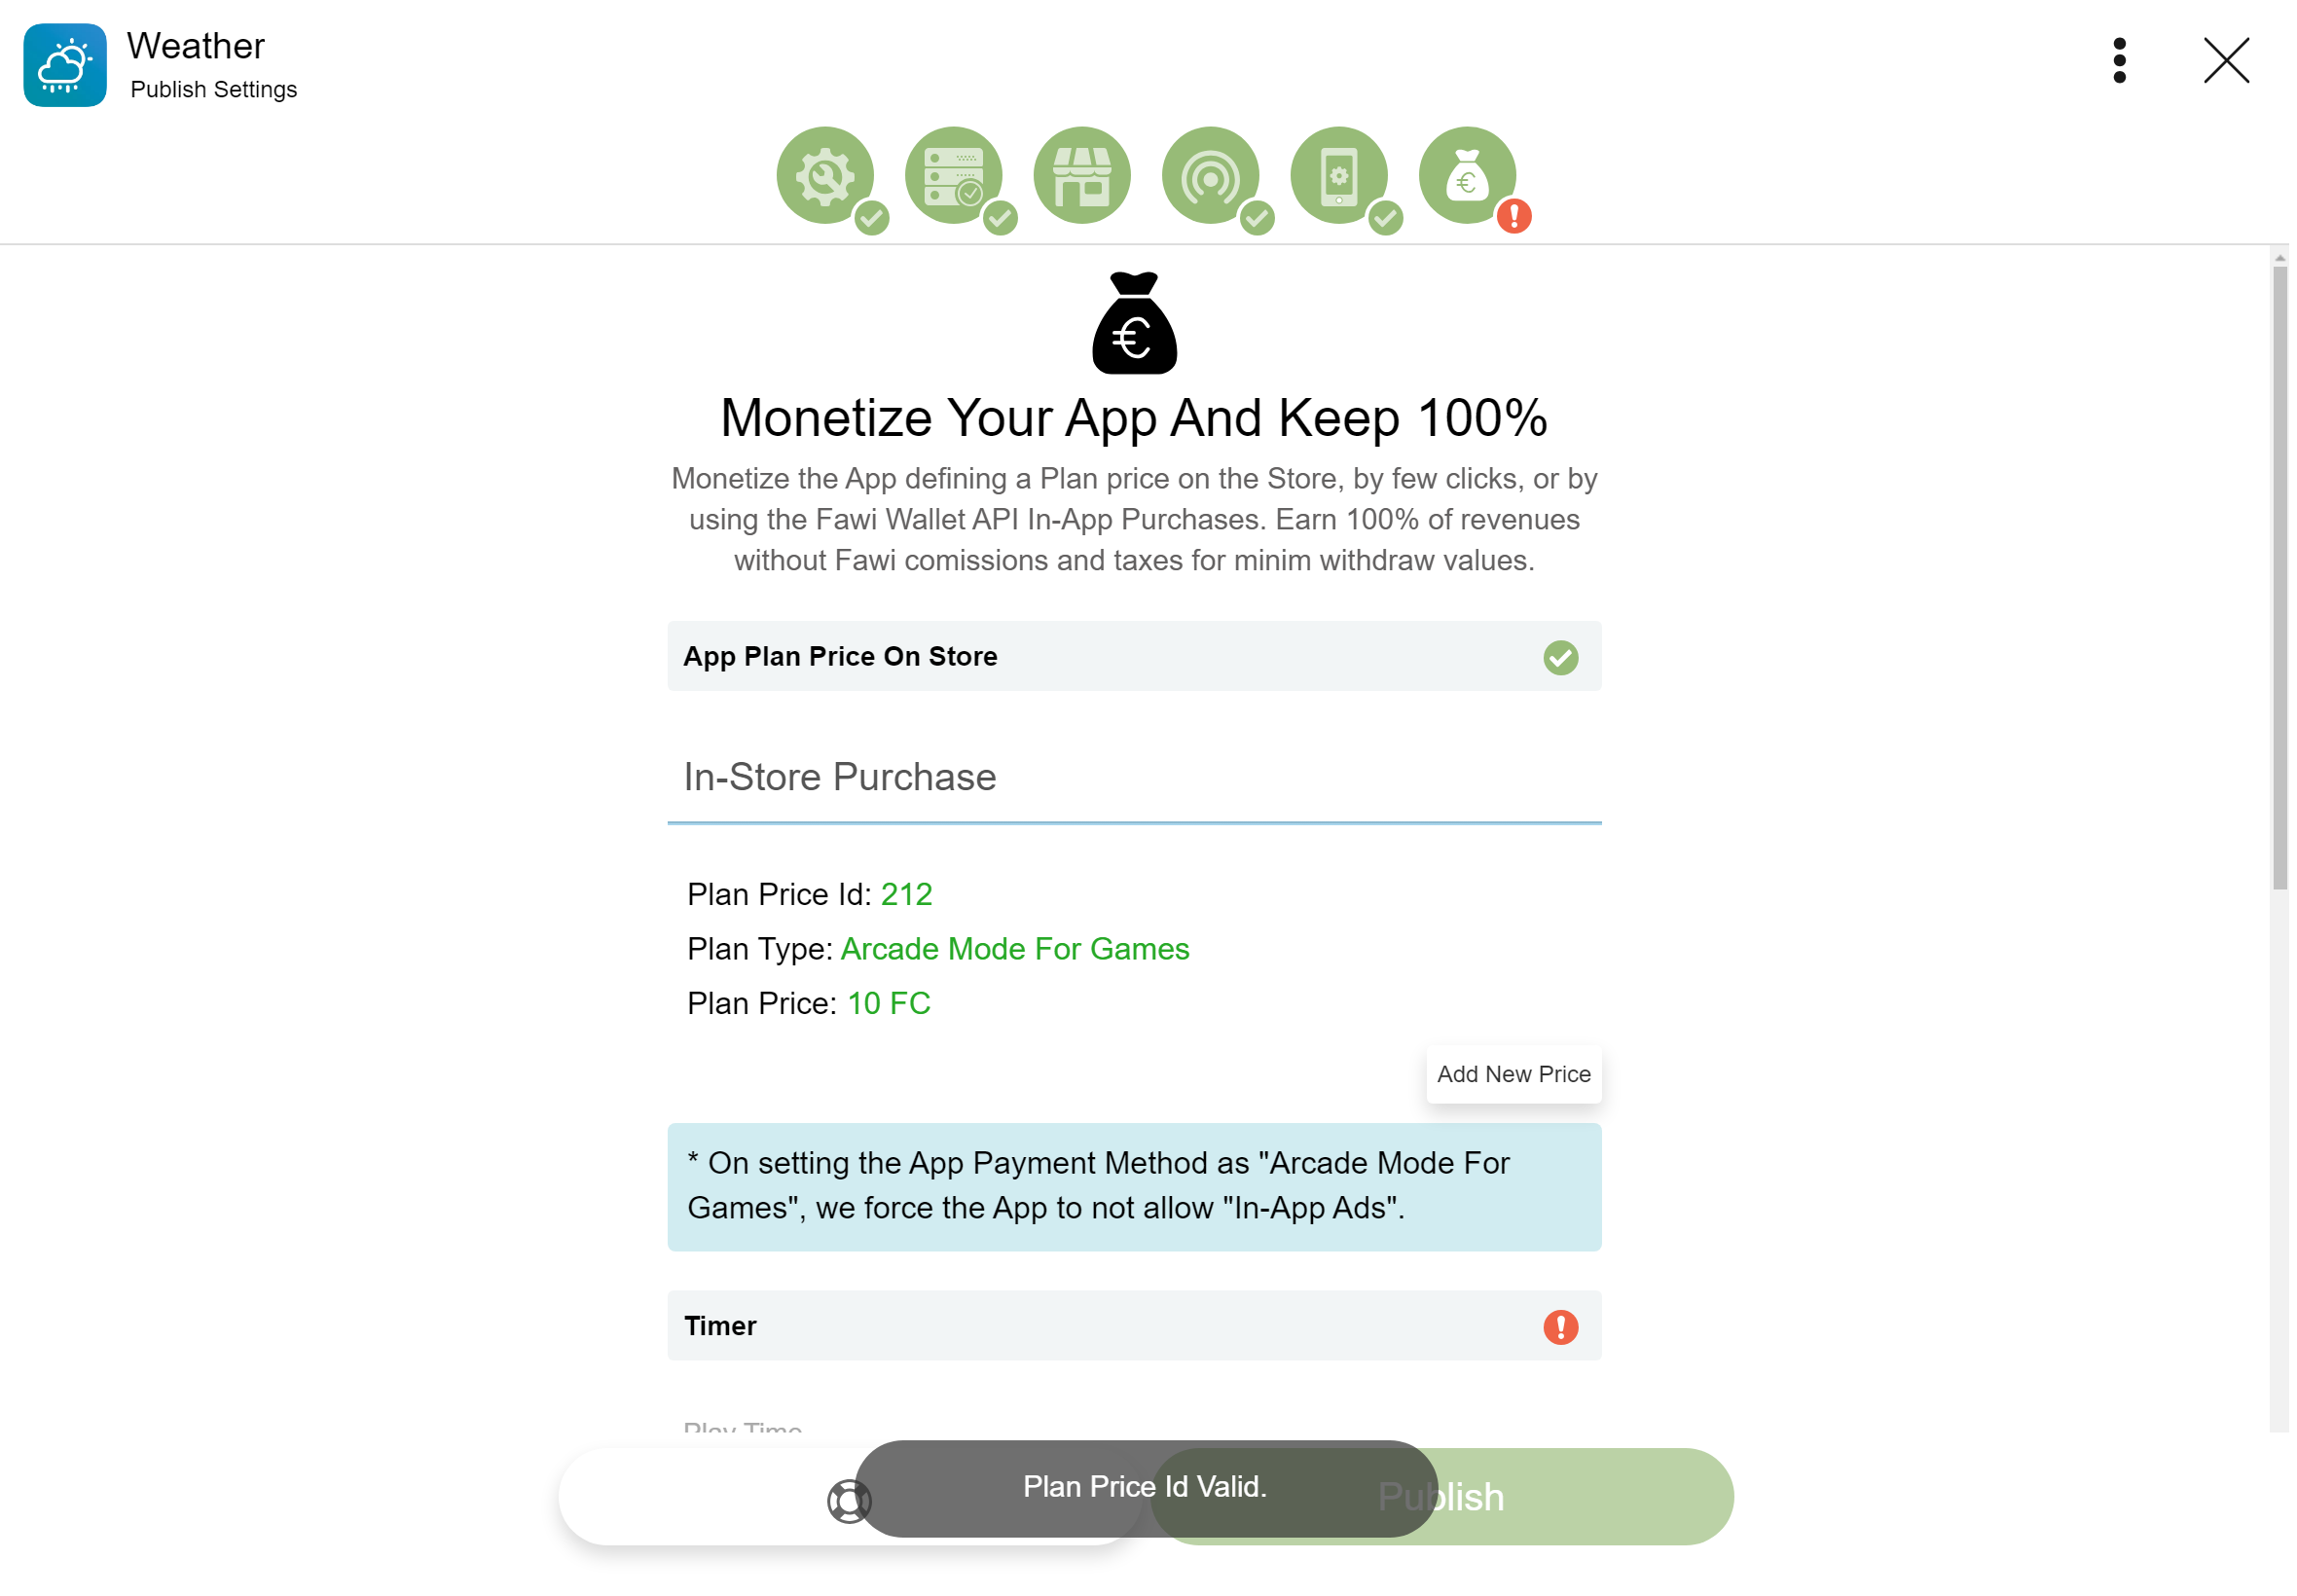
App Plan Price On Store
Monetize your app.
Once you are in the Monetize tab:
- Scroll to the App Plan Price On Store section.
- Select a paymend method.
- Click the Add New Plan button, to open the Generate Plan Price Id page.
- Select a plan type.
- Fill in the form.
- Click the Confirm button, to generate a plan.
- Click the Save button.

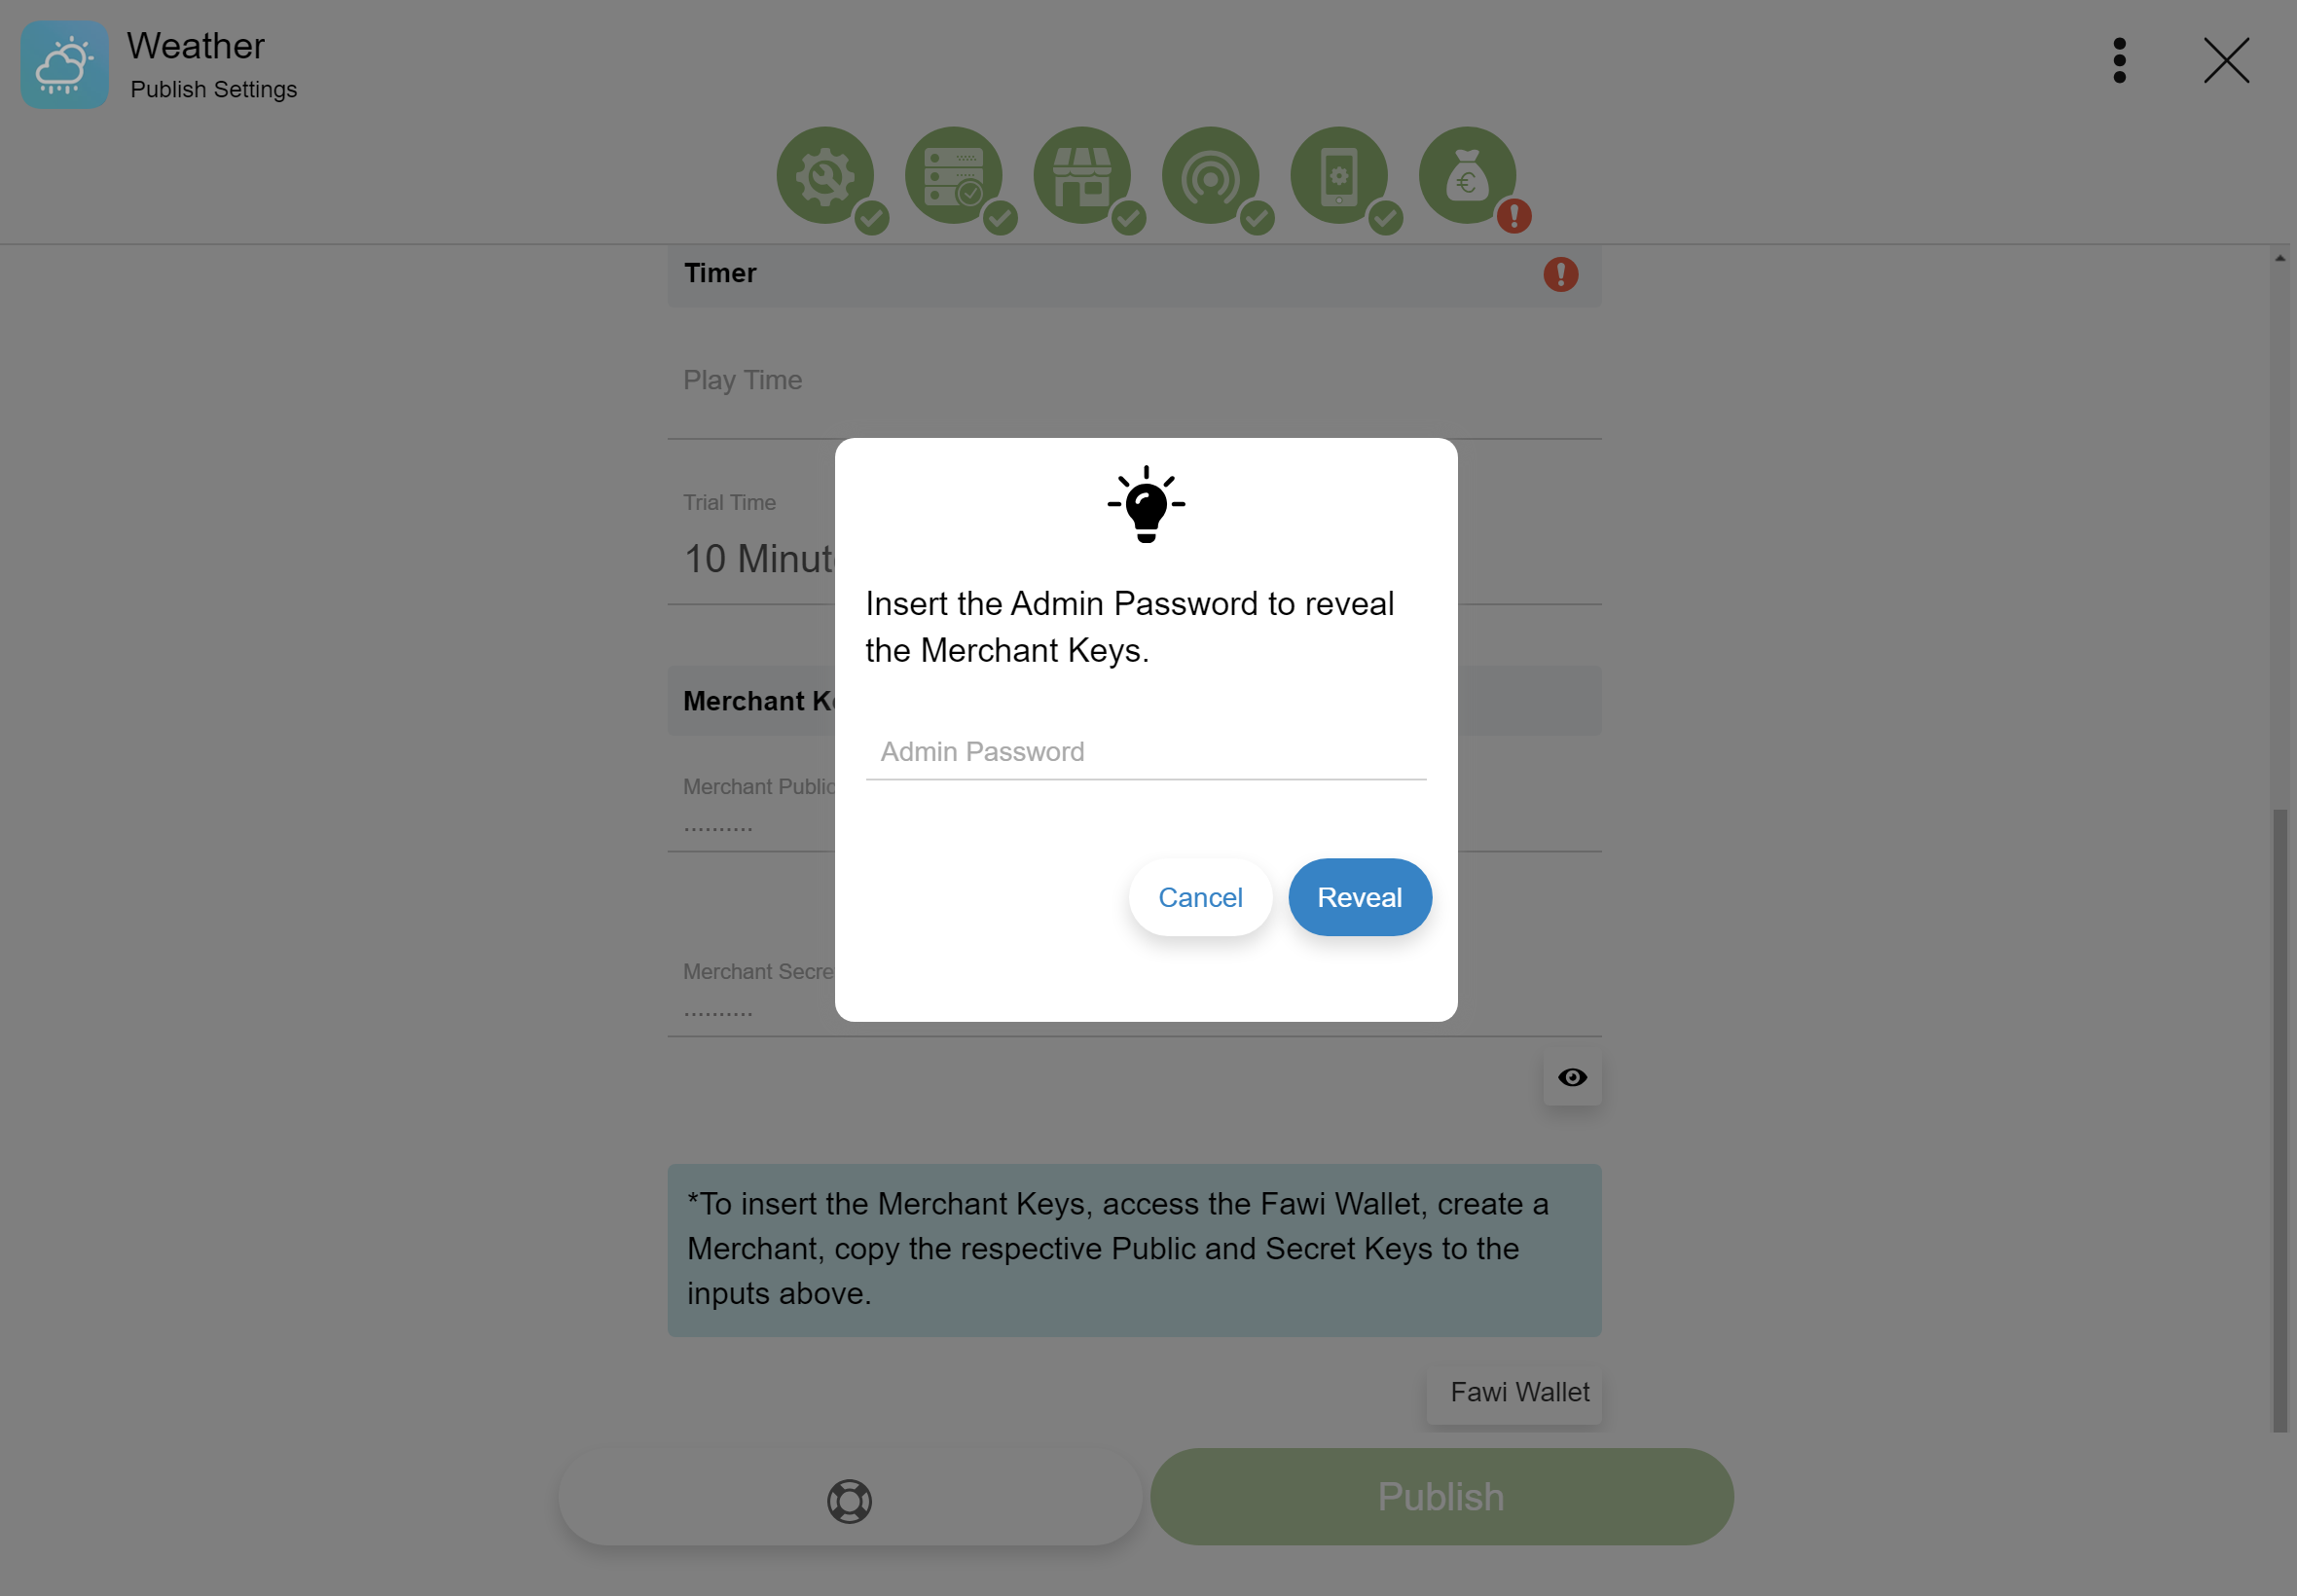
Timer
Select the app play time for the Arcade Mode For Games plan type and the app trial time.
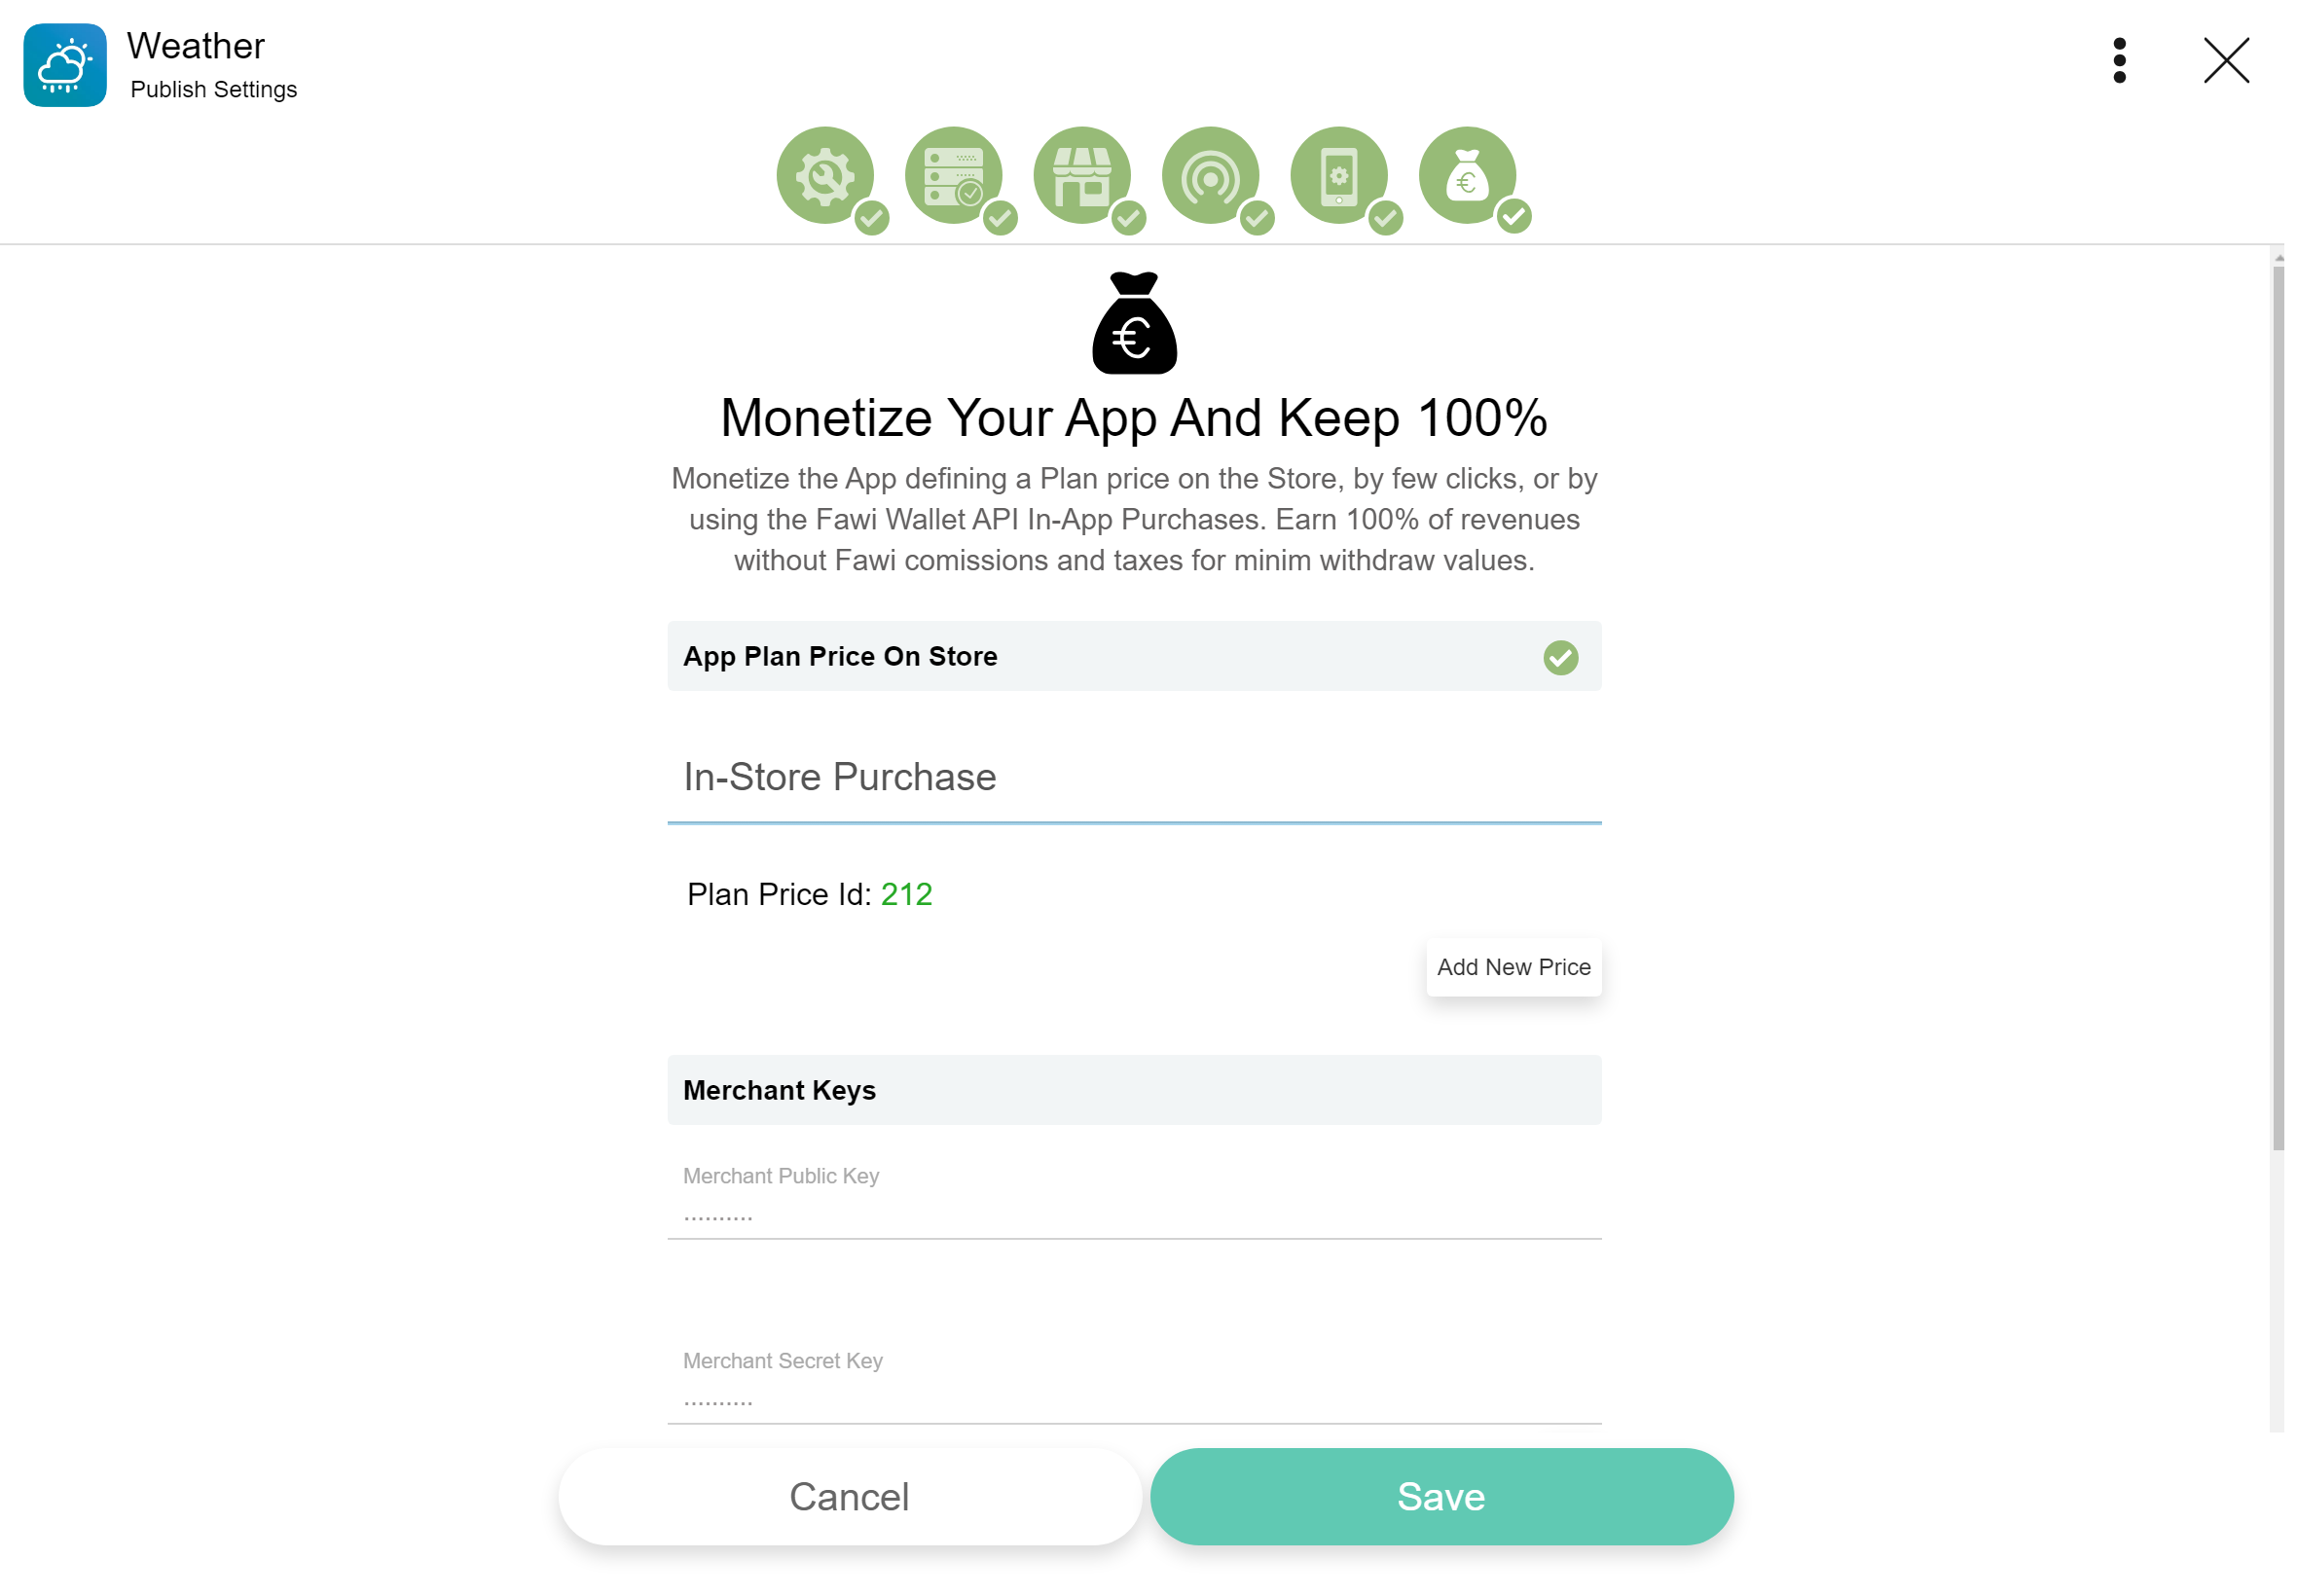
Merchant Keys
The app Merchant Keys are automatically generated when an app is created.
Reveal you app Merchant Keys.
Once you are in the Monetize tab:
- Scroll to the Merchant Keys section.
- Click the button to open the Reveal dialog.
- Enter the Admin Password and click the Reveal button.
Publish
We review all apps, app updates, in-app purchases, and in-app events submited to the Fawi Store. Helping to provide a safe and trusted experience for users and the opportunity for developers to succeed. Before publishing, you’ll need to provide all required information. If there's no issue the app is validated and it will be ready to be distributed on the Fawi Store, oterwise the app is rejected.
Submit an app to review:
- Open Fawi Office.
- At the top right of an app card, tap more .
- From the app main menu, select Publish Settings to open the Publish Settings page. NOTE: You can reach this stage clicking the app icon on an app card.
- Click the Publish button, to open the Publish App page. NOTE: The button is enabled once you provided all the required information.
- Click the Submit button, to open the Publish dialog.
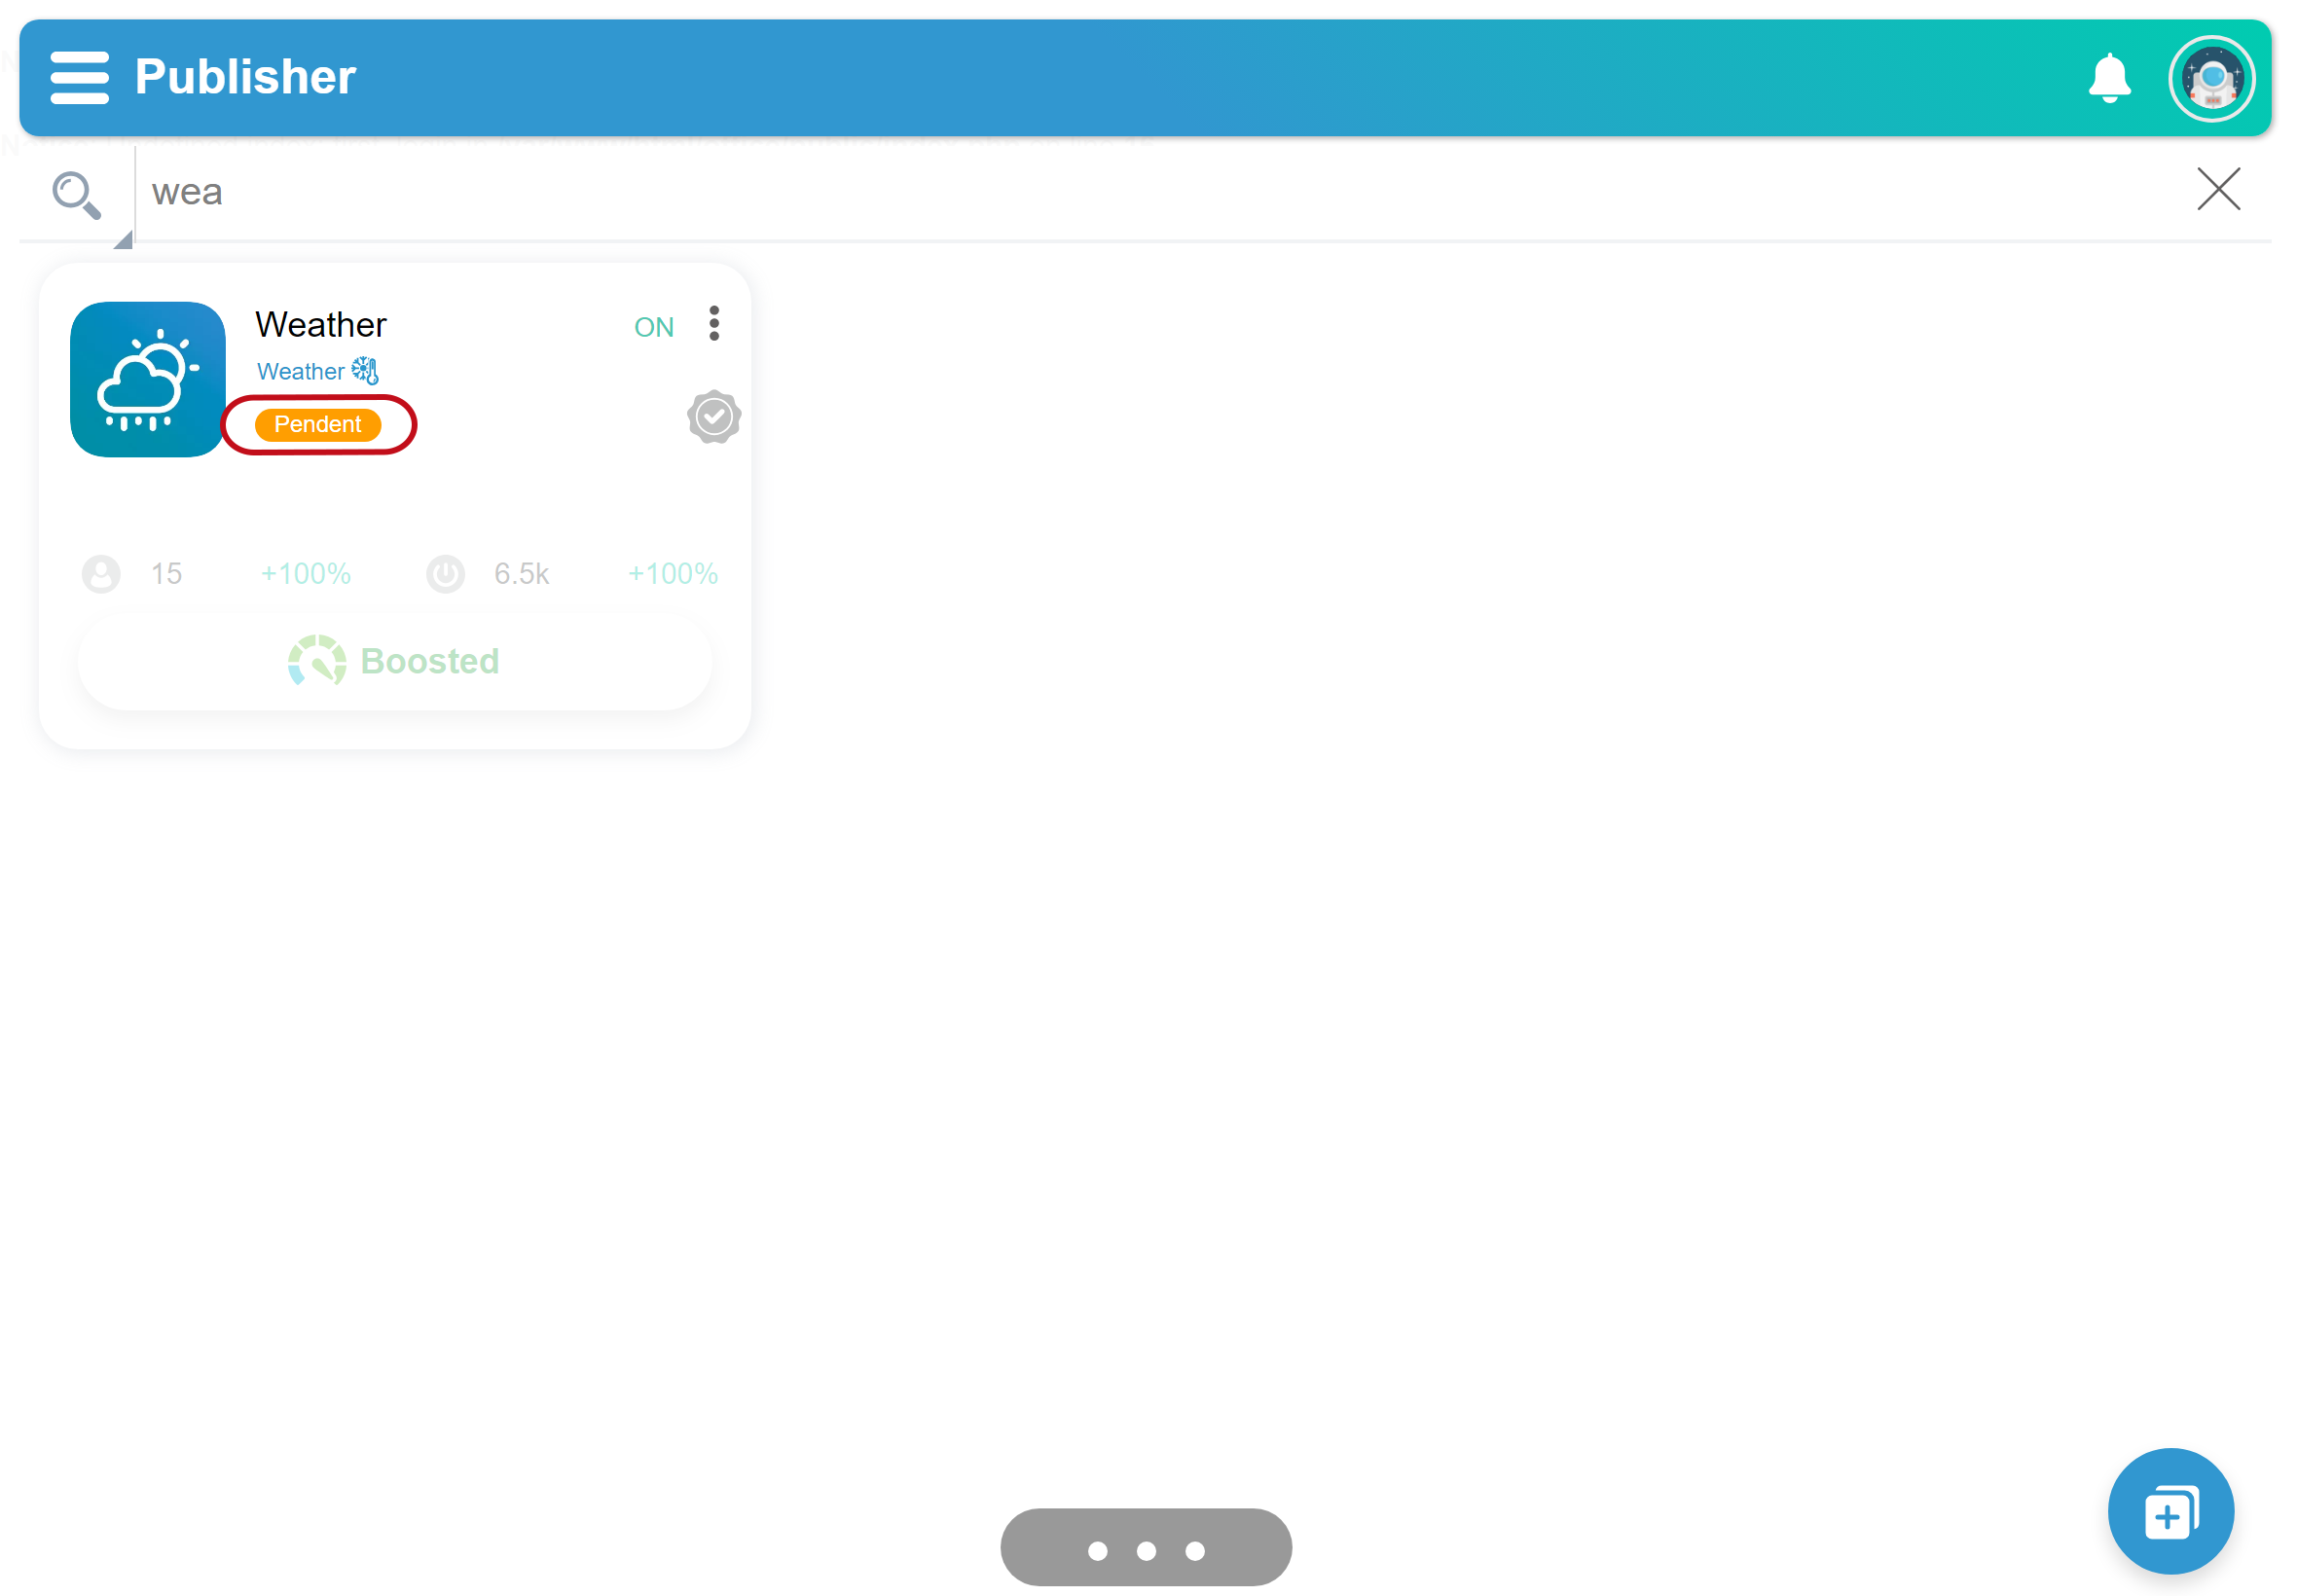
- Click the Yes button. NOTE: The app is submited to review and the state changes from Edited to Pendent on the Fawi Office.
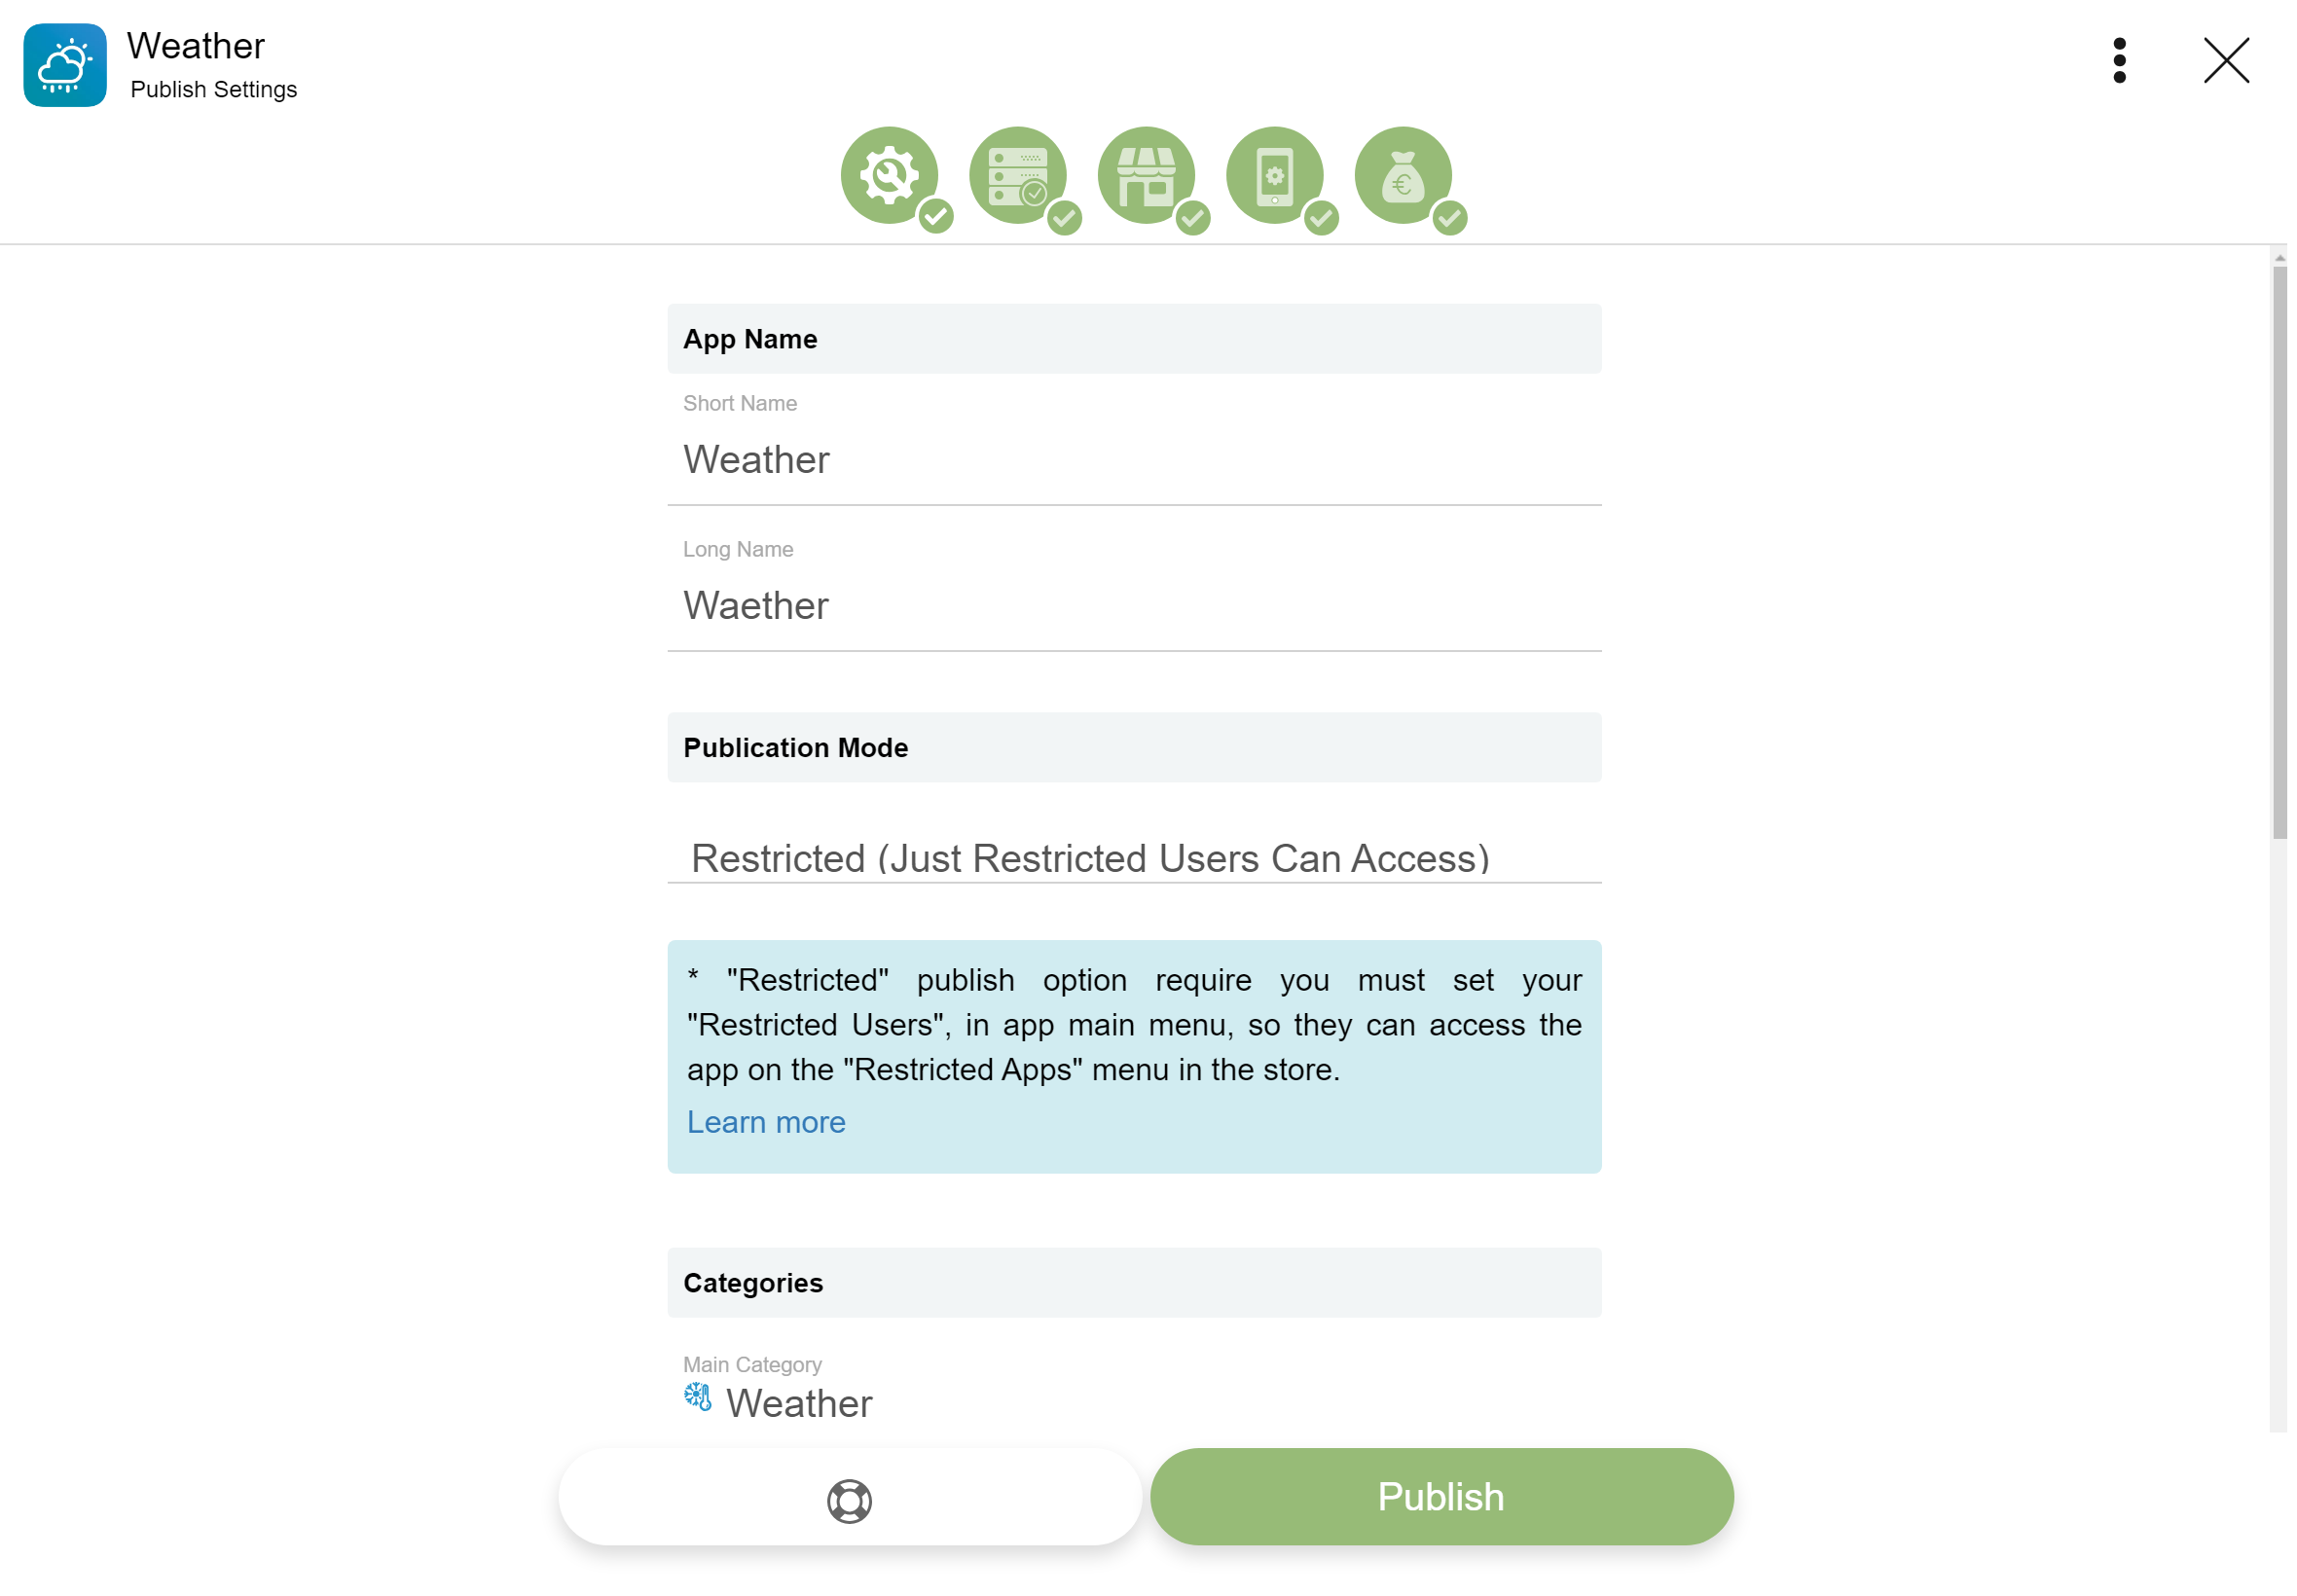
The app settings can be reverted to the last published version before get approved by the Fawi staff.
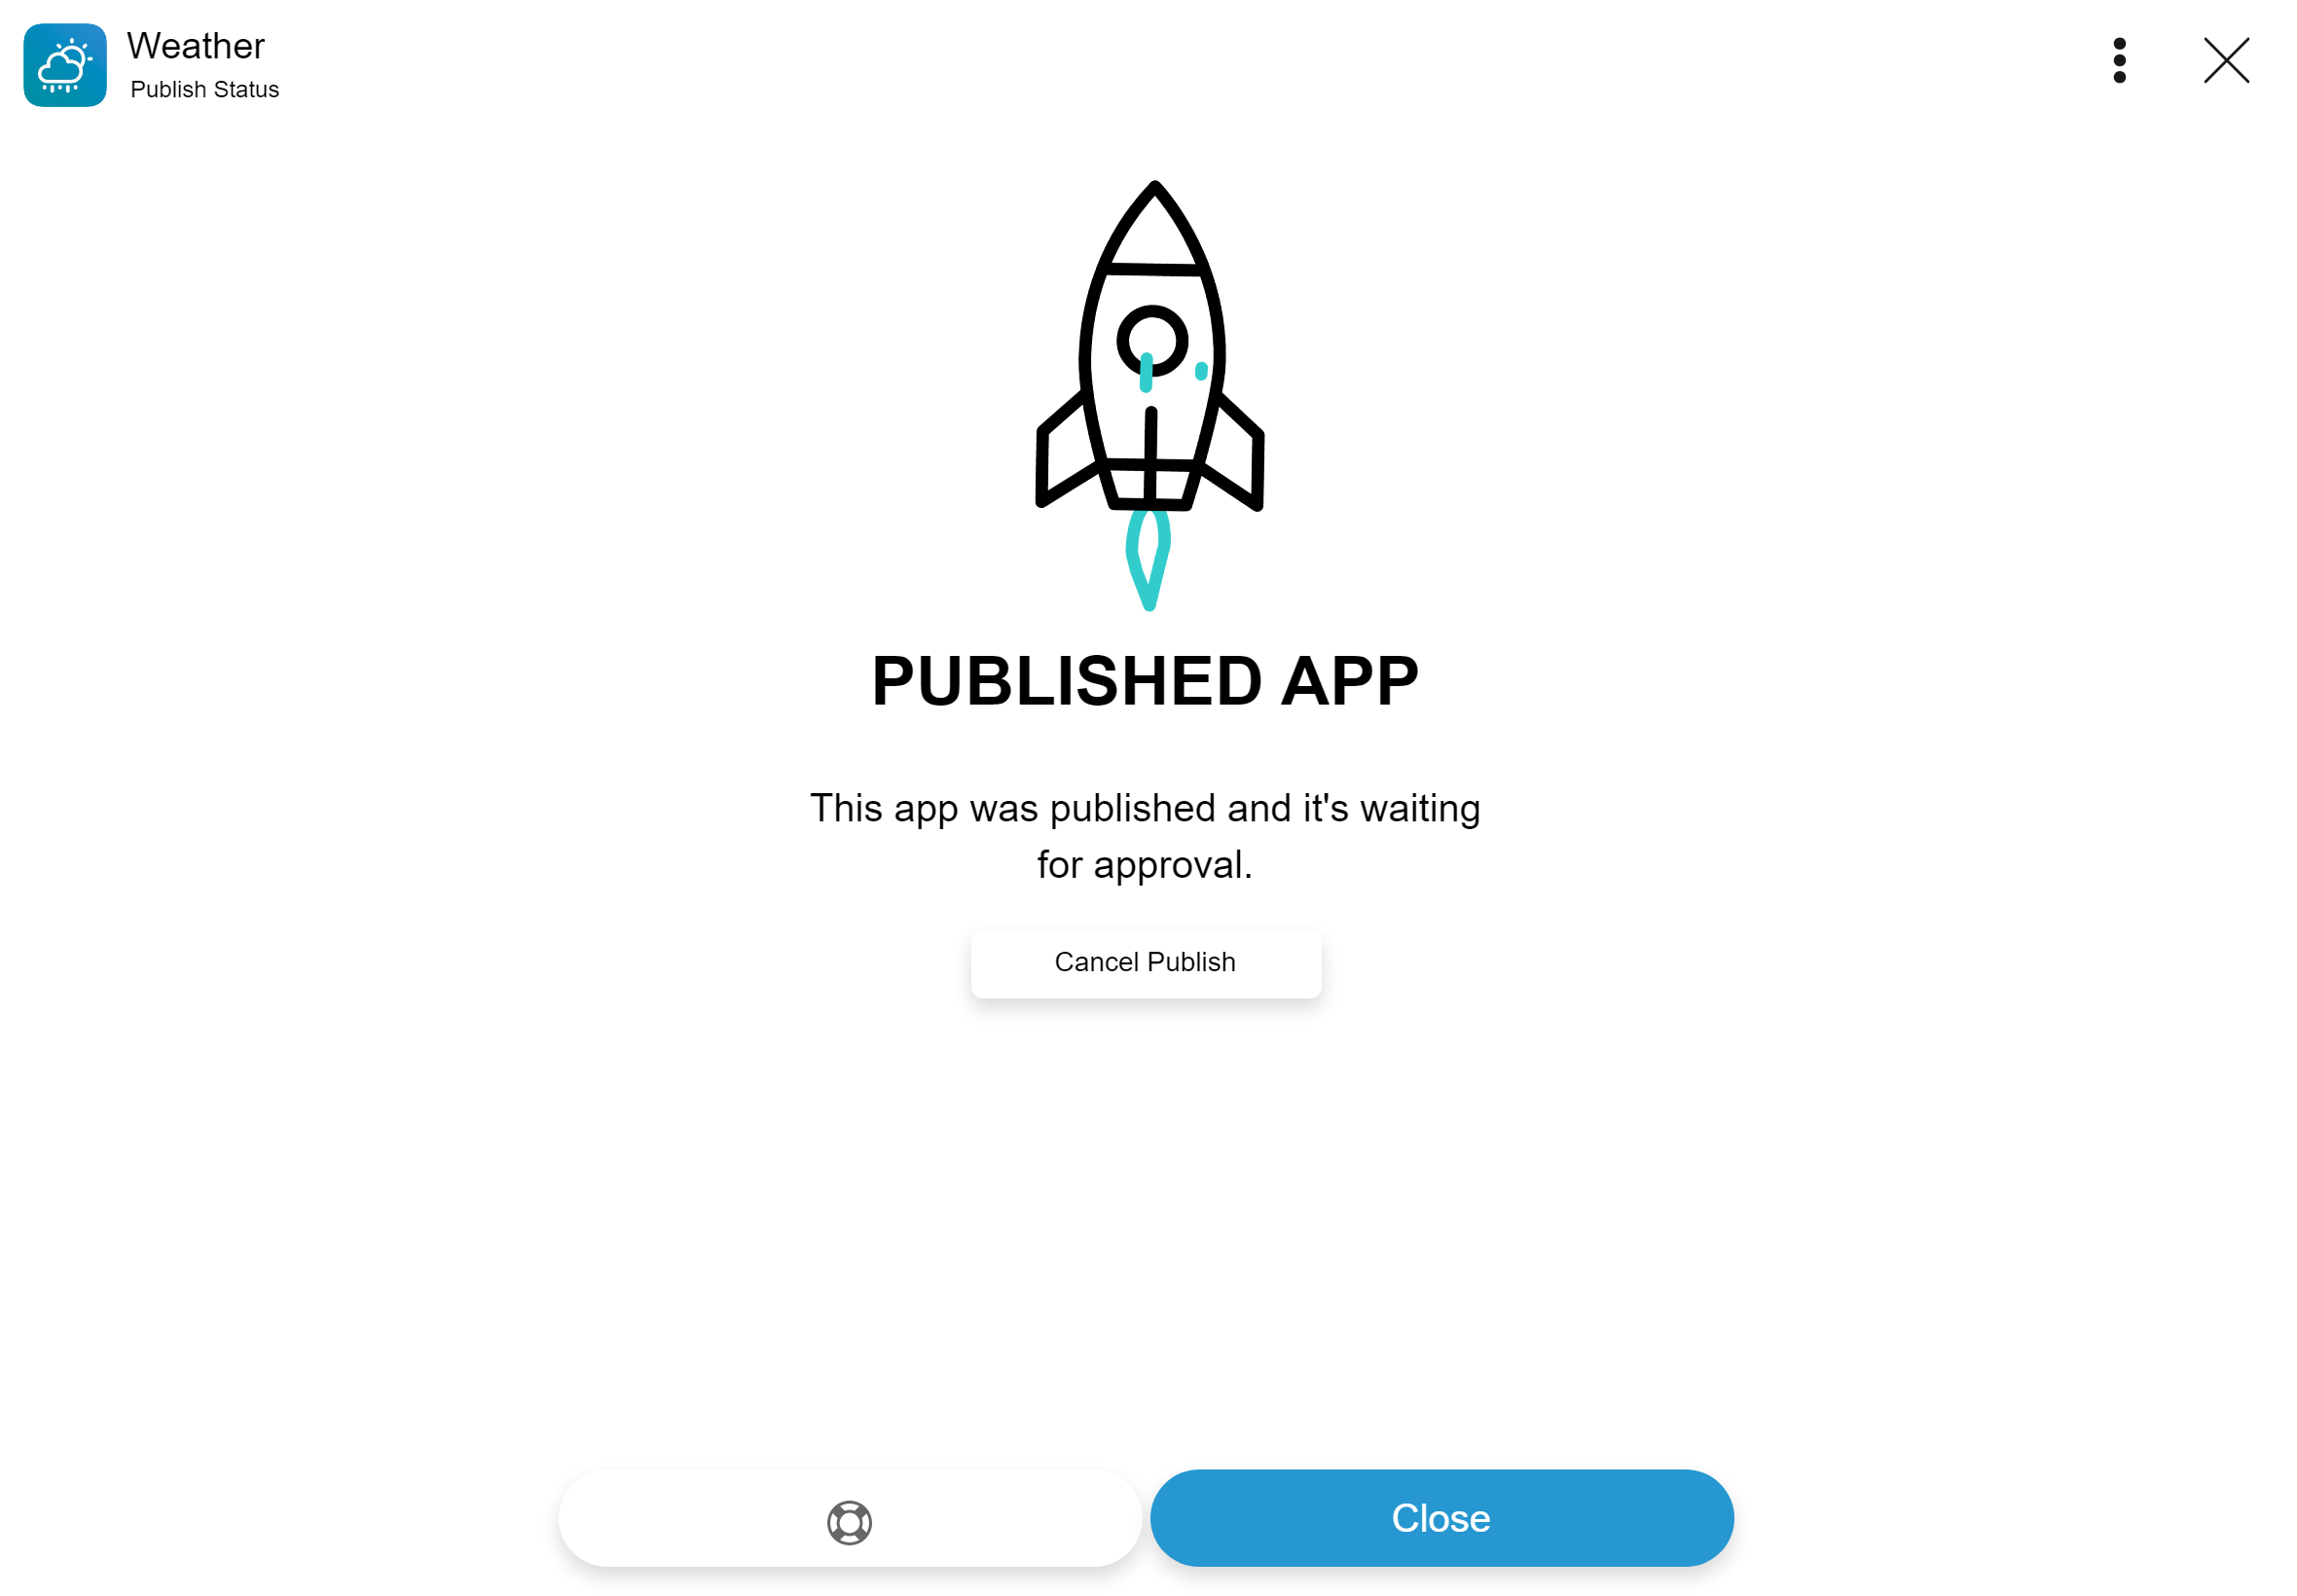
Unpublish an app:
- Open Fawi Office.
- At the center of an app card, tap the Pendent state, to open the Published App page.
- Click the Cancel Publish button, to open the Unpublish dialog.
- Click the Yes button. NOTE: The app state changes from Pendent to Edited on the Fawi Office.

For you to be allowed to publish an app, you’ll be needed to provide all the app required information and to subscribe it to a Fawi plan.
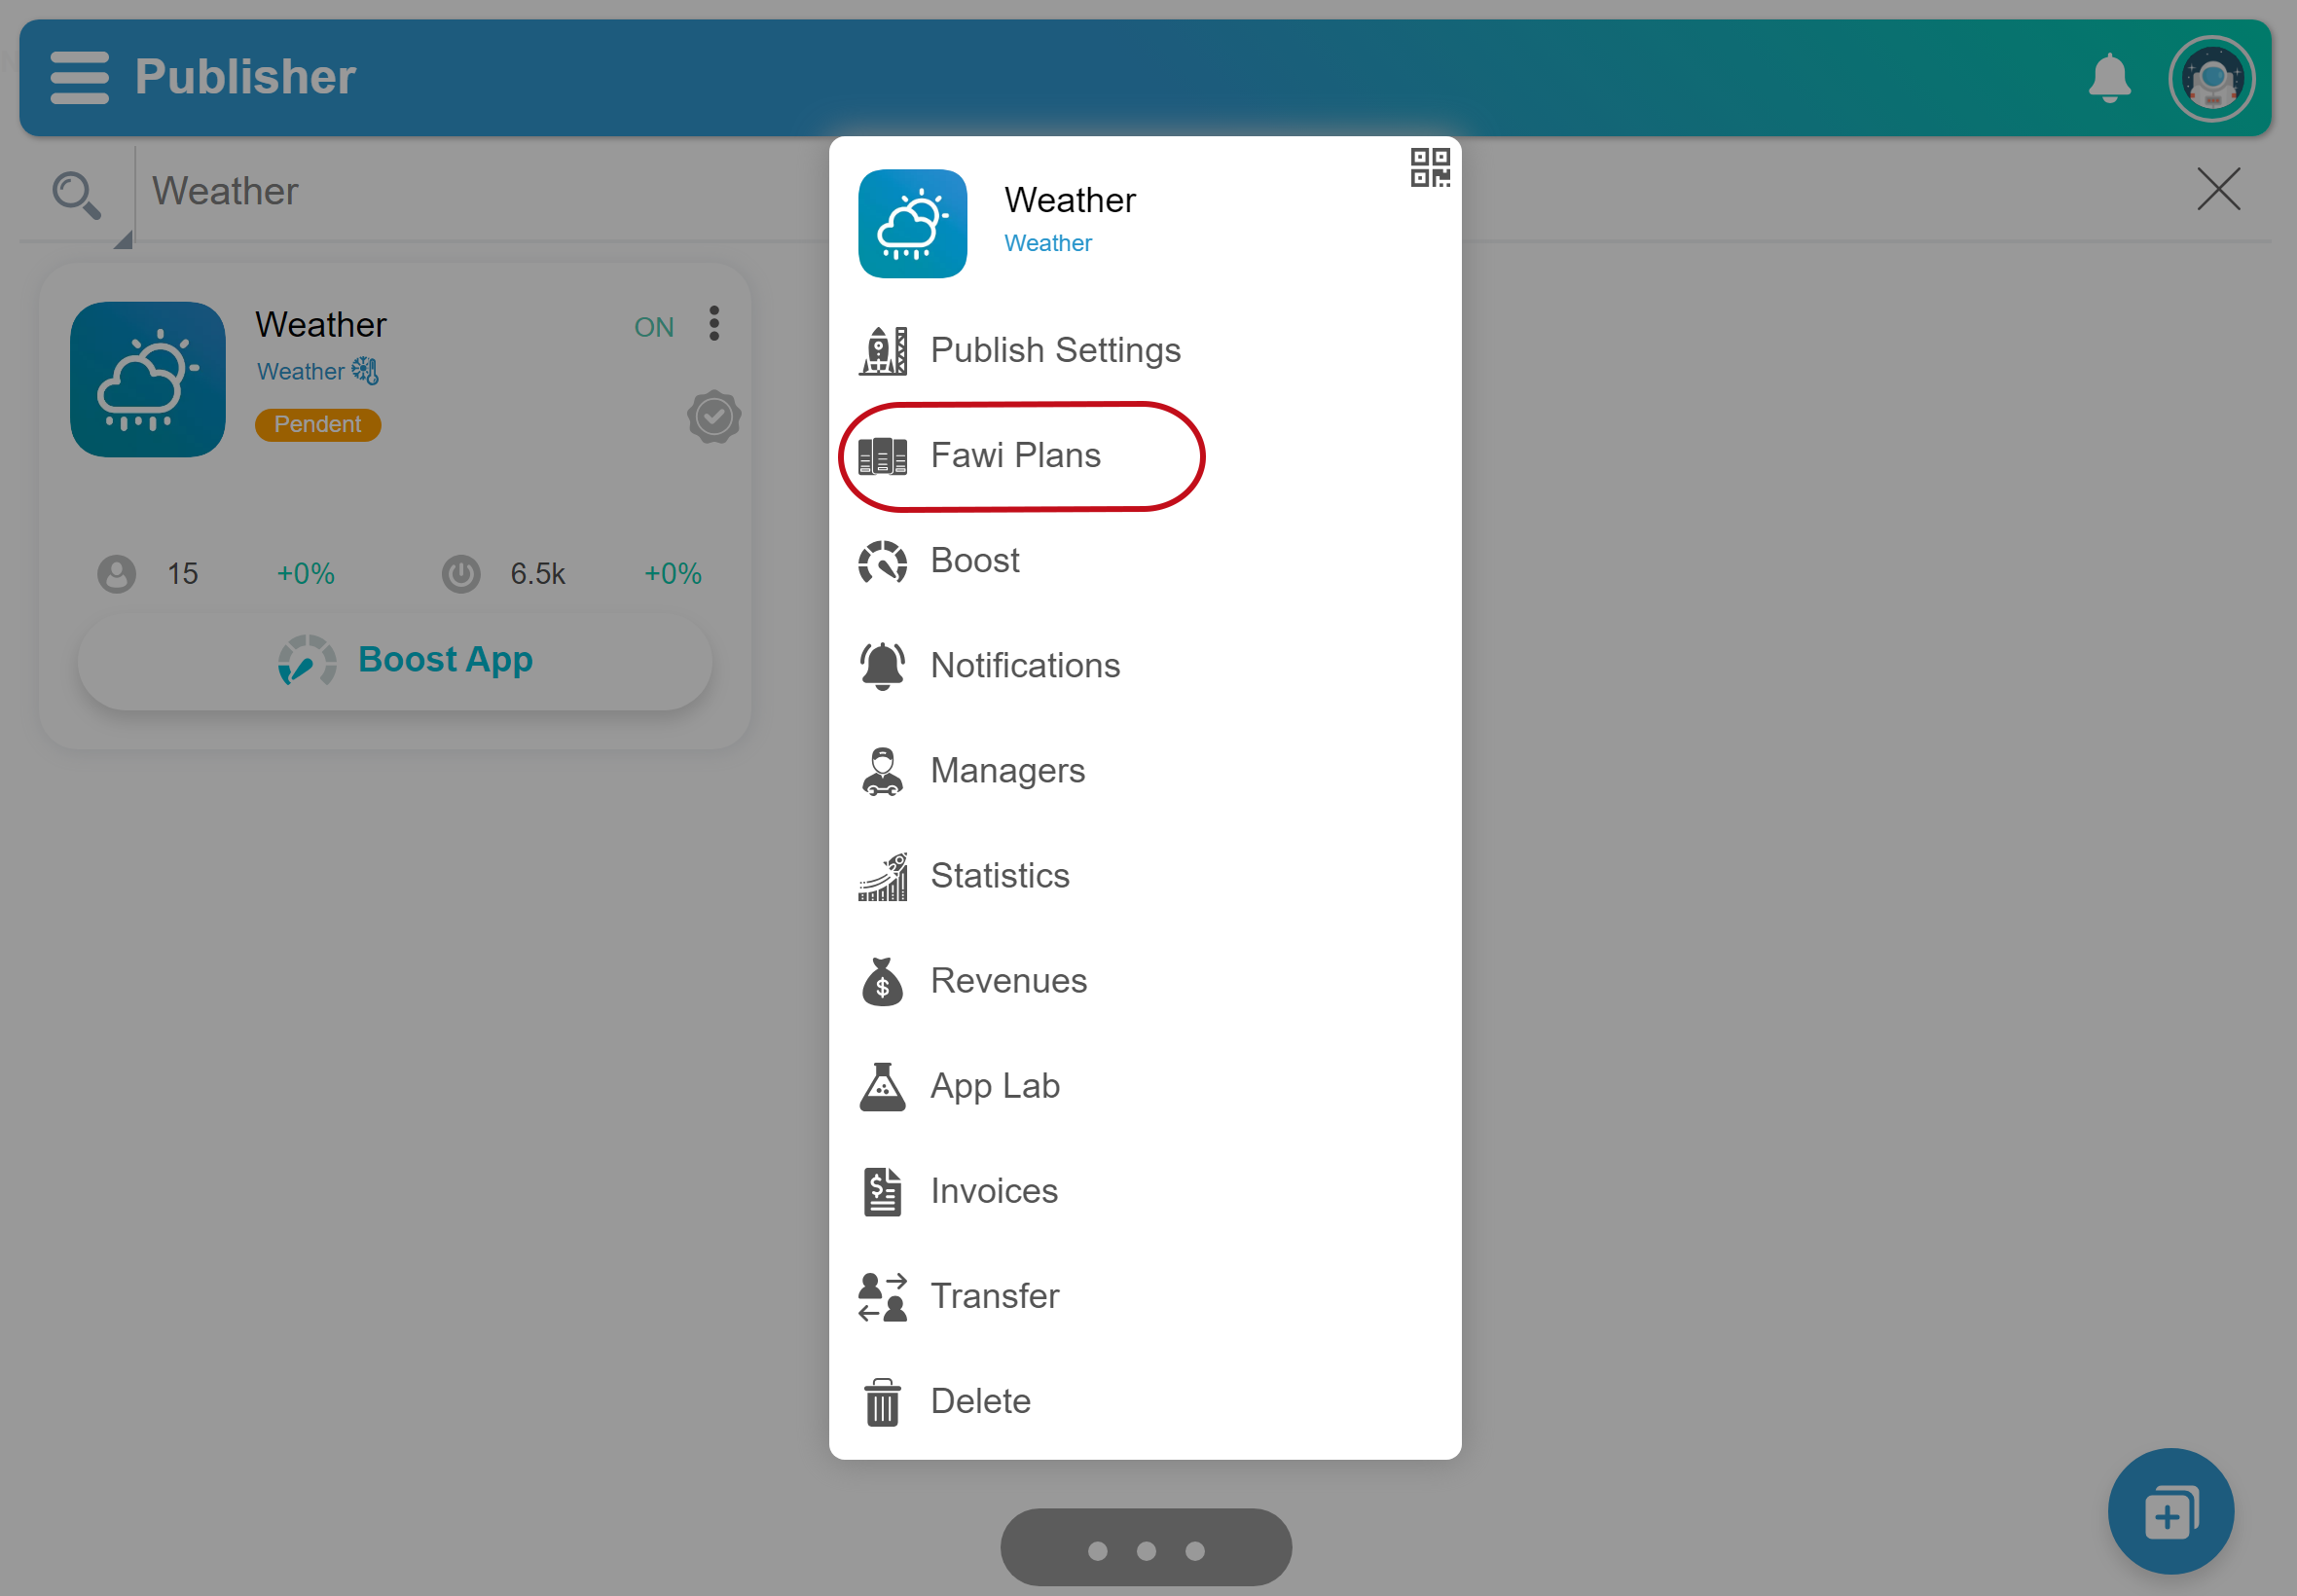
Fawi Plans
Subscribe to the Fawi Plans, to authenticate, deploy, send notifications and publish you apps to the Fawi Store.
- Open Fawi Office.
- At the top right of an app card, tap more .
- From the app main menu, select Fawi Plans to open the Fawi Plans page.
- Tap the tabs to choose the solutions you need and subscribe.
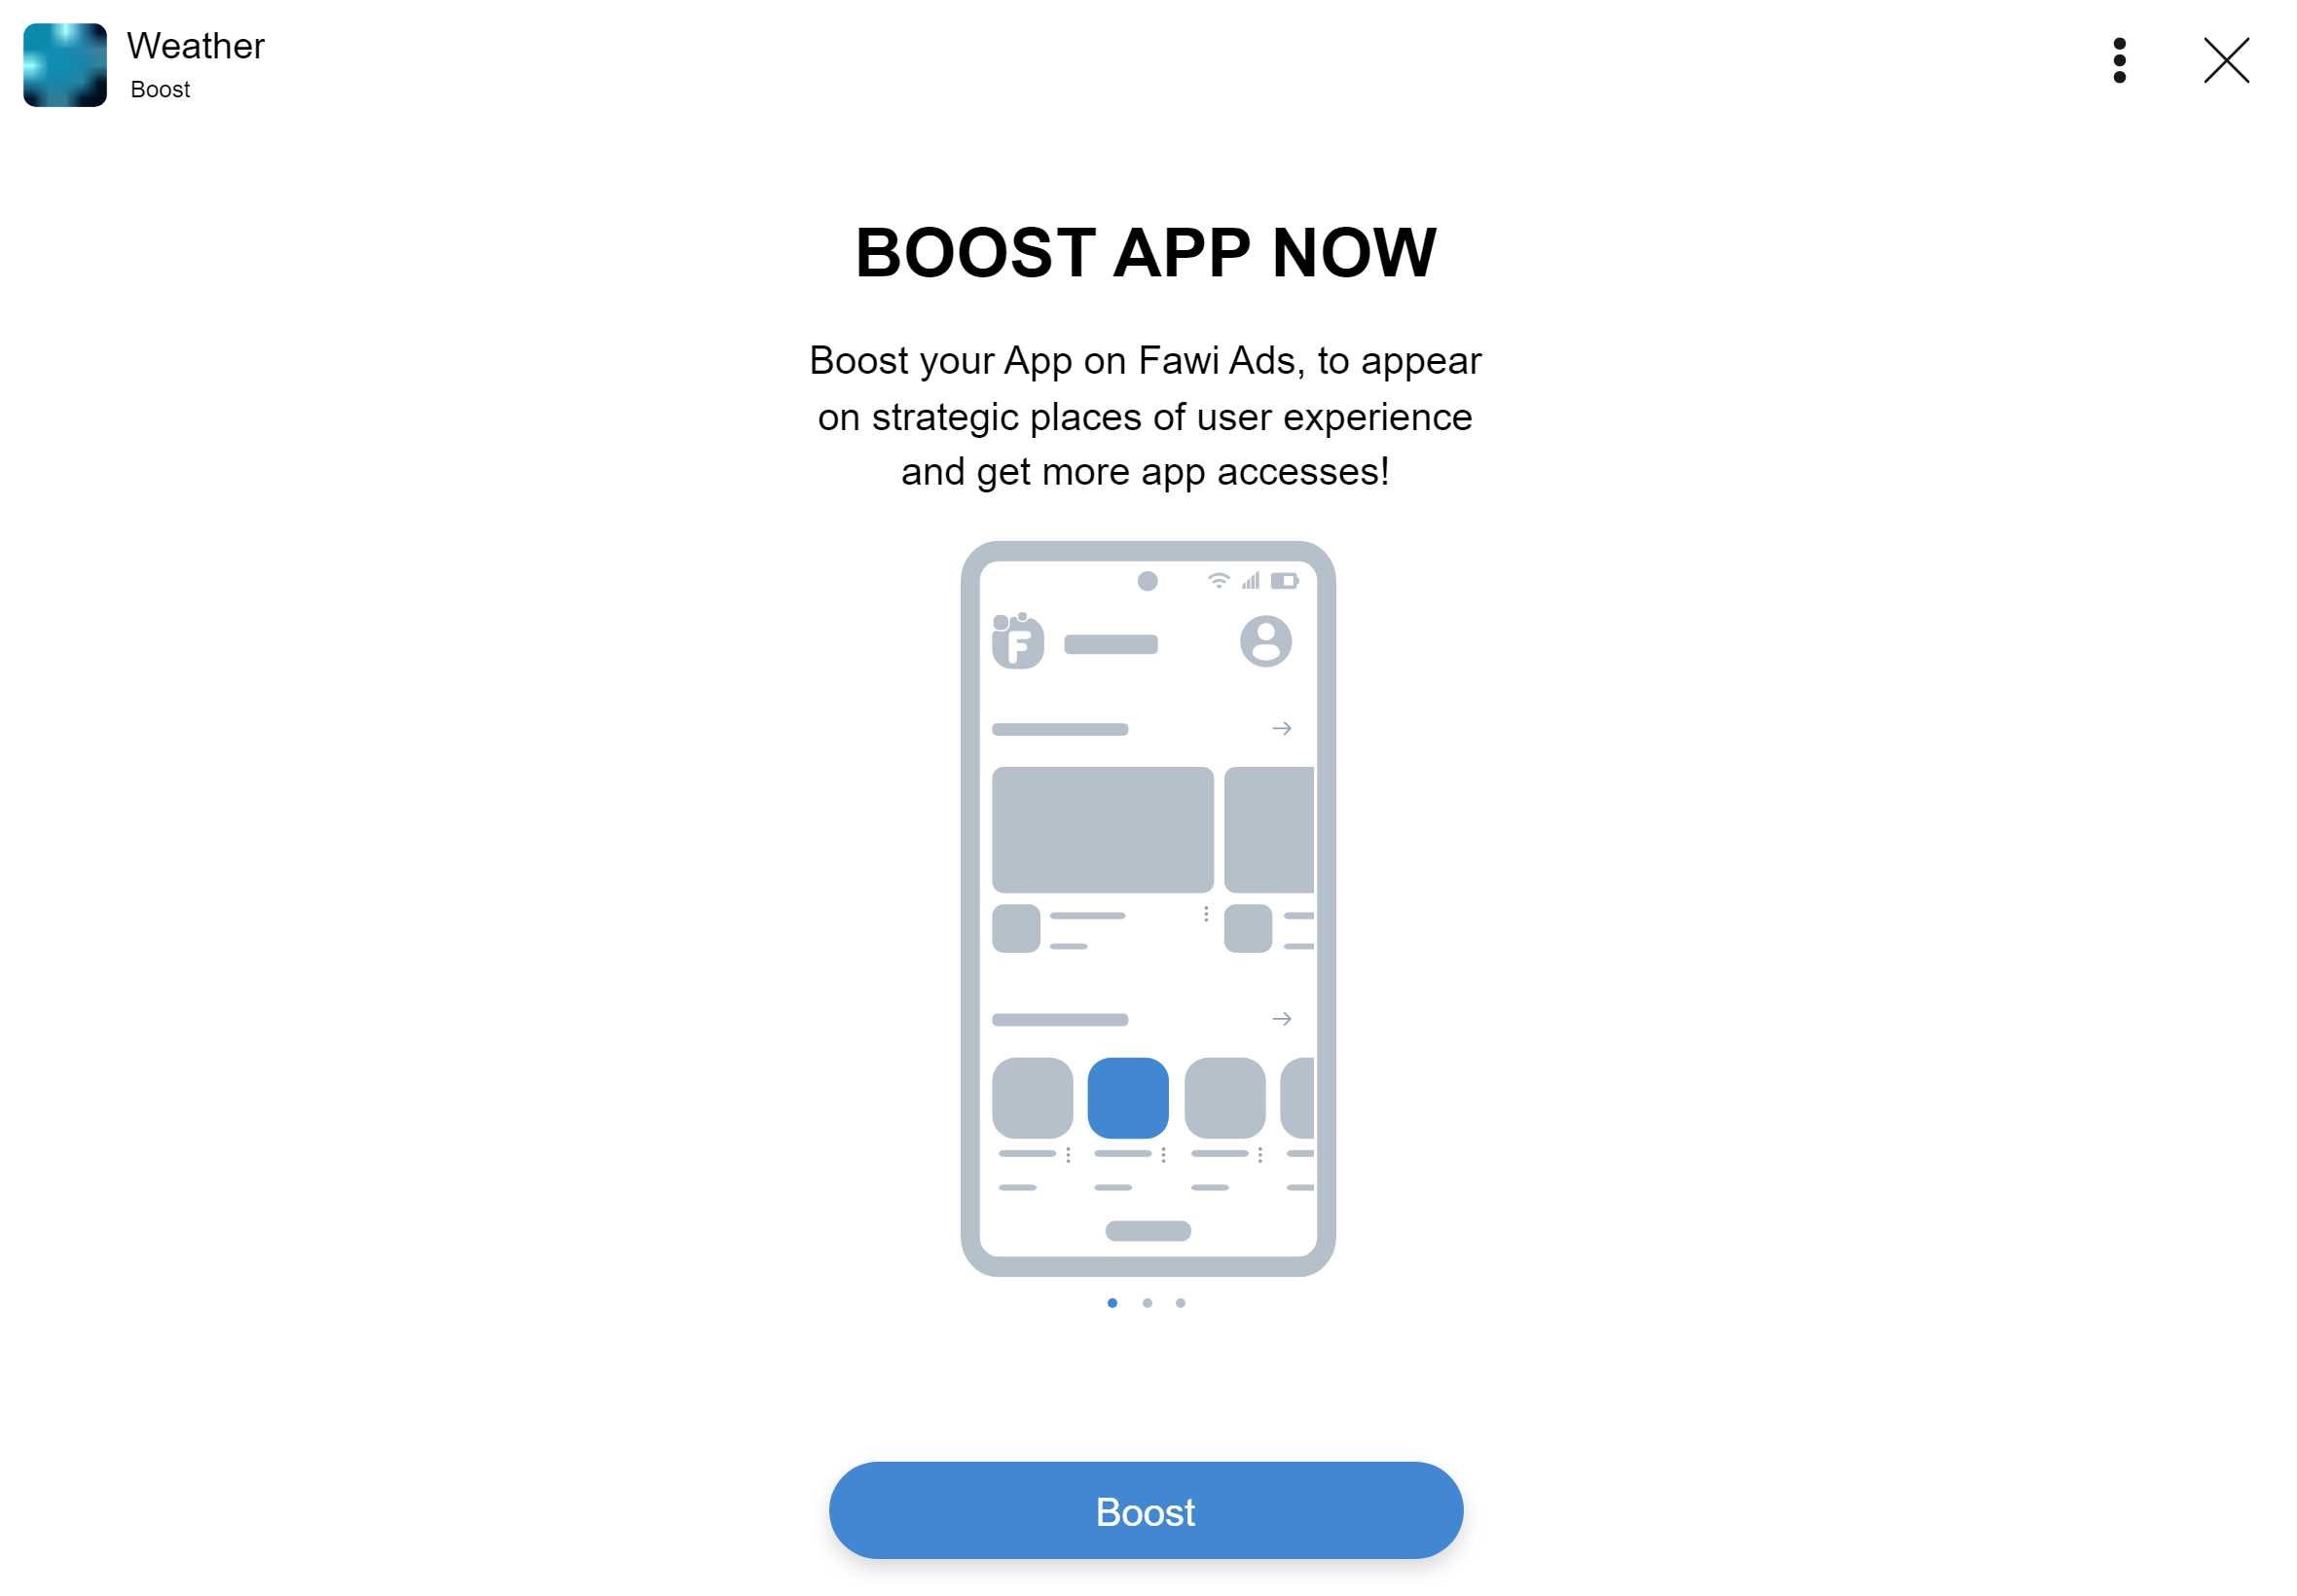
Boost
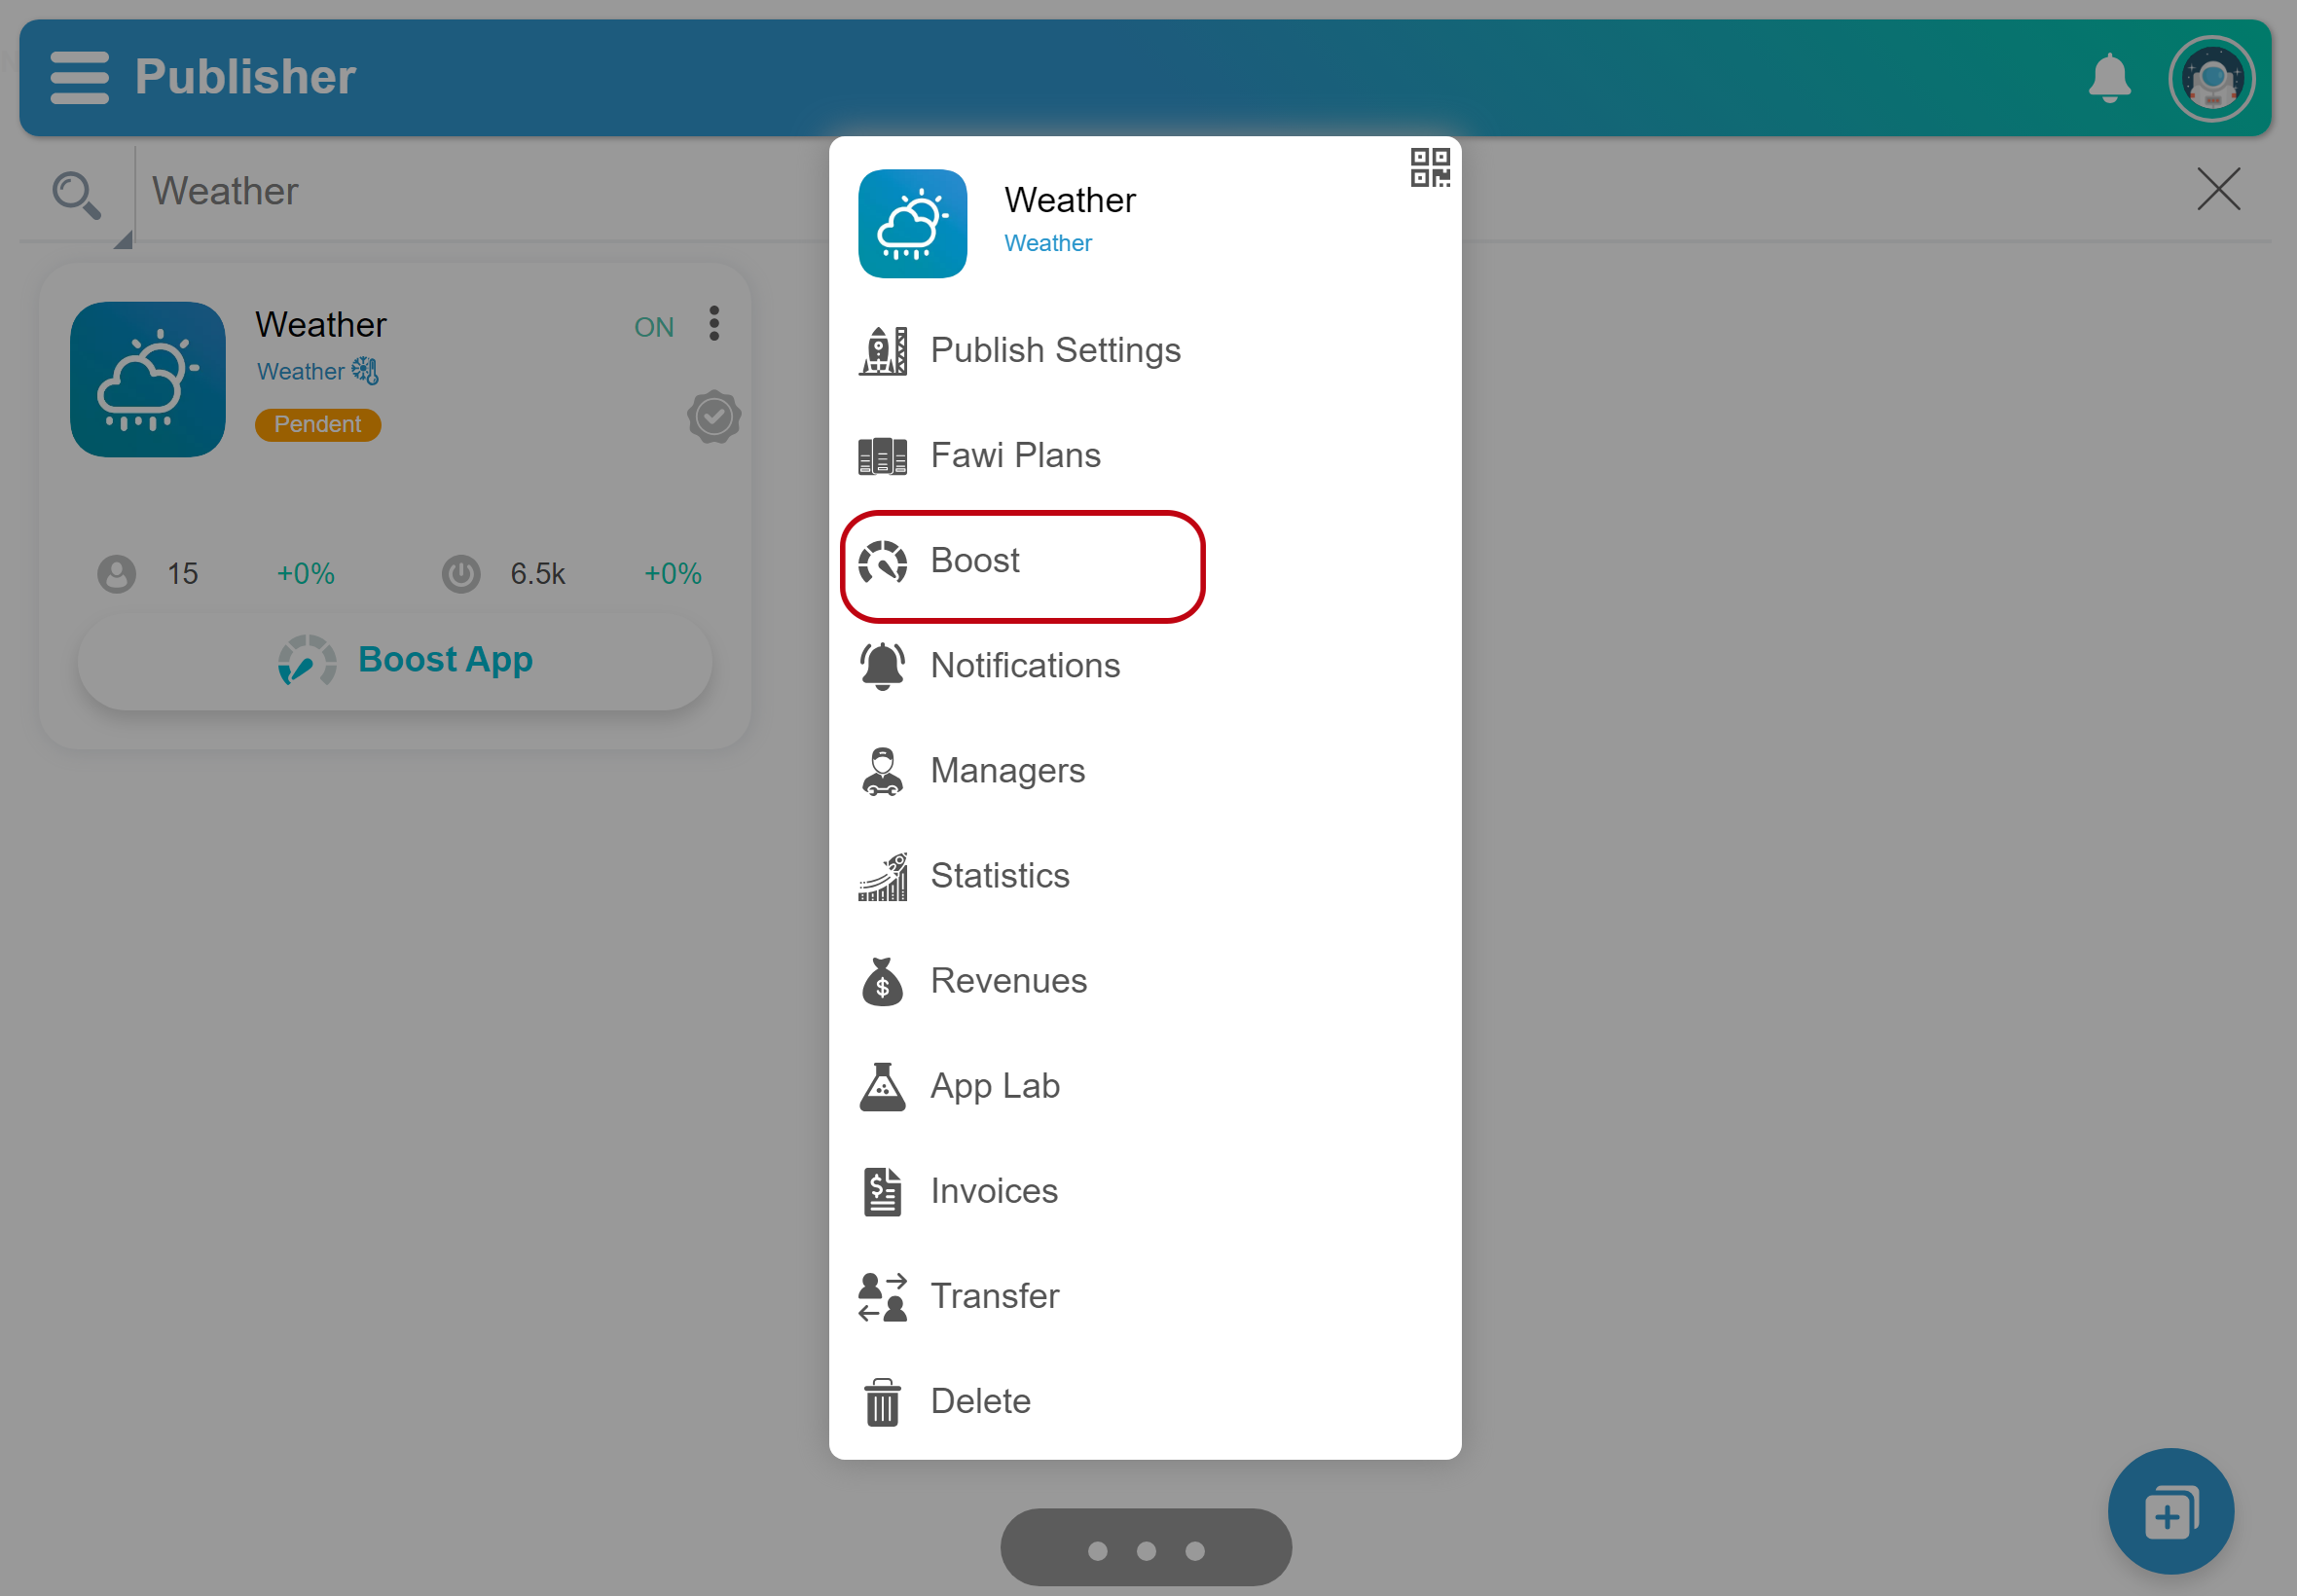
Boost your App on Fawi Ads, to appear on strategic places of user experience and get more app accesses.
- Open Fawi Office.
- At the top right of an app card, tap more .
- From the app main menu, select Boost to open the Boost page.
- Click the Boost button.
- Set you Budget. NOTE: You can set your budget anytime or add credits to it.
- Open Fawi Office.
- At the bottom of an app card, click the Boost App button to open the Boost page.
- Click the Boost button.
- Set you Budget. NOTE: You can set your budget anytime or add credits to it.
Notifications
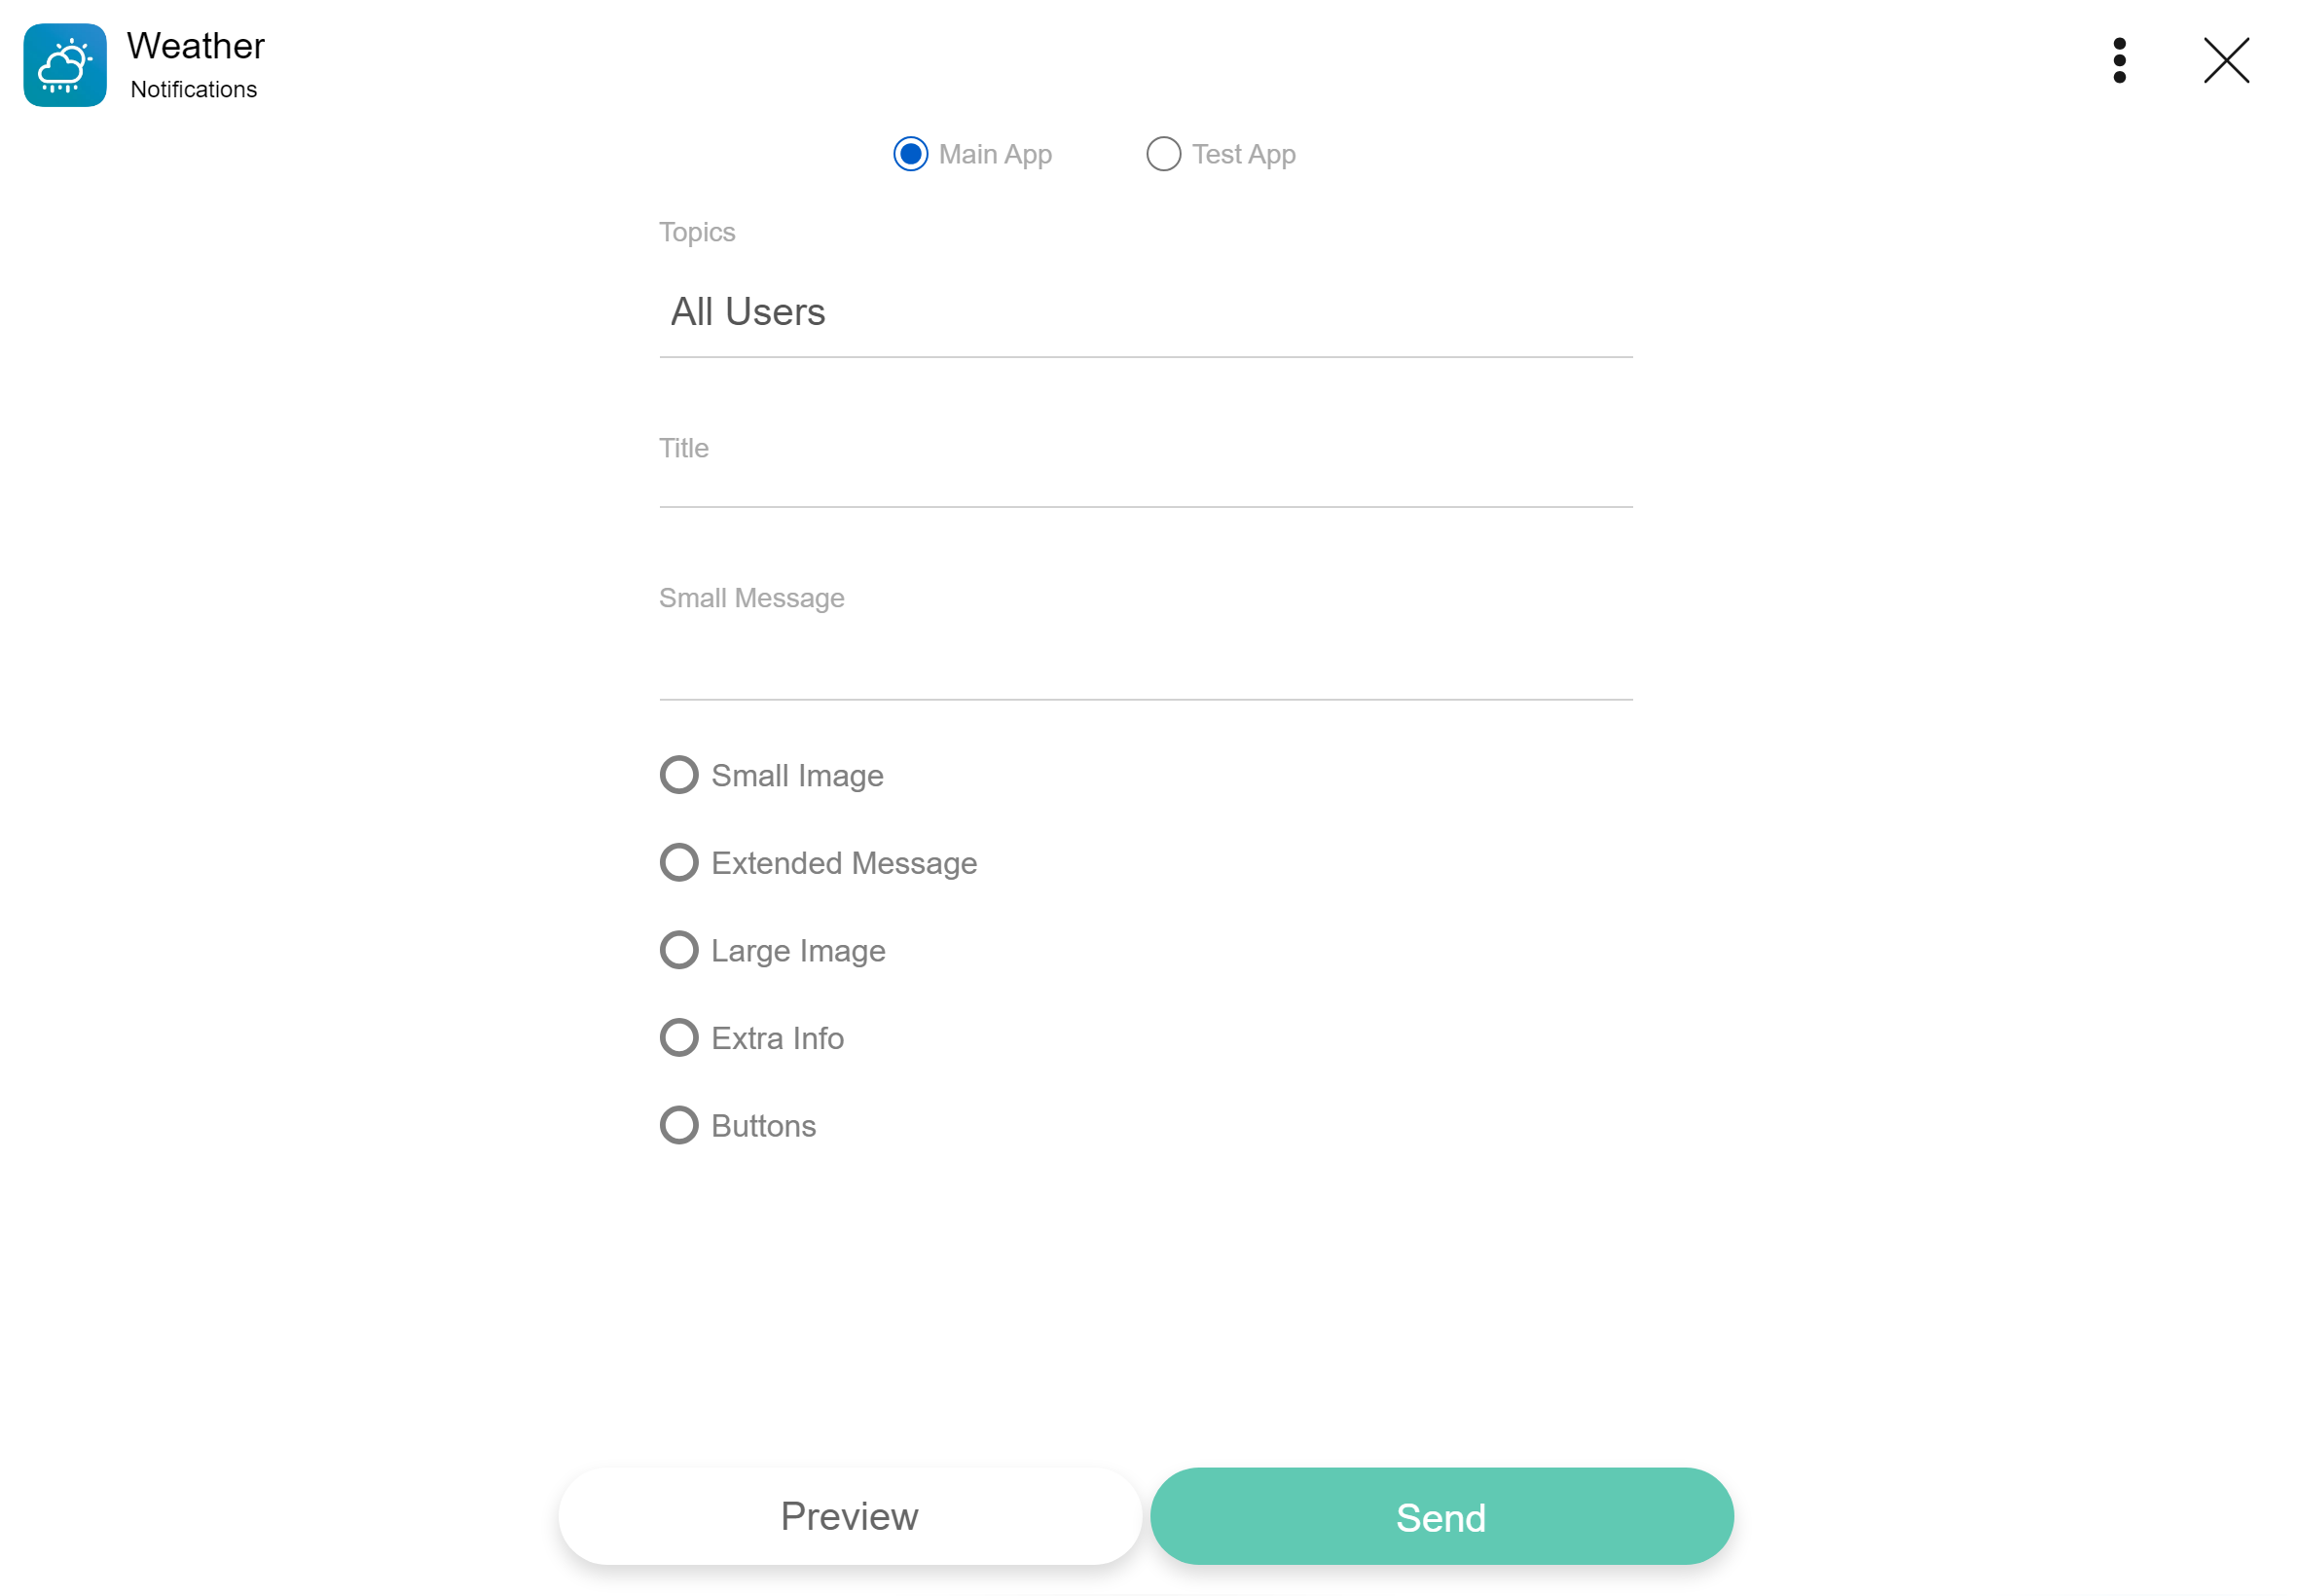
Fawi provides two ways to send notifications to your app users.
- Open Fawi Office.
- At the top right of an app card, tap more .
- From the app main menu, select Notifications to open the Notifications page.
- Fill in the form and click the Send button. NOTE: In order to send notifications, you need to subscribe to a Fawi plan.

Restricted Users
Invite restricted users to use your app in Restricted Public Mode.
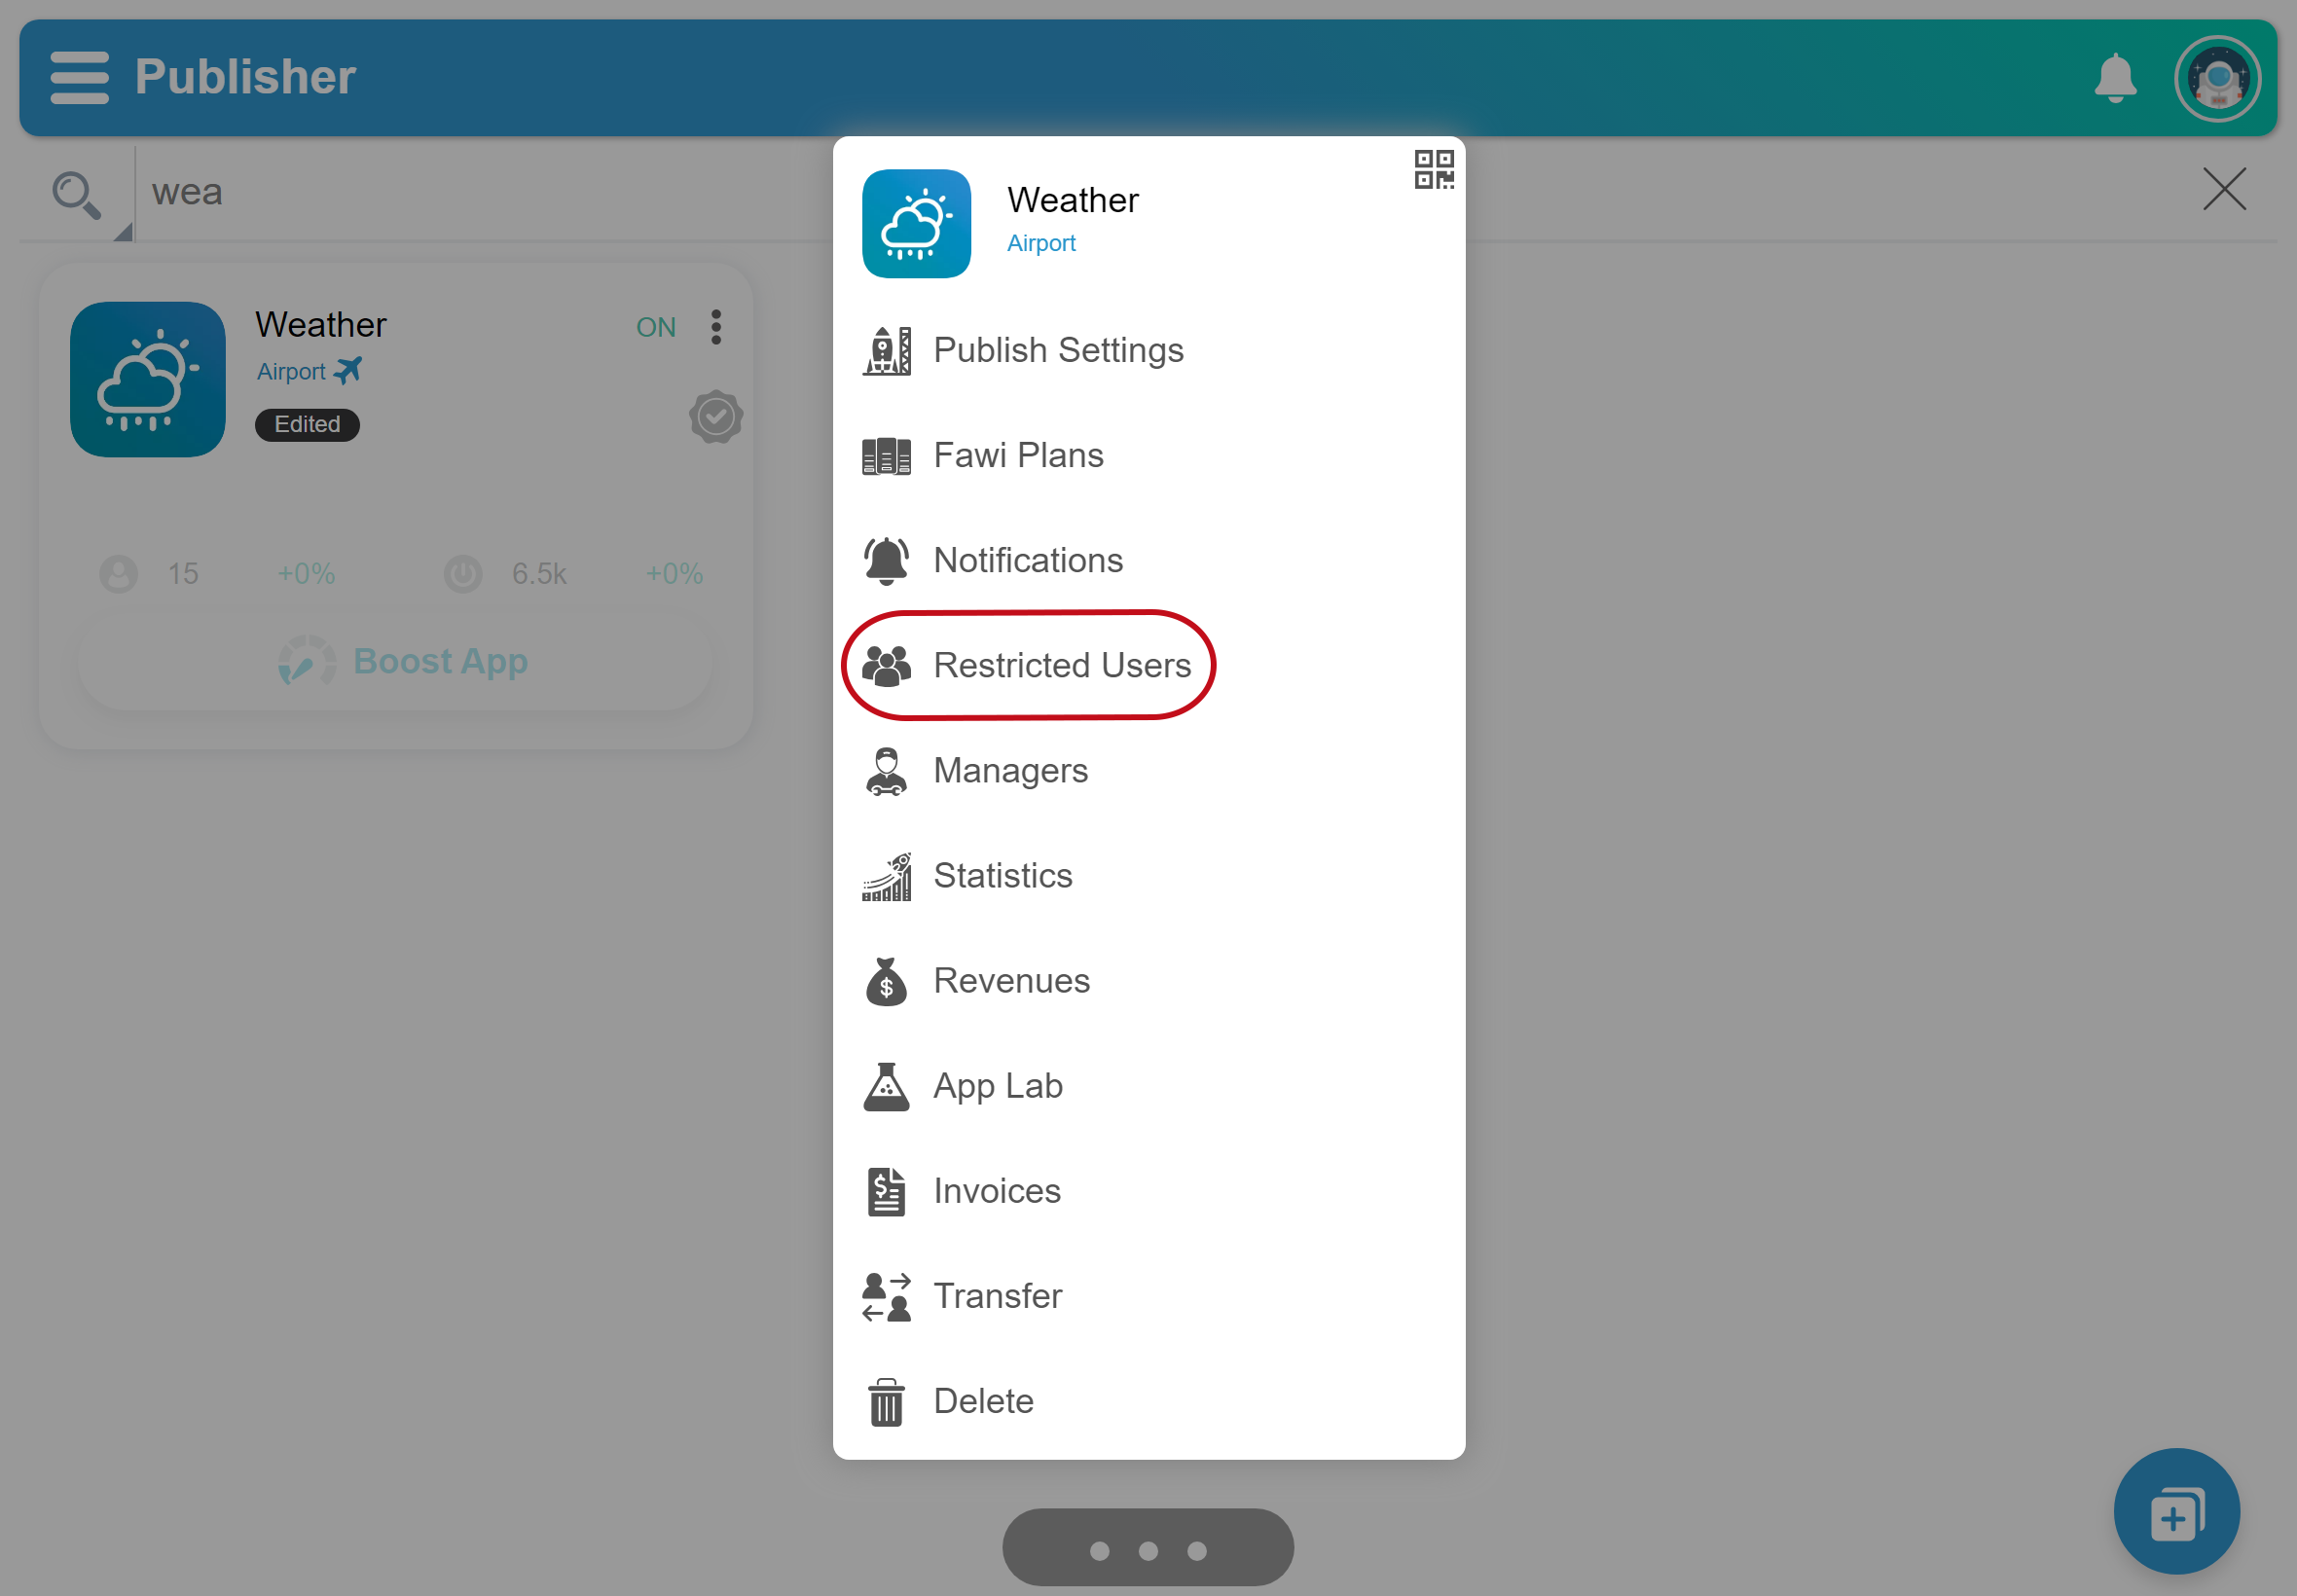
- Open Fawi Office.
- At the top right of an app card, tap more .
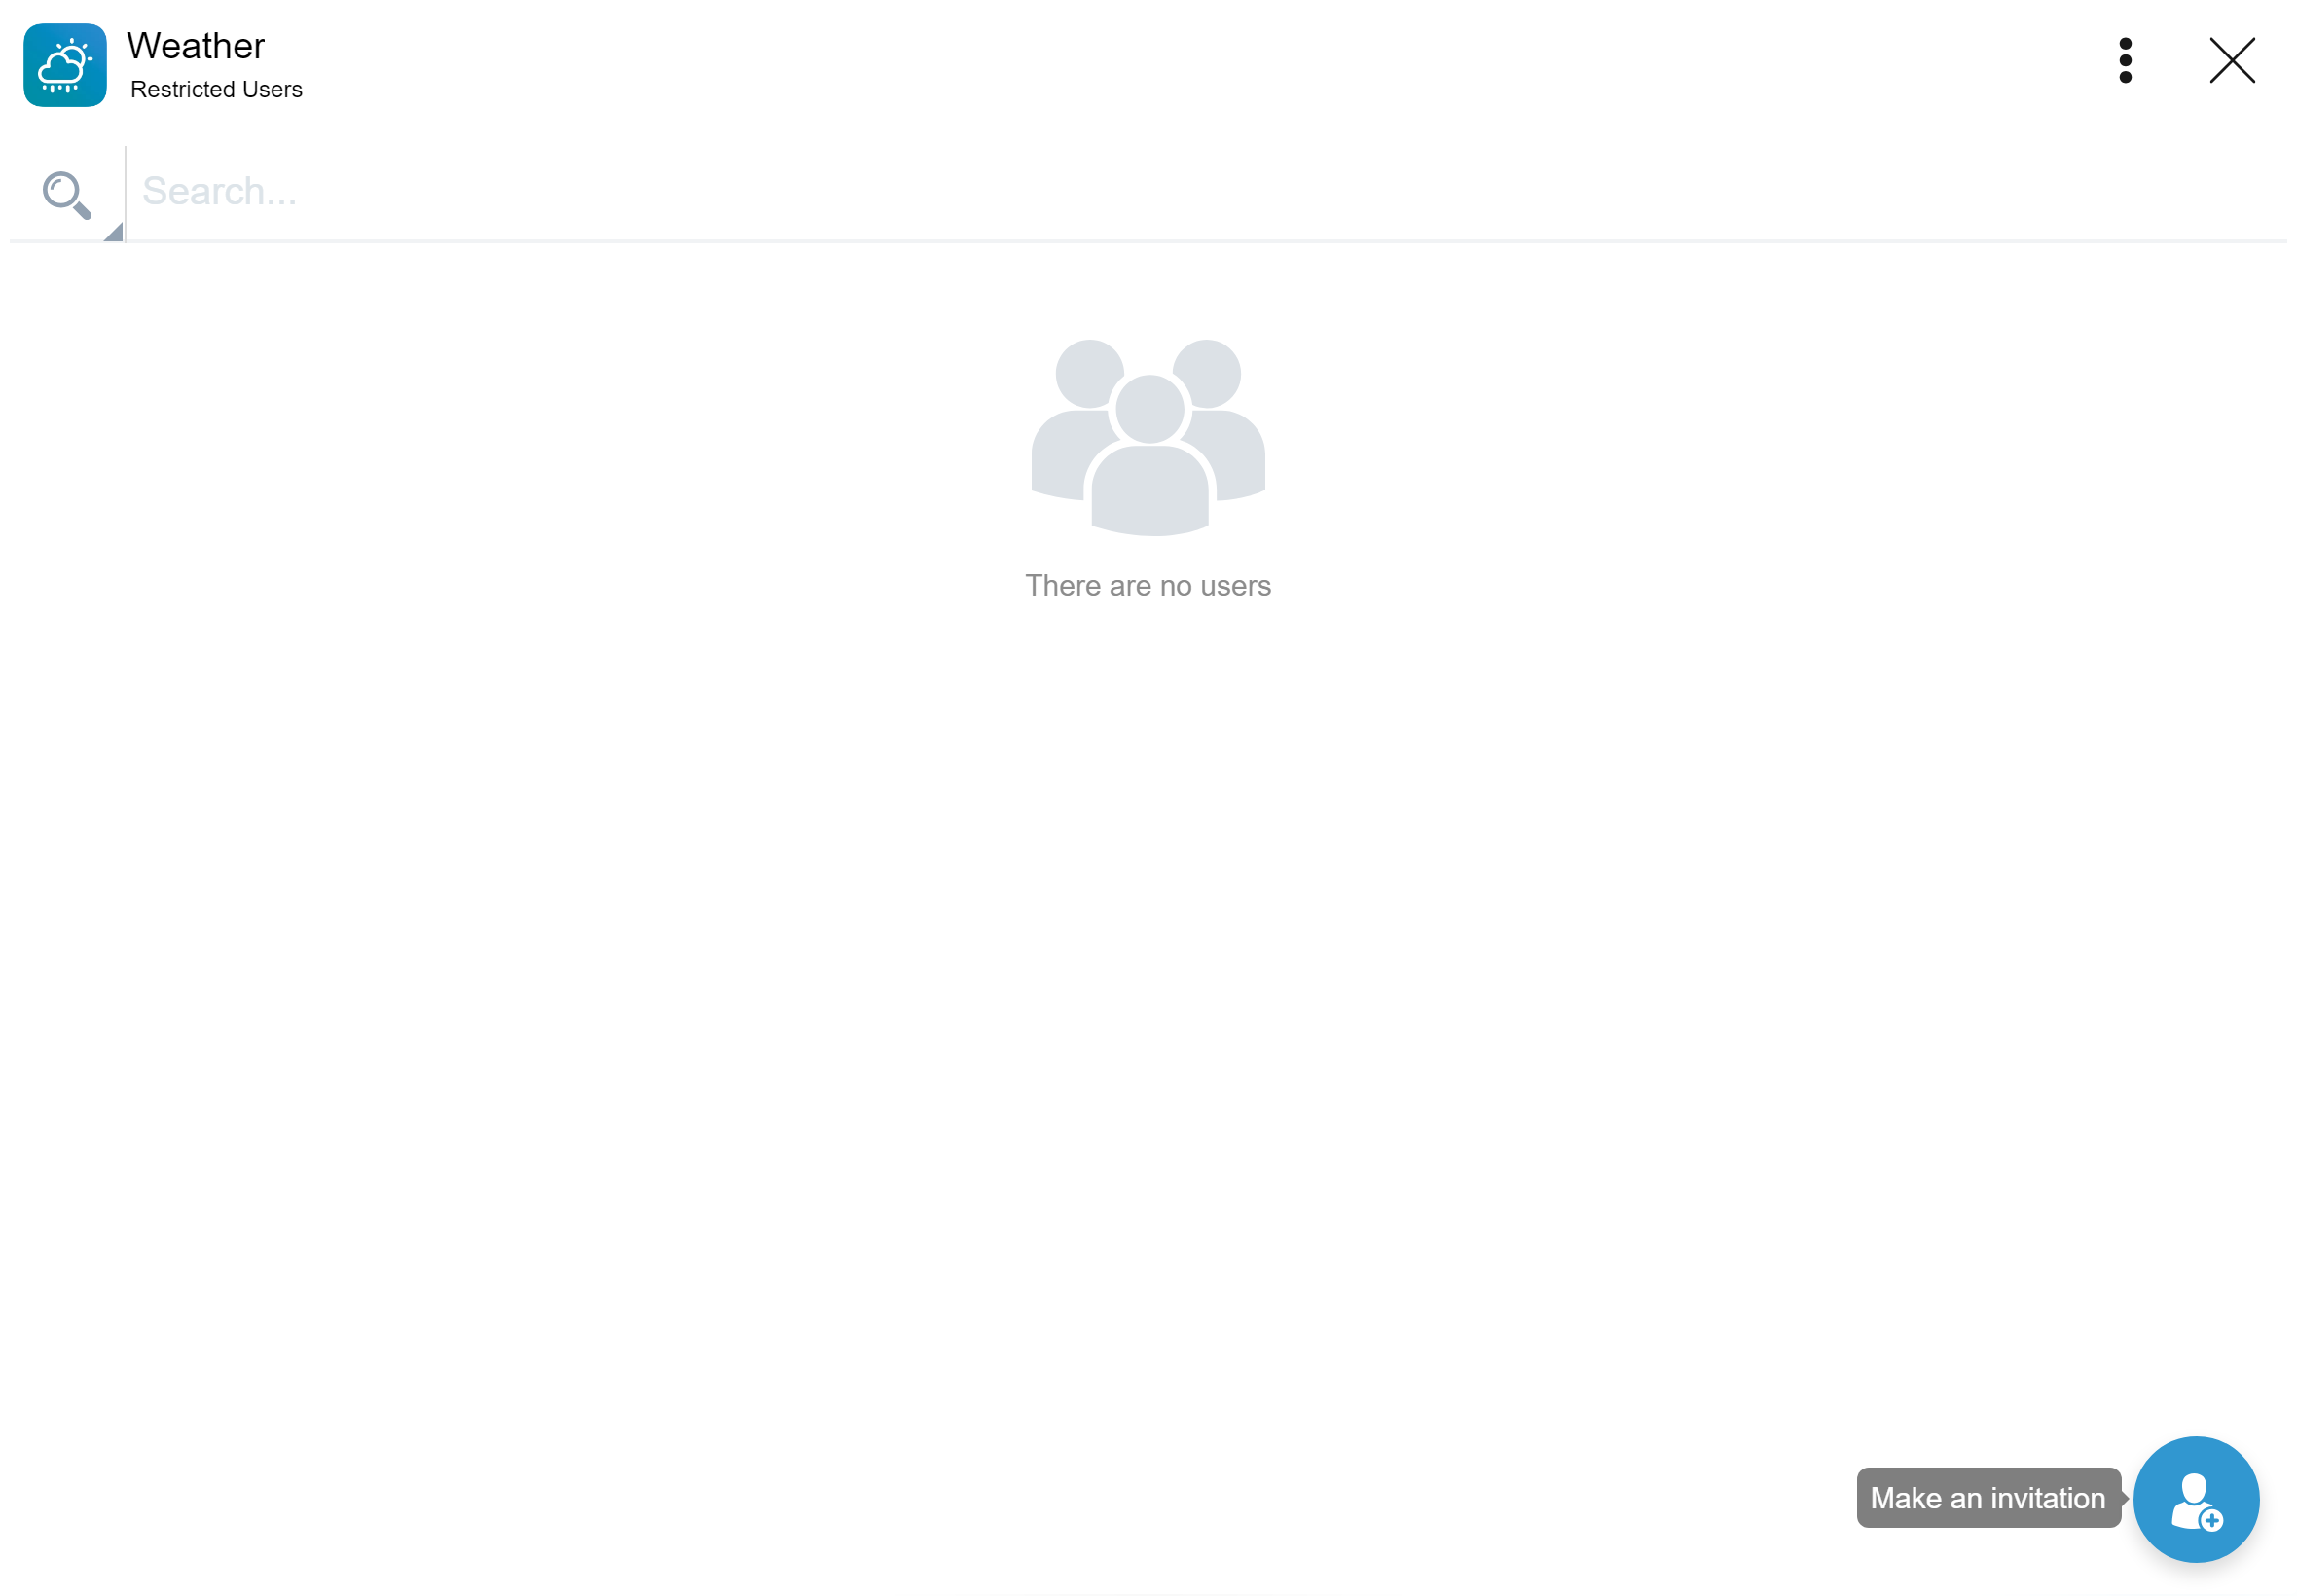
- From the app main menu, select Restricted Users to open the Restricted Users page.
- In the Restricted Users page, click the bottom right button to open the Invite dialog:
- Enter the recipient’s email.
- Click the OK button.
- Fill in the form and click the Invite button. NOTE: The user appers in the Restricted Users page. You can edit it anytime.
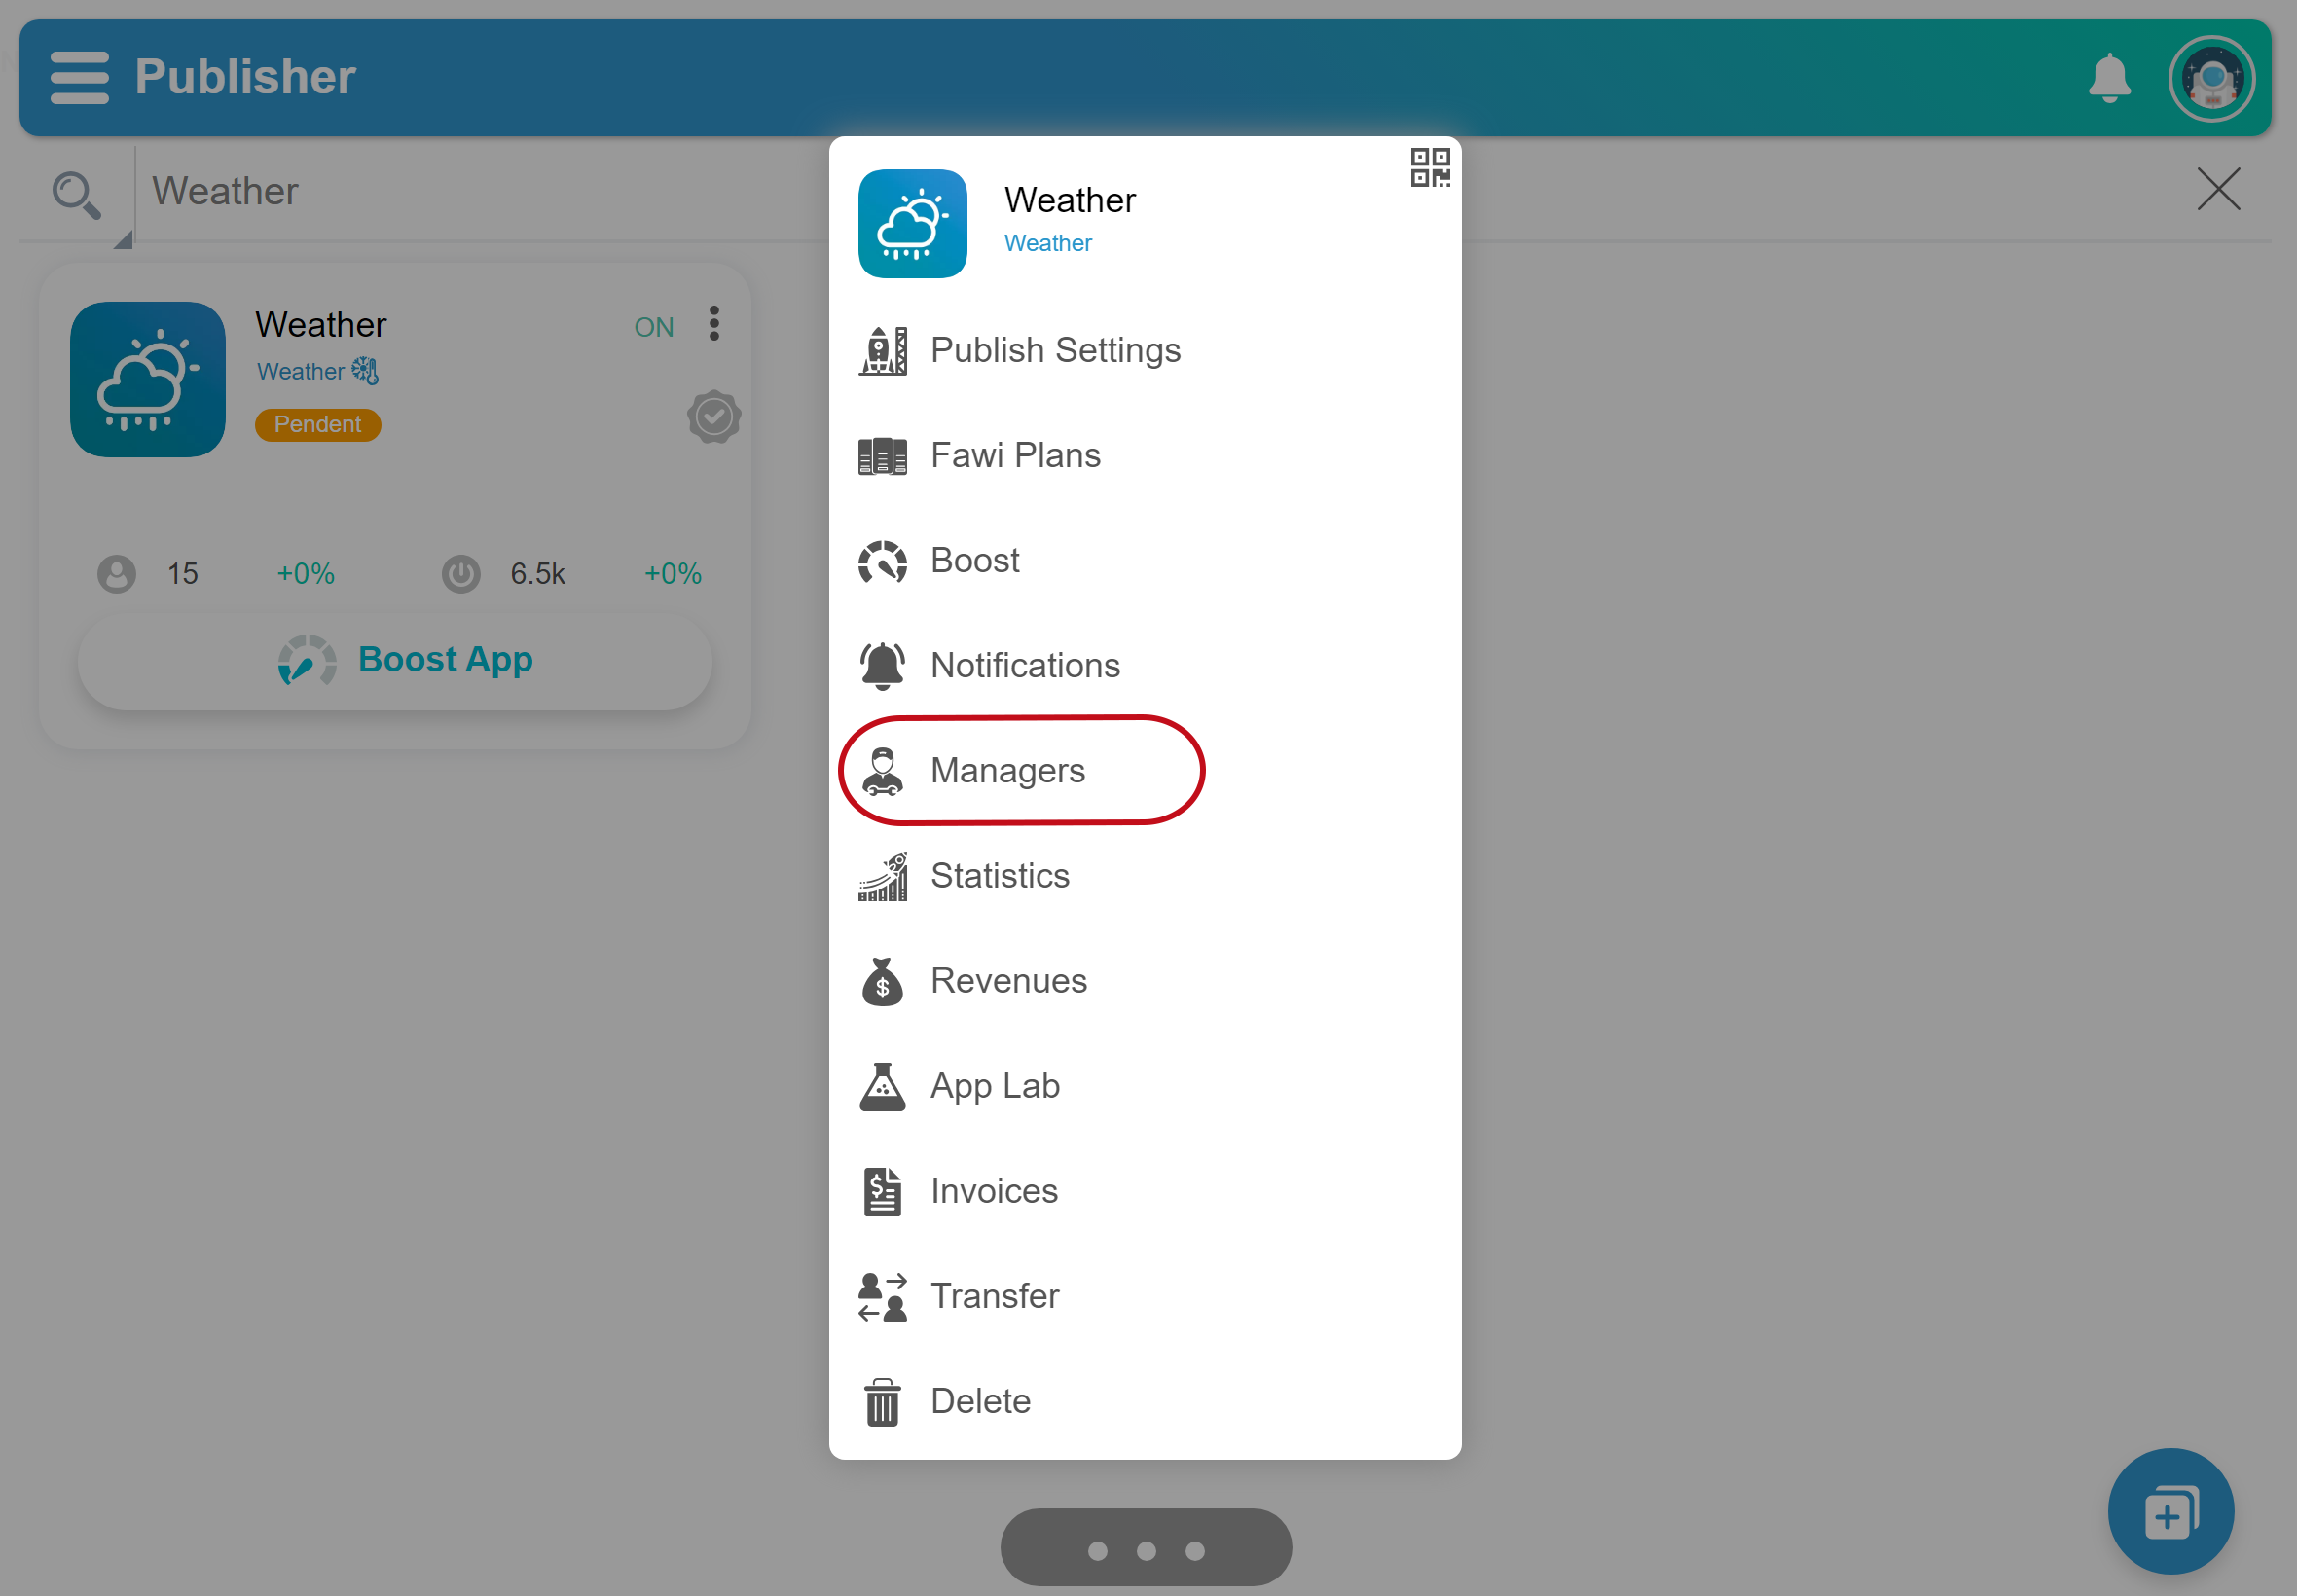
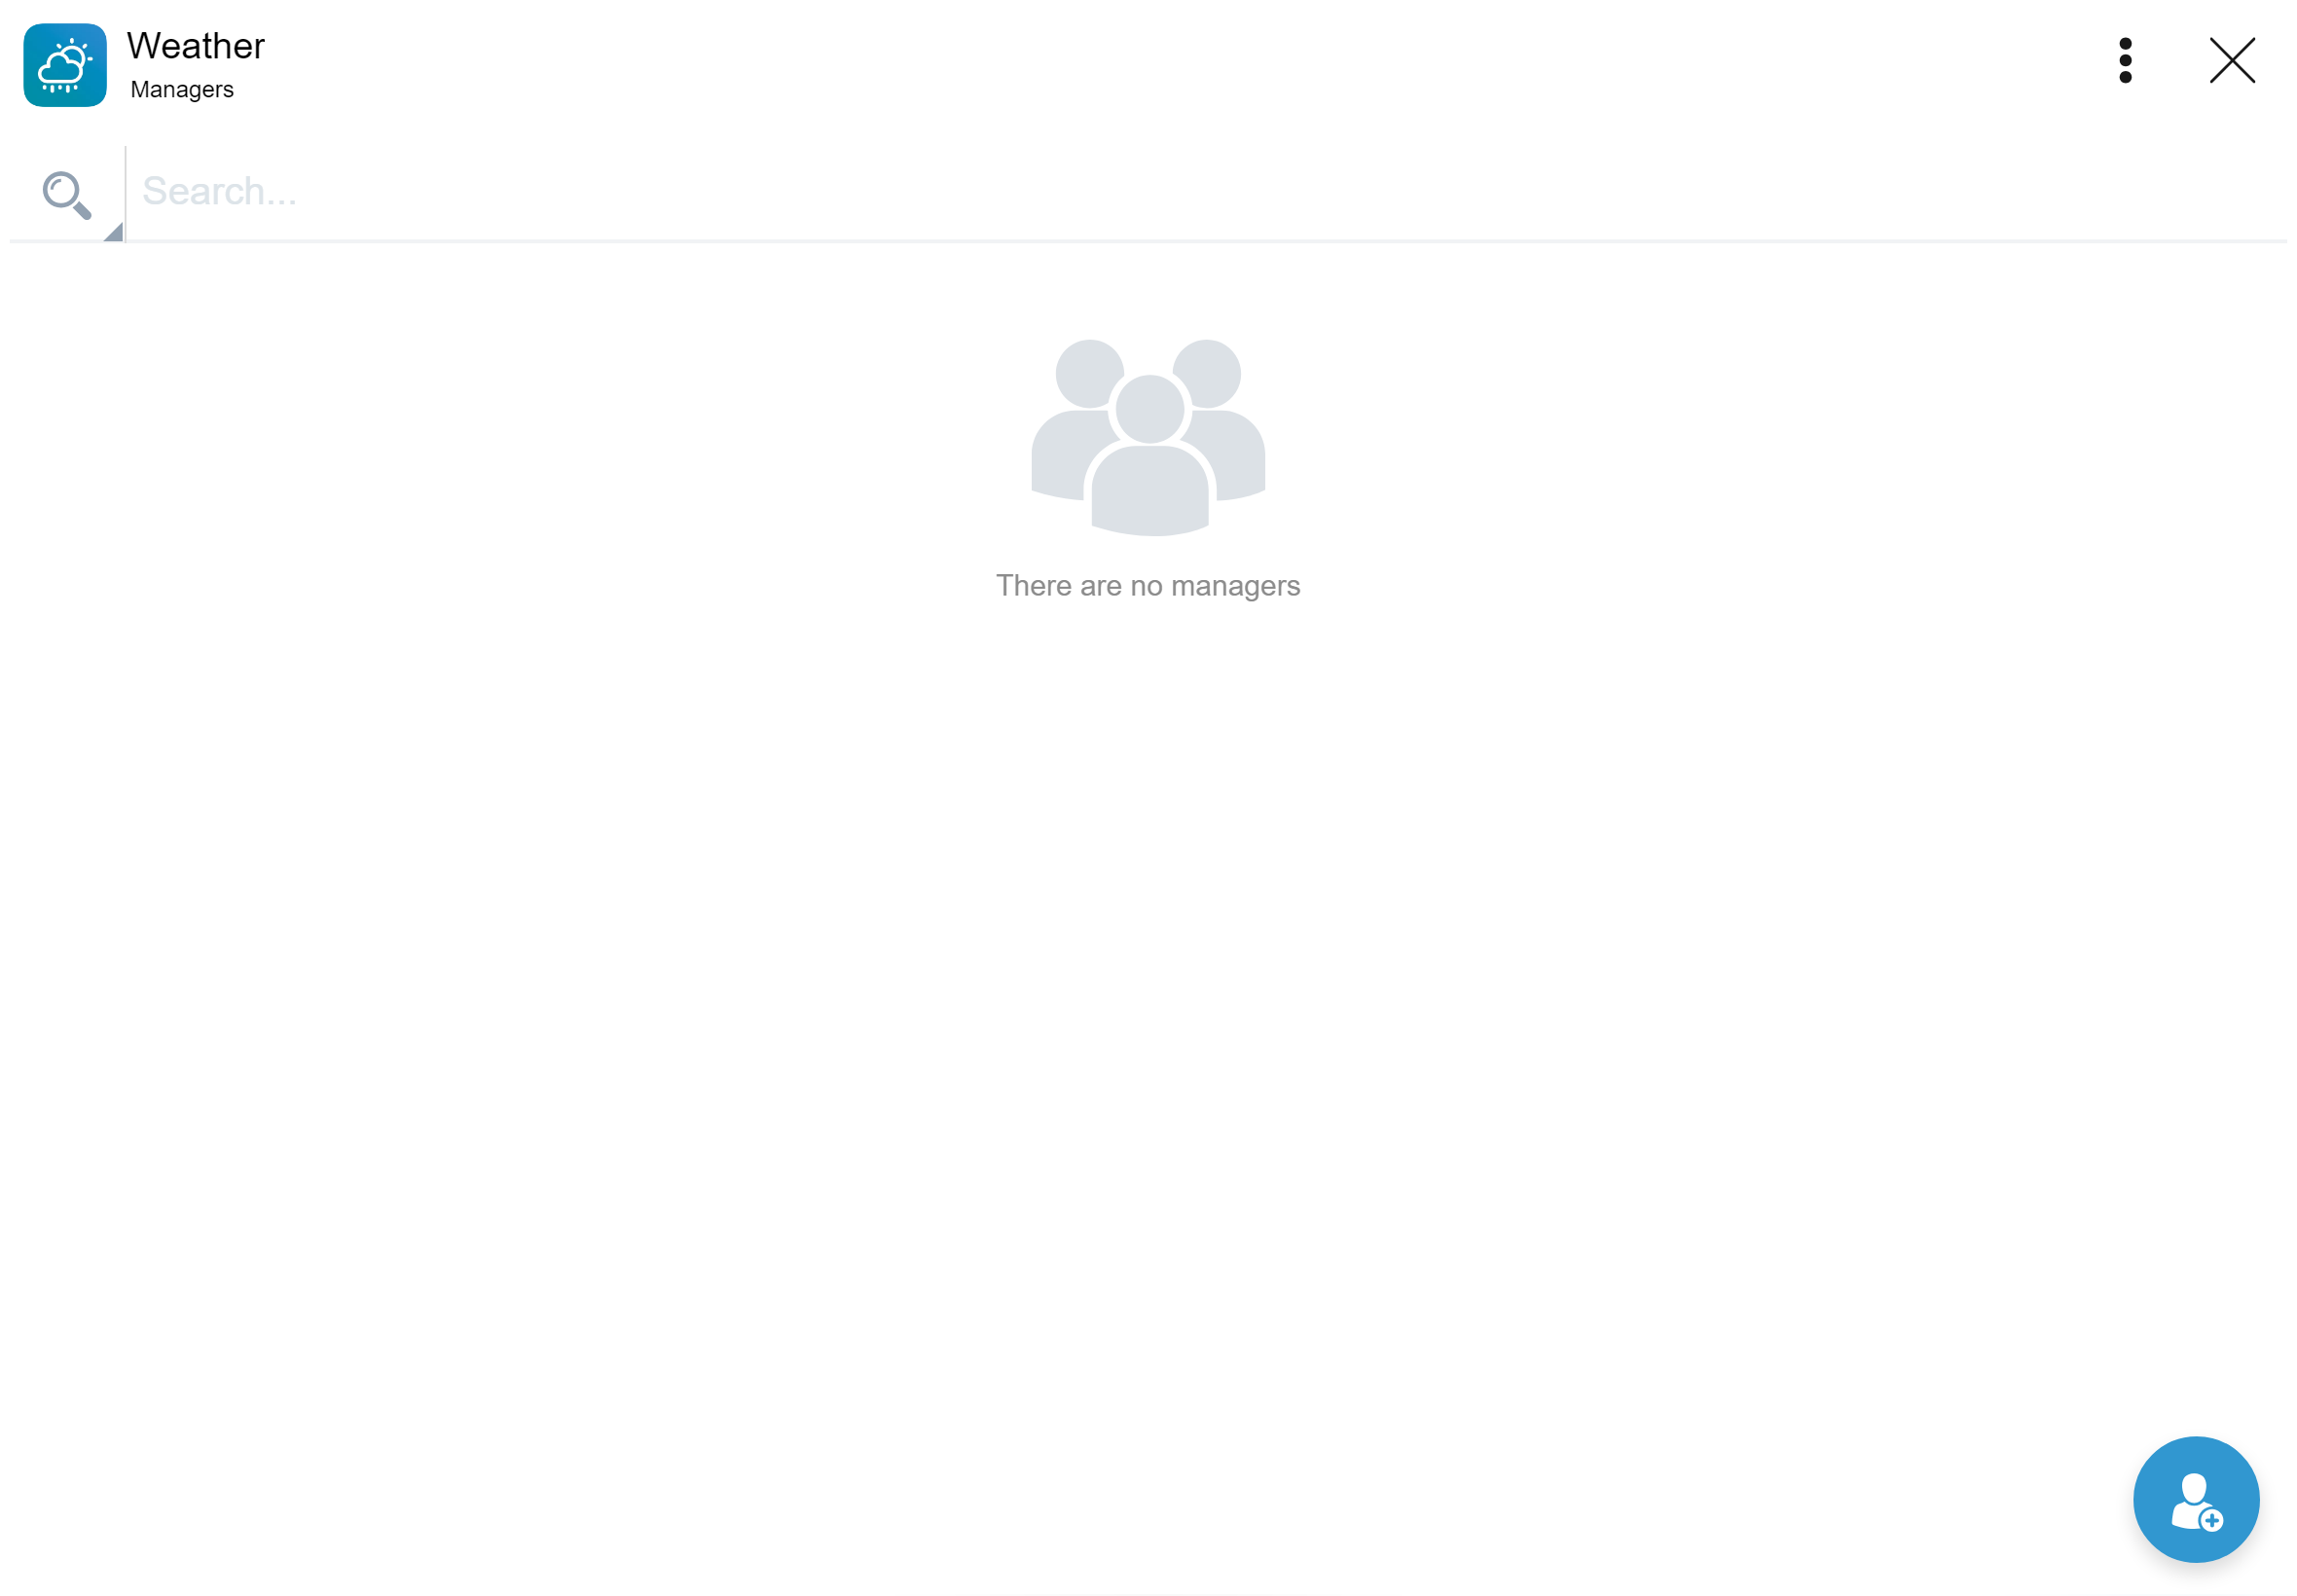
Managers
Invite colaborators to help you manage your Apps.
- Open Fawi Office.
- At the top right of an app card, tap more .
- From the app main menu, select Managers to open the Managers page. NOTE: In order to invite a manager, you need to subscribe to a Fawi plan.
- In the Managers page, click the bottom right button to open the Invite dialog:
- Enter the recipient’s email.
- Click the OK button.
- Fill in the form and click the Next button.
- Select the permissions, then click the Next button.
- Click the Finish button. NOTE: The manager appers in the Managers page. You can edit it anytime.
Statistics
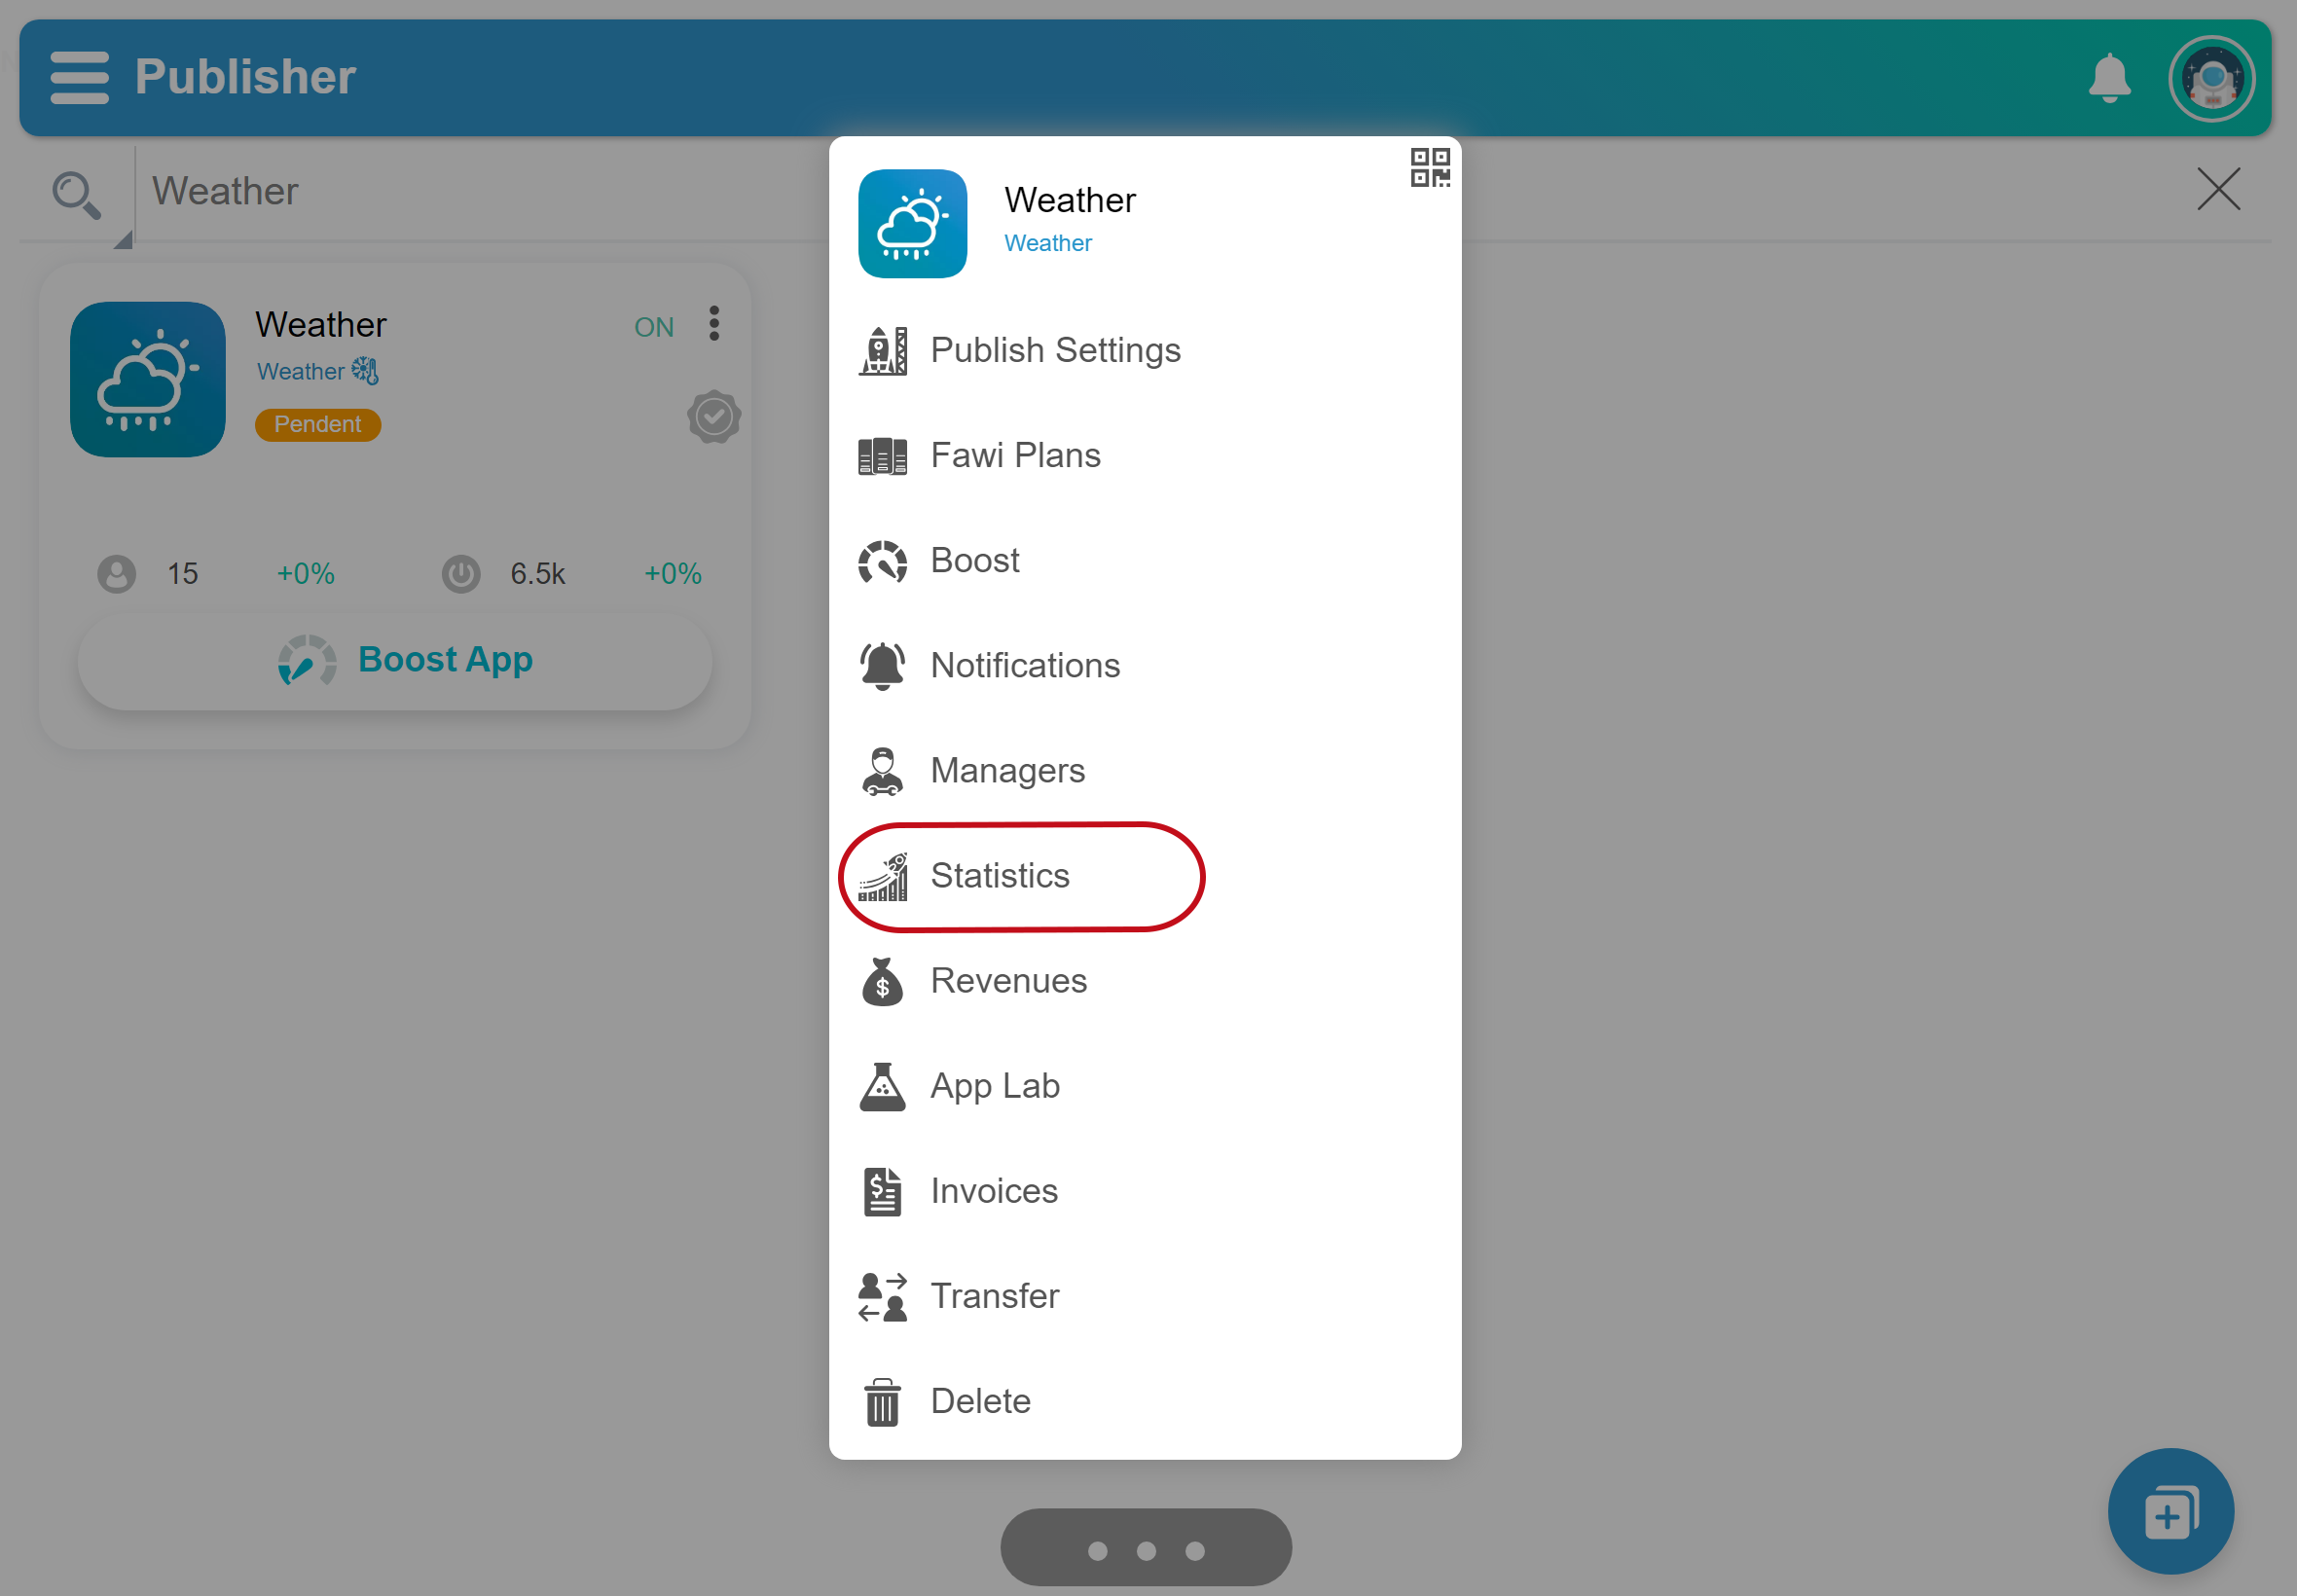
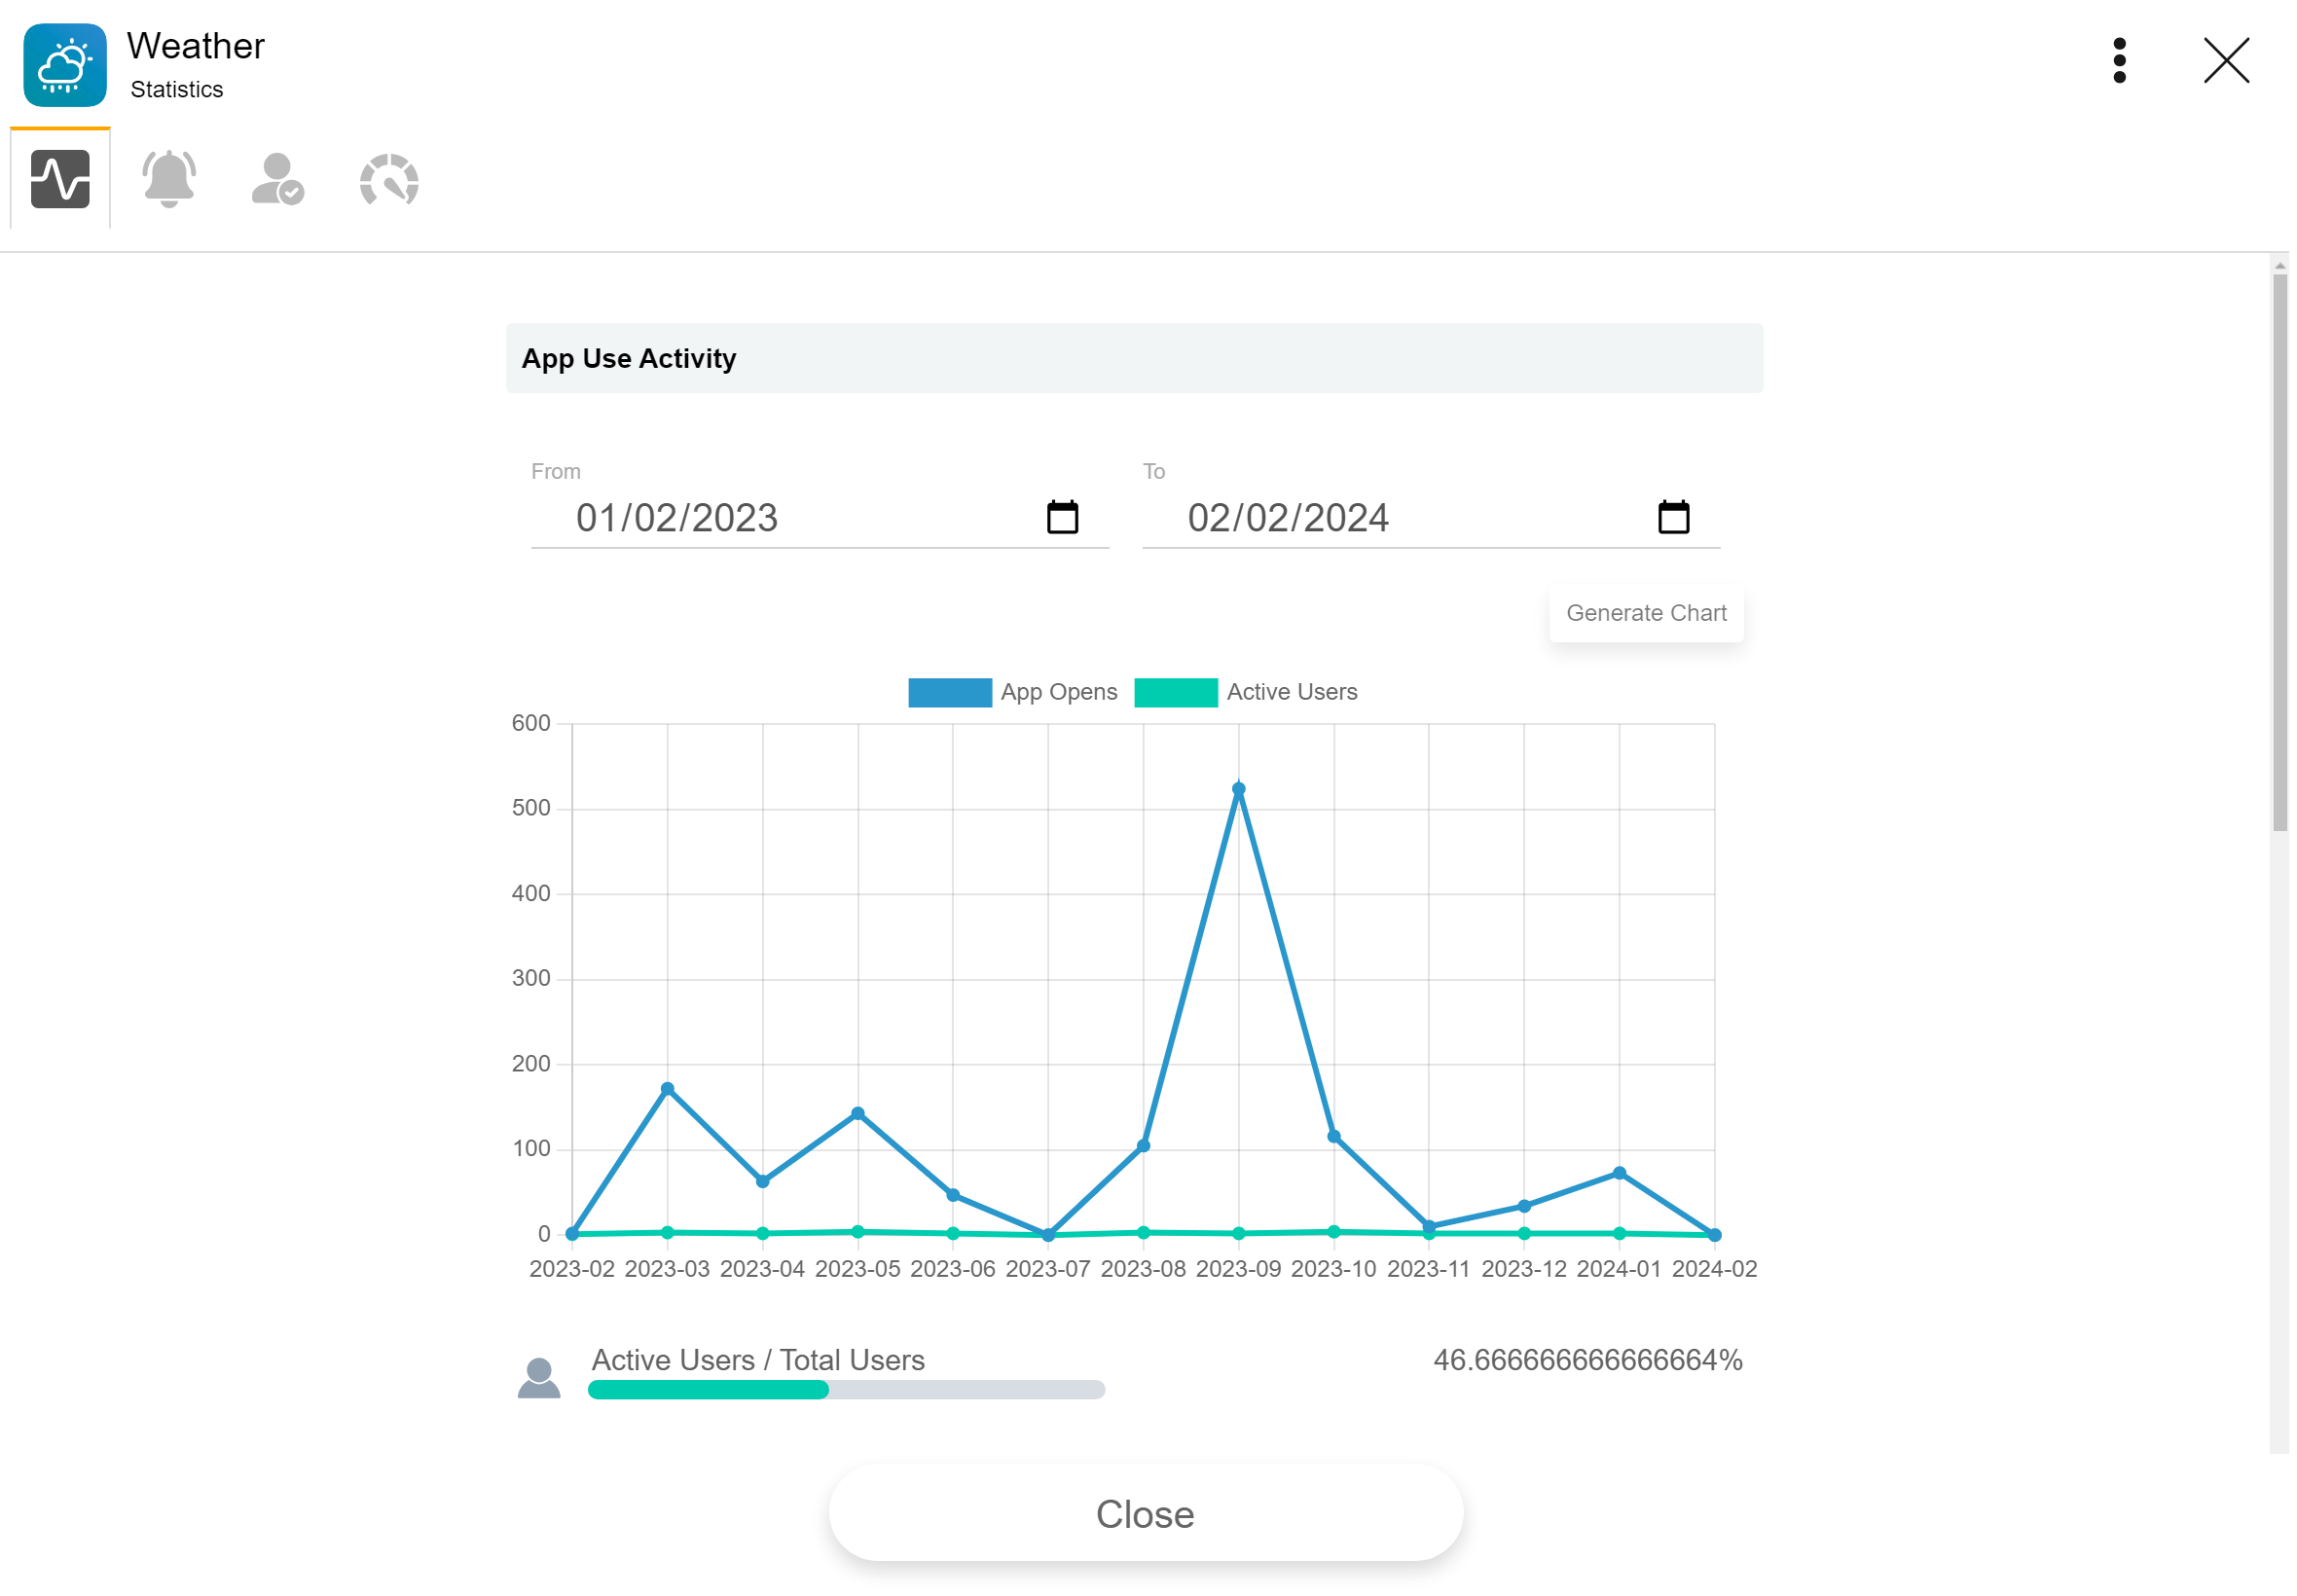
View how your app is growing.
- Open Fawi Office.
- At the top right of an app card, tap more .
- From the app main menu, select Statistics to open the Statistics page.
- Tap the tabs to view your apps growth.
Users
Shows how many users the app has.
Opens
Indicates how many times the app has been opened.
Favorites
Shows how many users have bookmarked the app.
Added to Device
How many times the app was added to the homescreen.
Rating
Users ratings about the app.
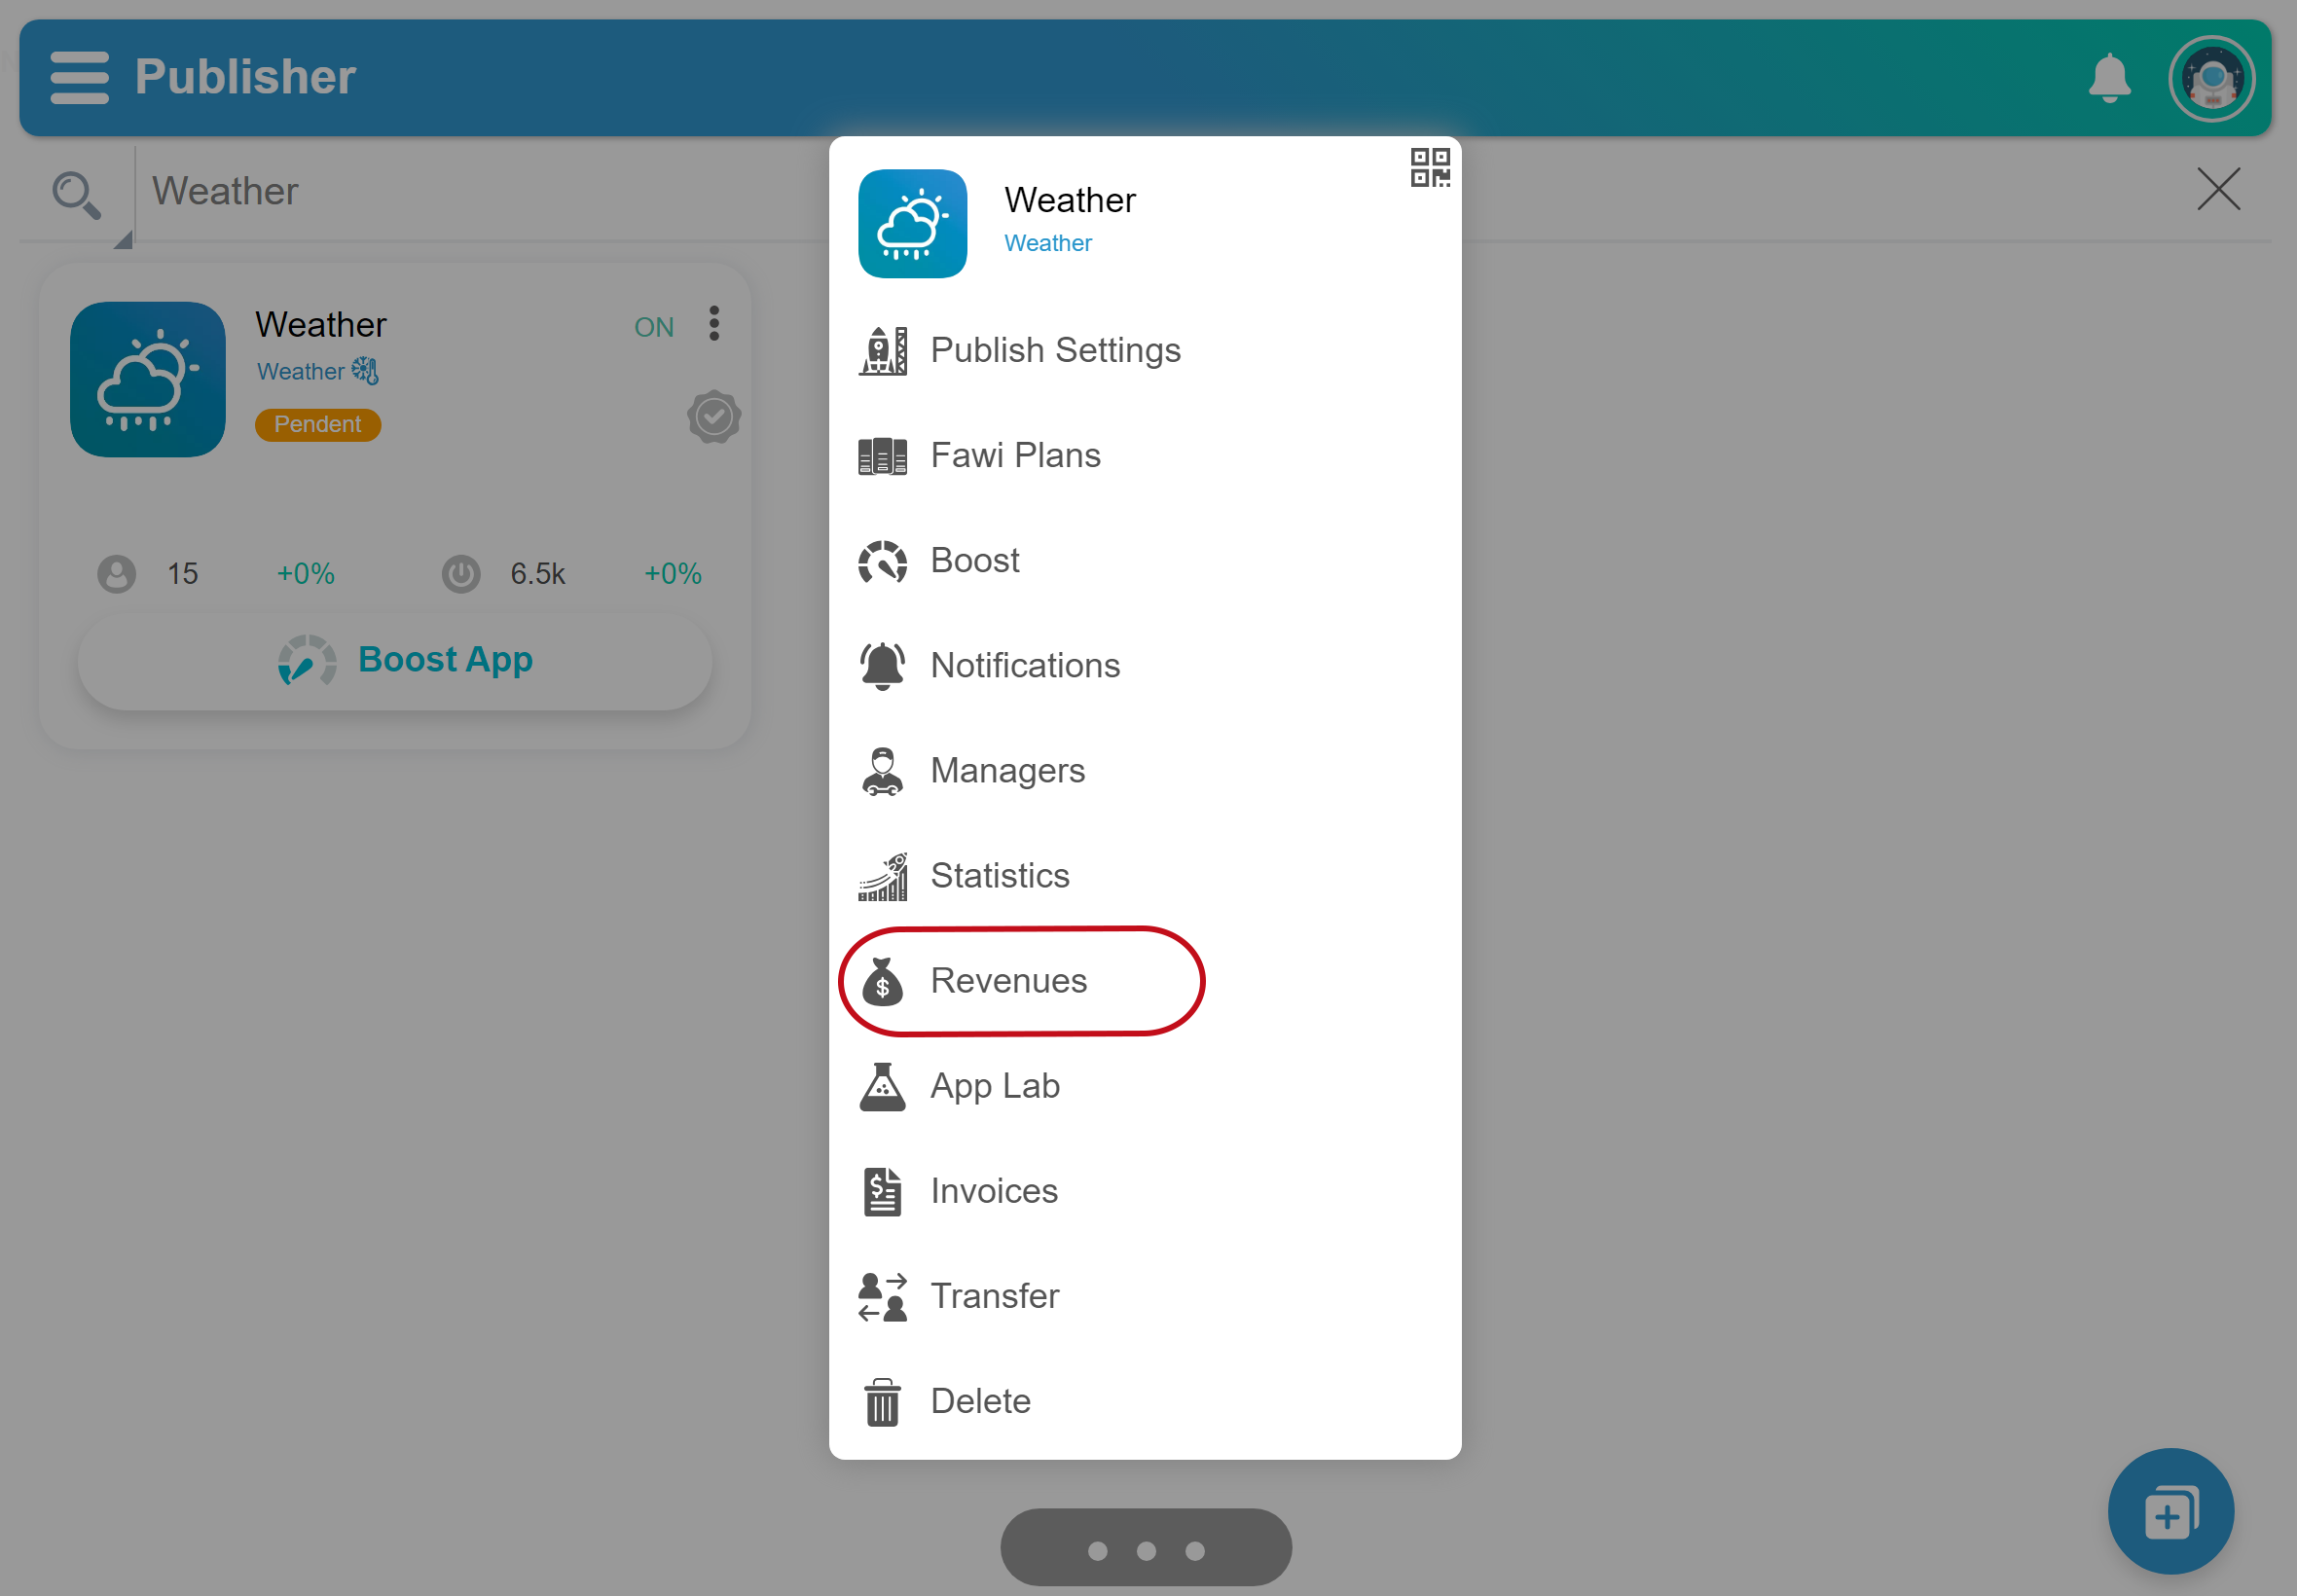
Revenues
View your app Ads earned credits:
- Open Fawi Office.
- At the top right of an app card, tap more .
- From the app main menu, select Revenues to open the Revenues page.
- Tap the Ads Earns tab.
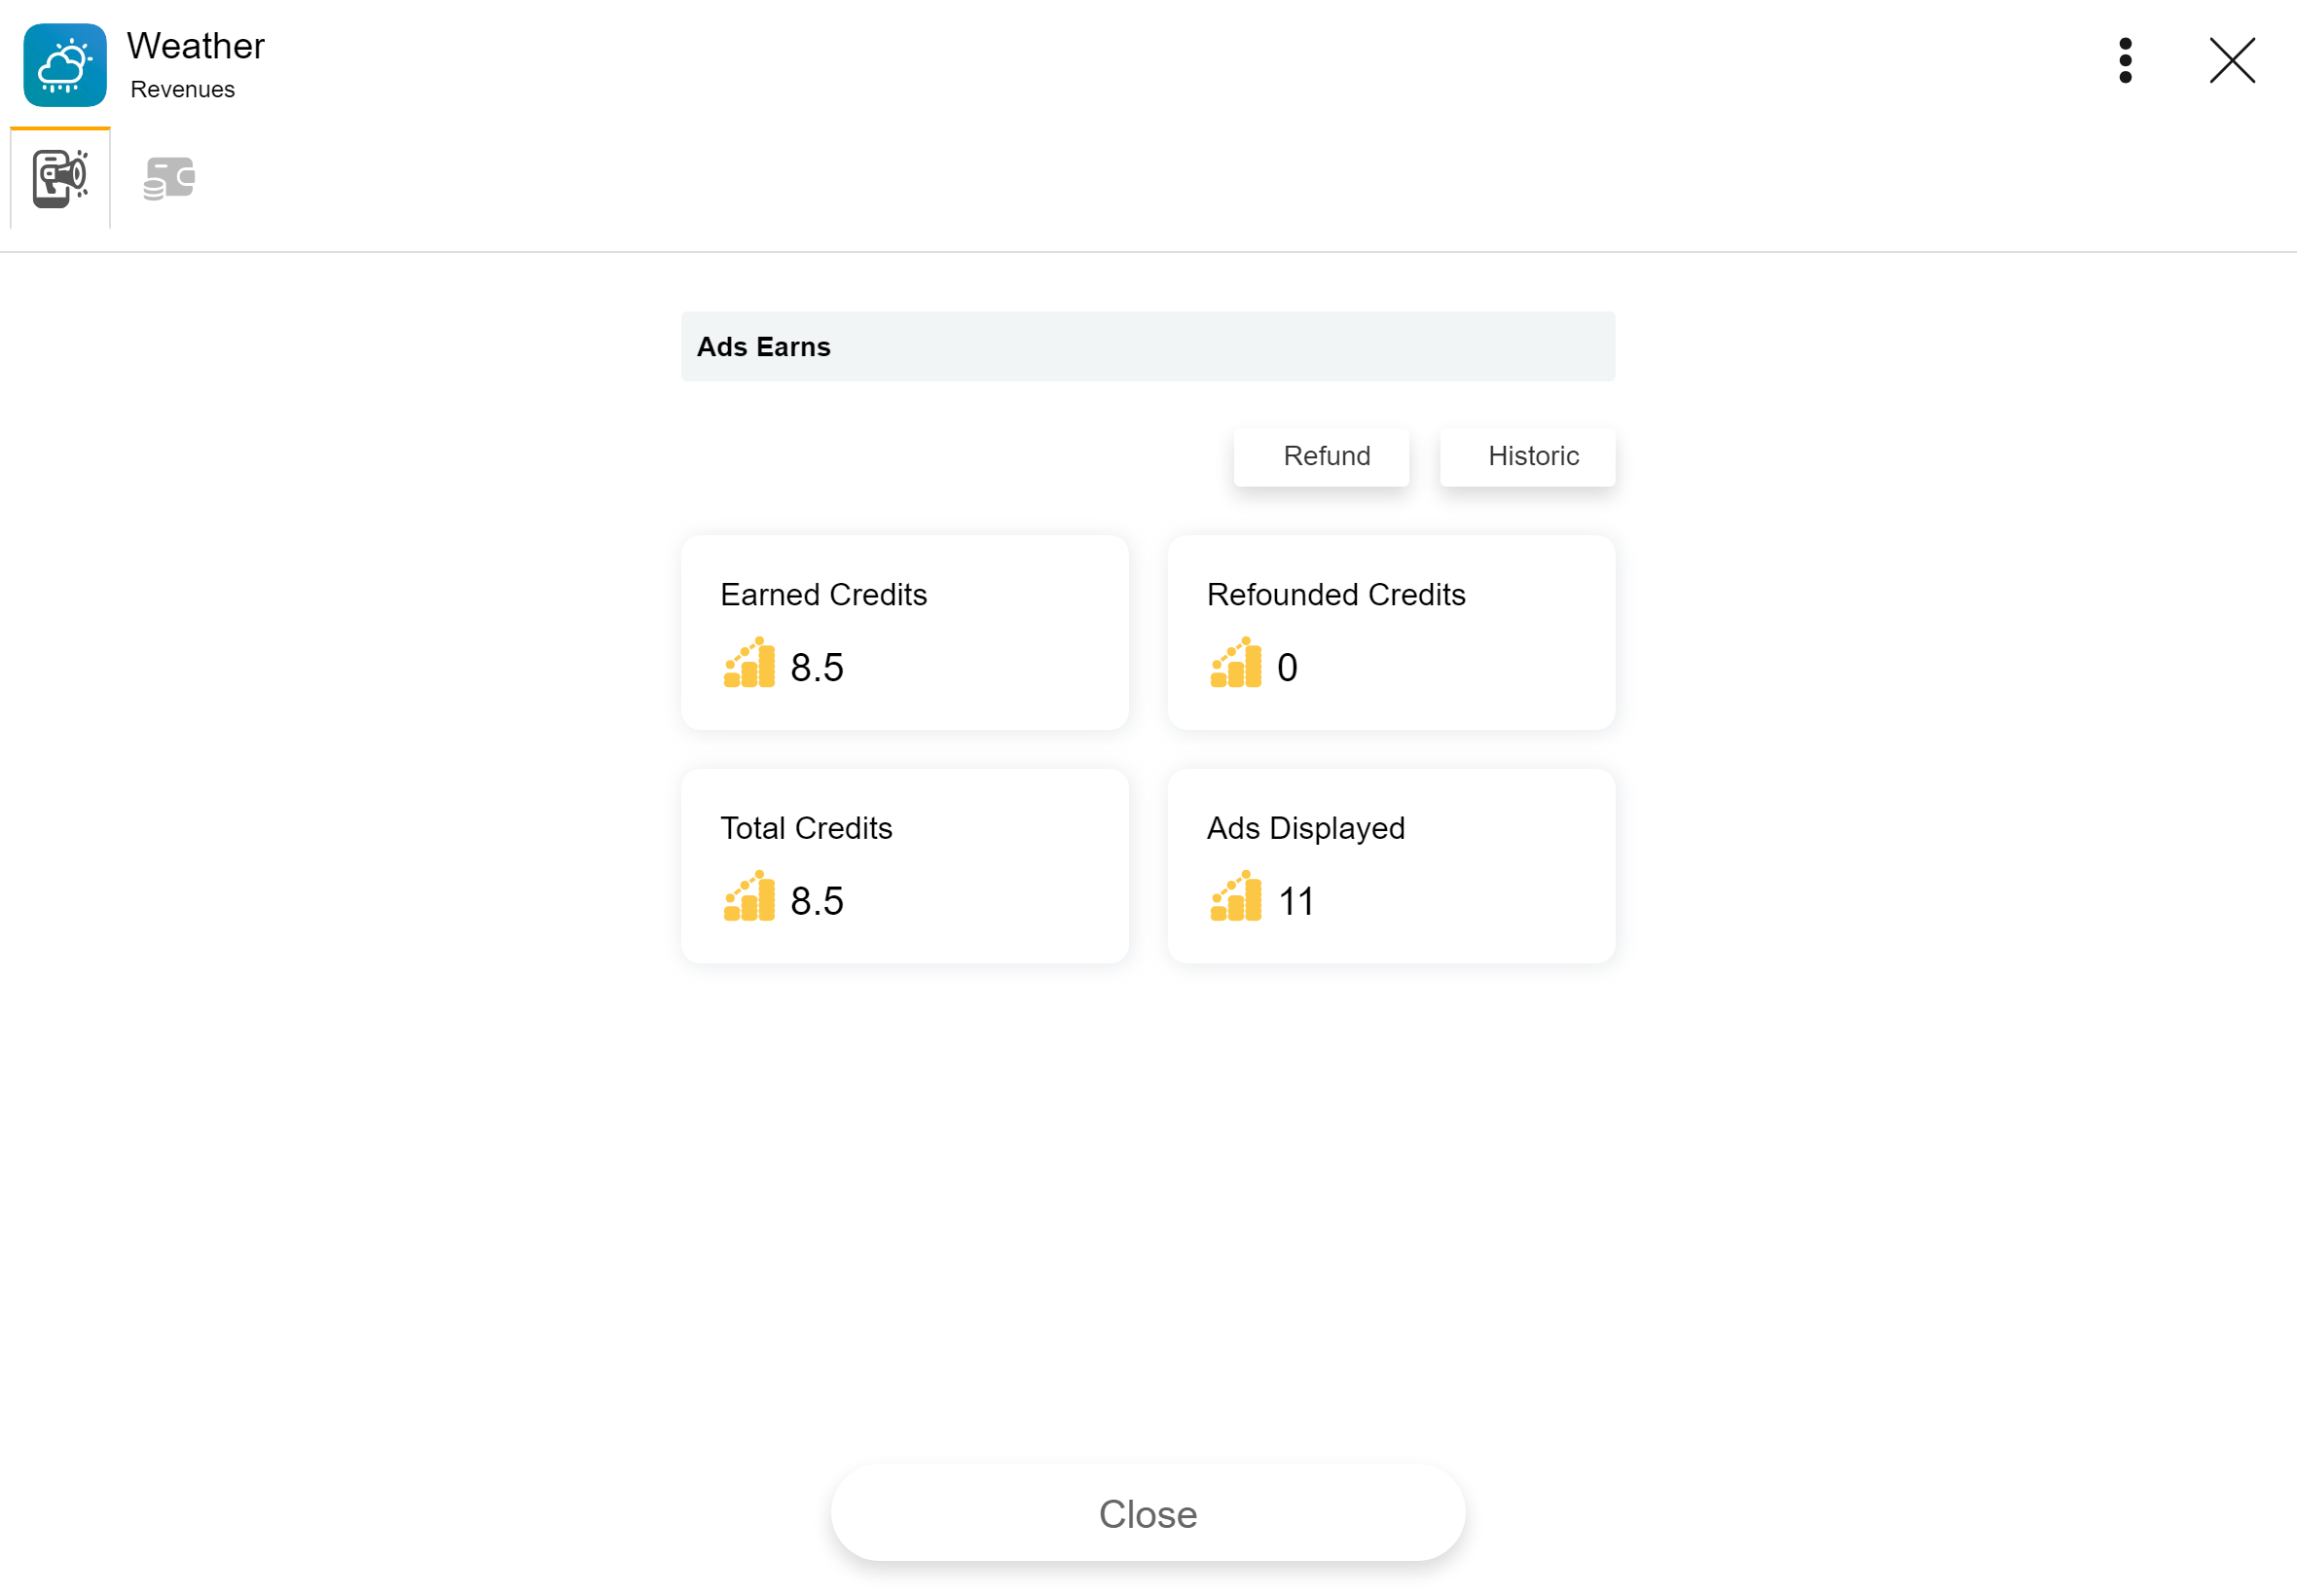
Refund your app Ads earned credits:
- Open Fawi Office.
- At the top right of an app card, tap more .
- From the app main menu, select Revenues to open the Revenues page.
- Tap the Ads Earns tab.
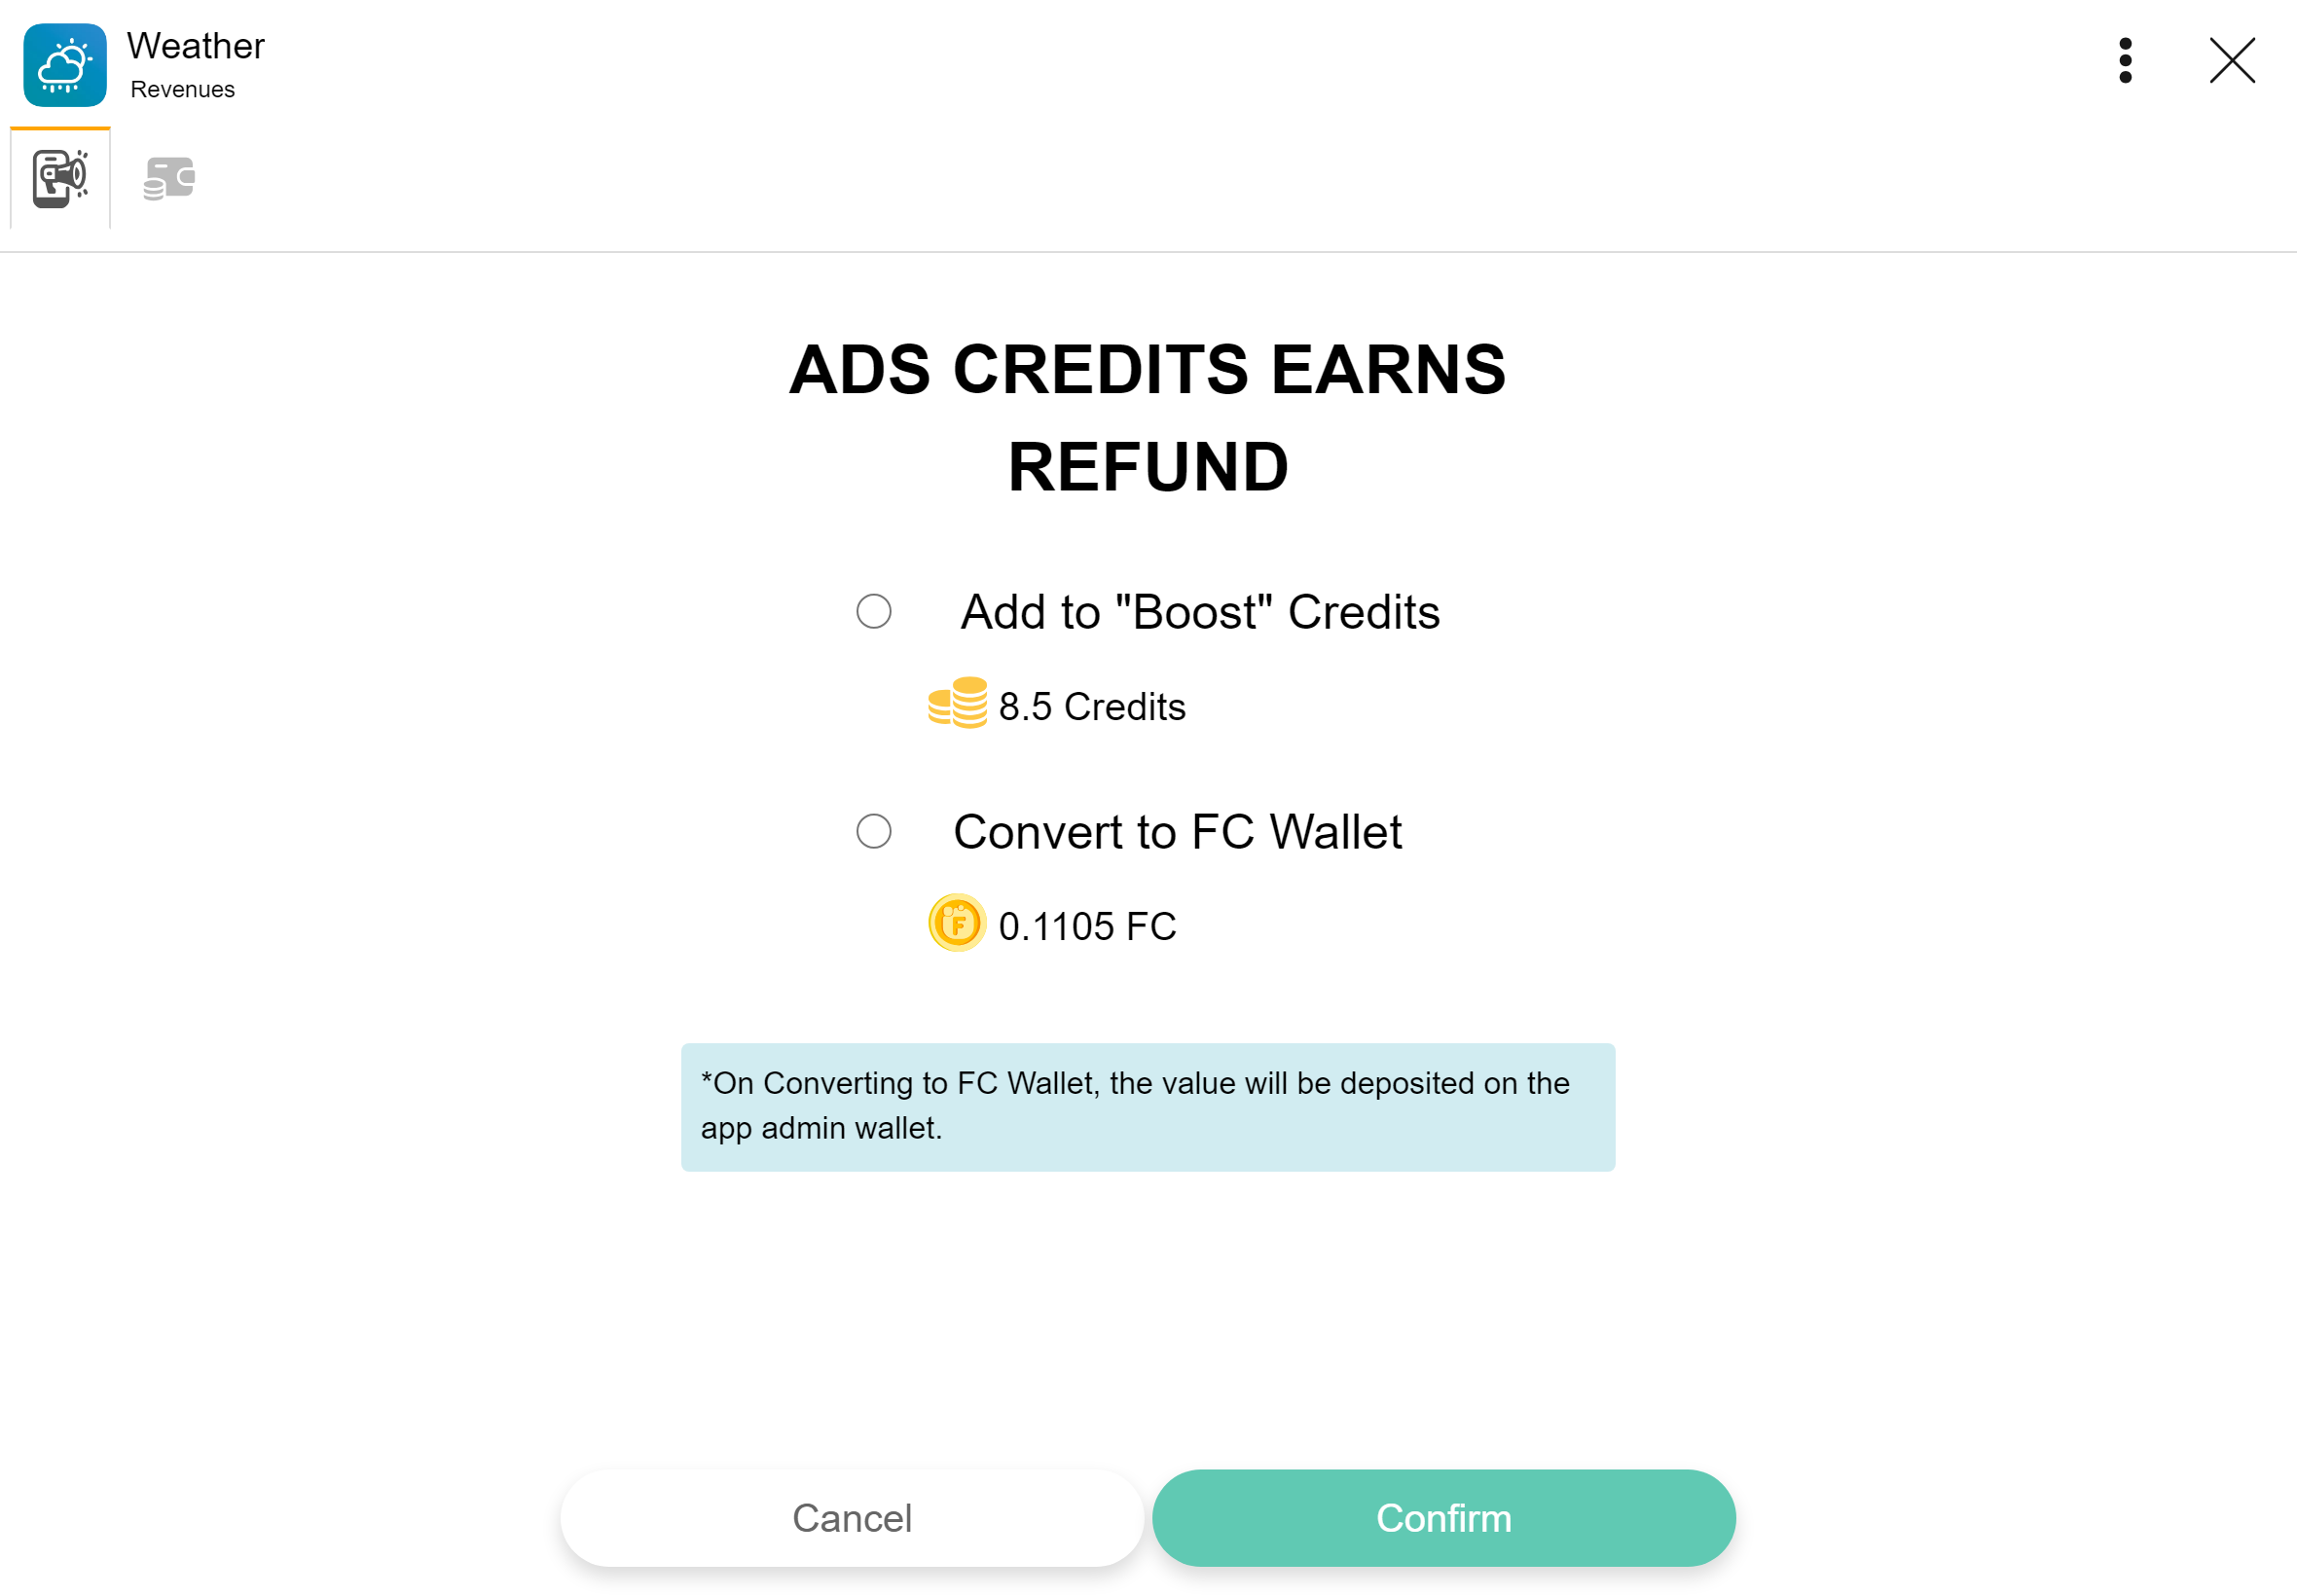
- Click the Refund button, to open the Ads Credits Earns Refund page.
- Select the refund modality, then click the Confirm button.

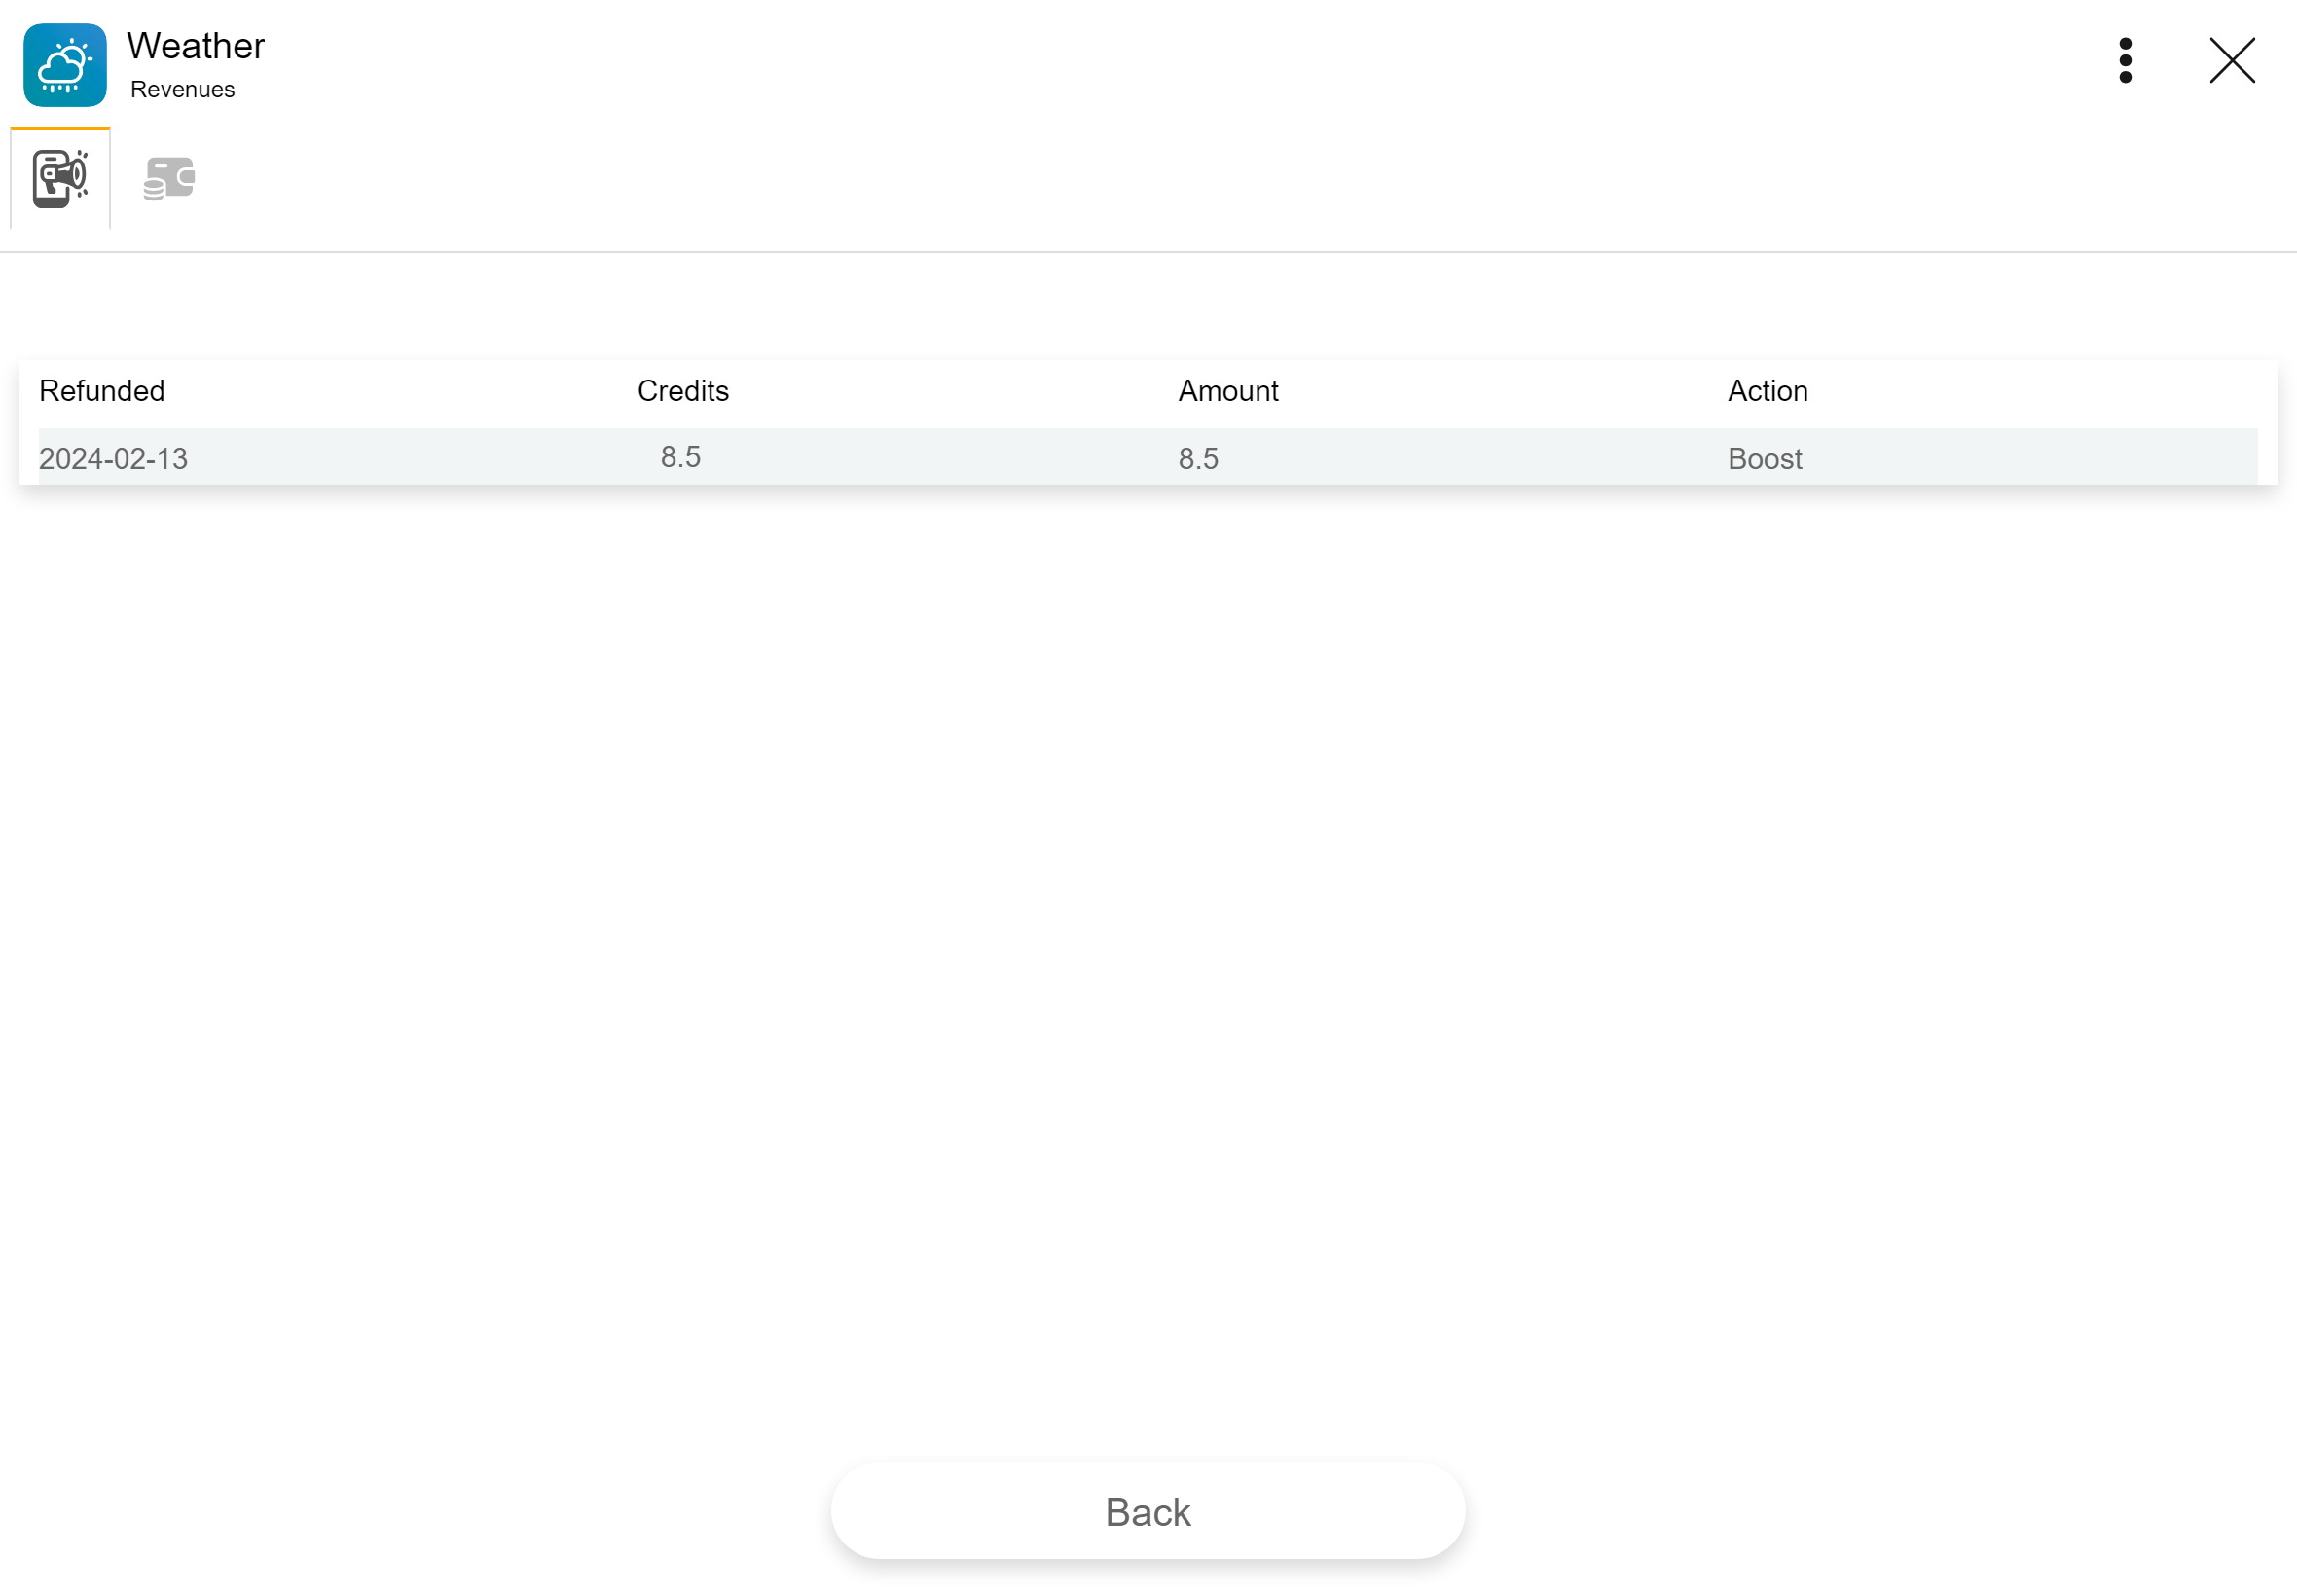
View your app Ads earned credits refund historic:
- Open Fawi Office.
- At the top right of an app card, tap more .
- From the app main menu, select Revenues to open the Revenues page.
- Tap the Ads Earns tab.
- Click the Historic button, to open the Refund Historic page.

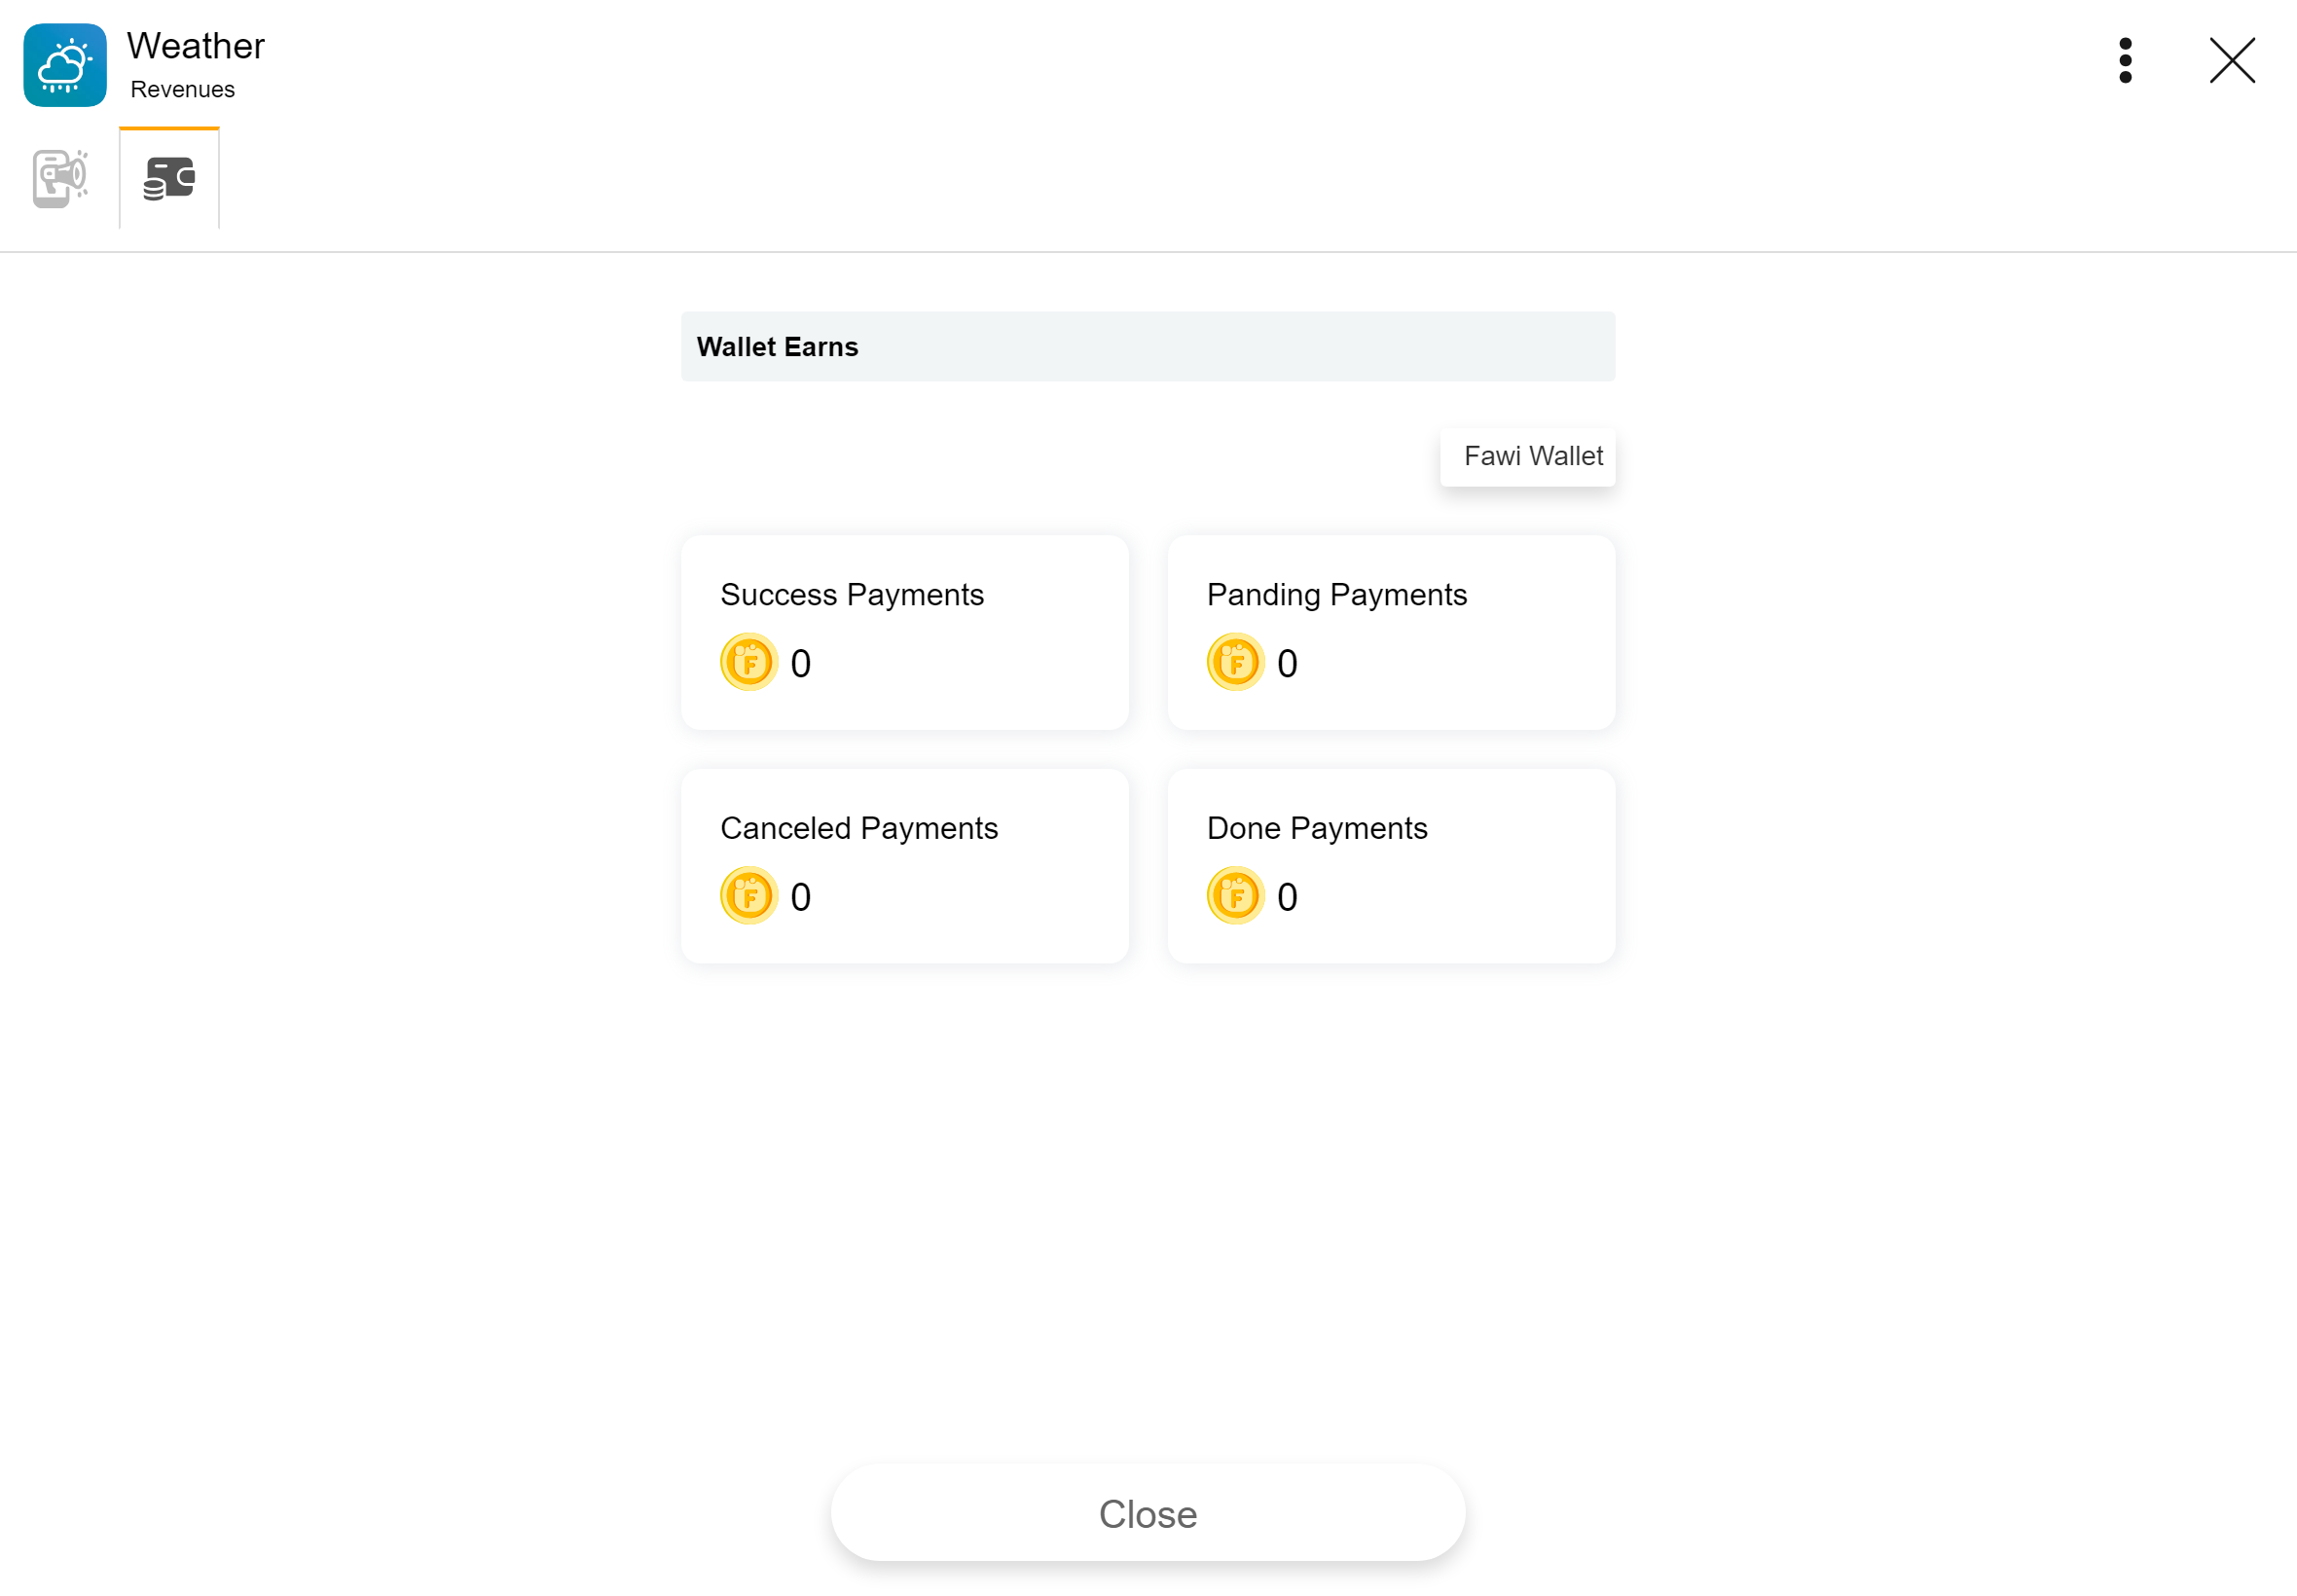
View your app Wallet earnes:
- Open Fawi Office.
- At the top right of an app card, tap more .
- From the app main menu, select Revenues to open the Revenues page.
- Tap the Wallet Earns tab.
App Lab
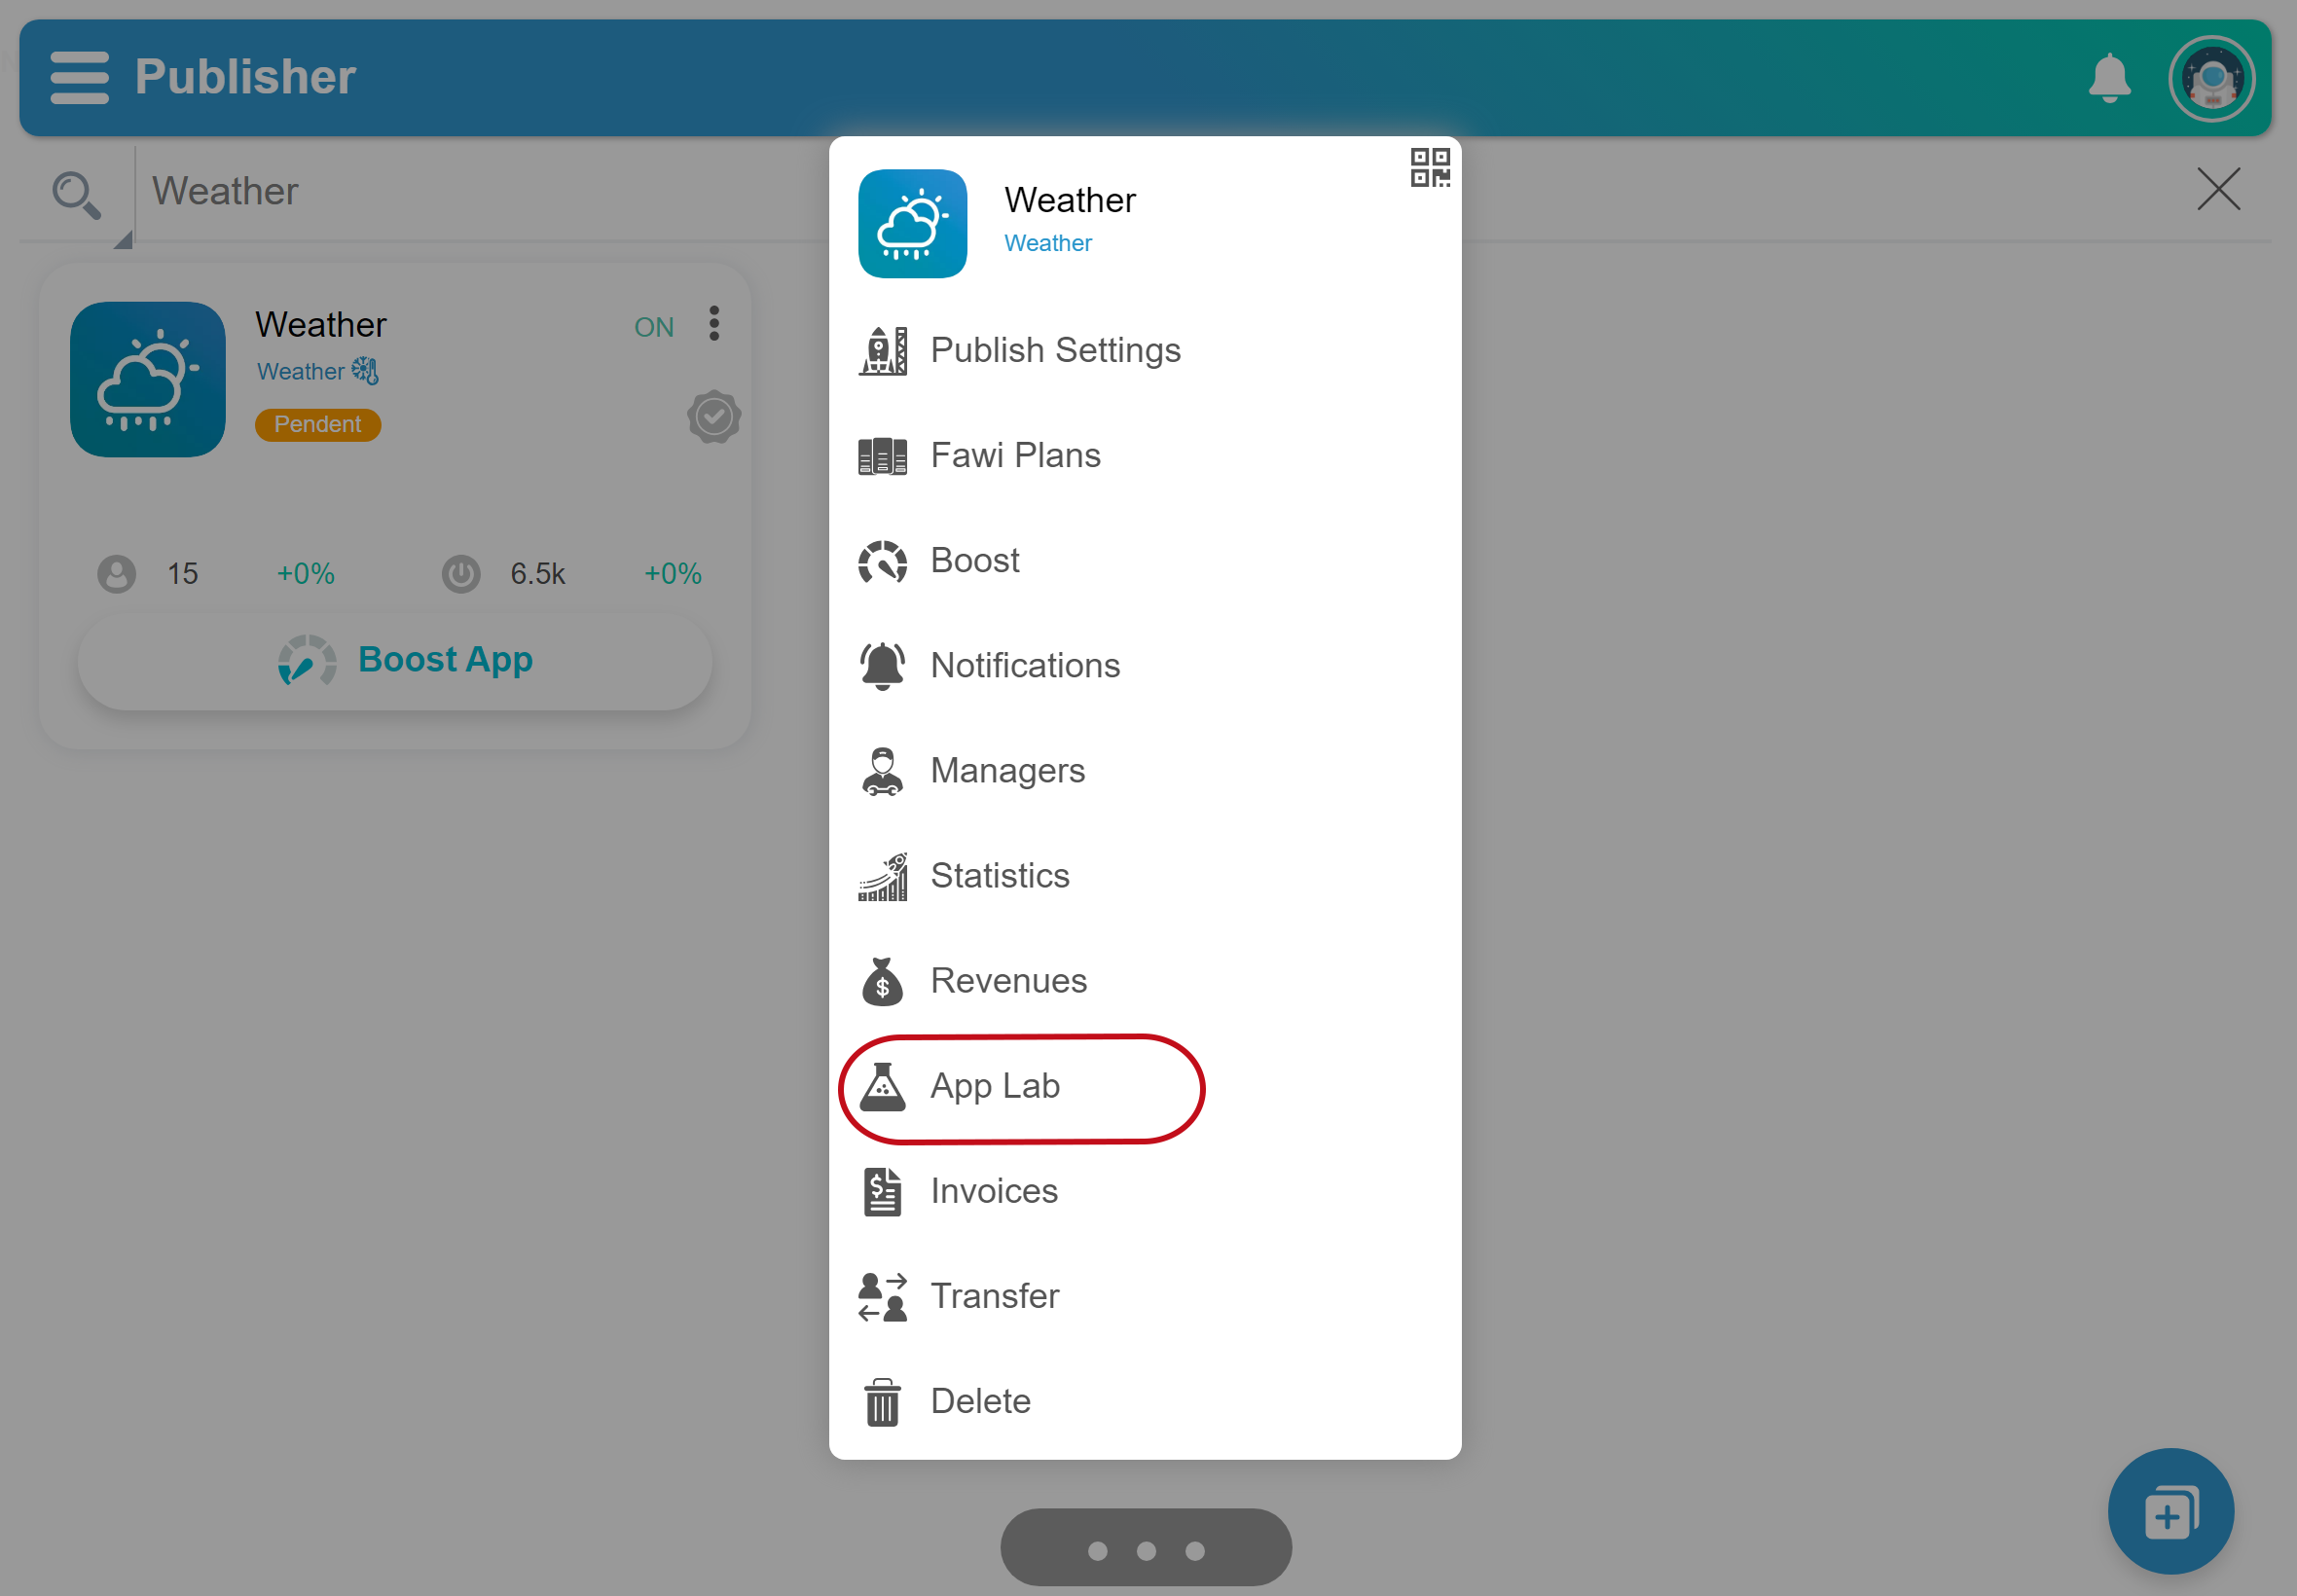
A different environment that simulates the original app and provides tools for testing before publishing.
Testing your app.
- Open Fawi Office.
- At the top right of an app card, tap more .
- From the app main menu, select App Lab to open the App Lab page.
- Enter all information required to test your app. NOTE: The steps and settings in the Server, Store Info and Device tabs, are the same as you do for the original app.
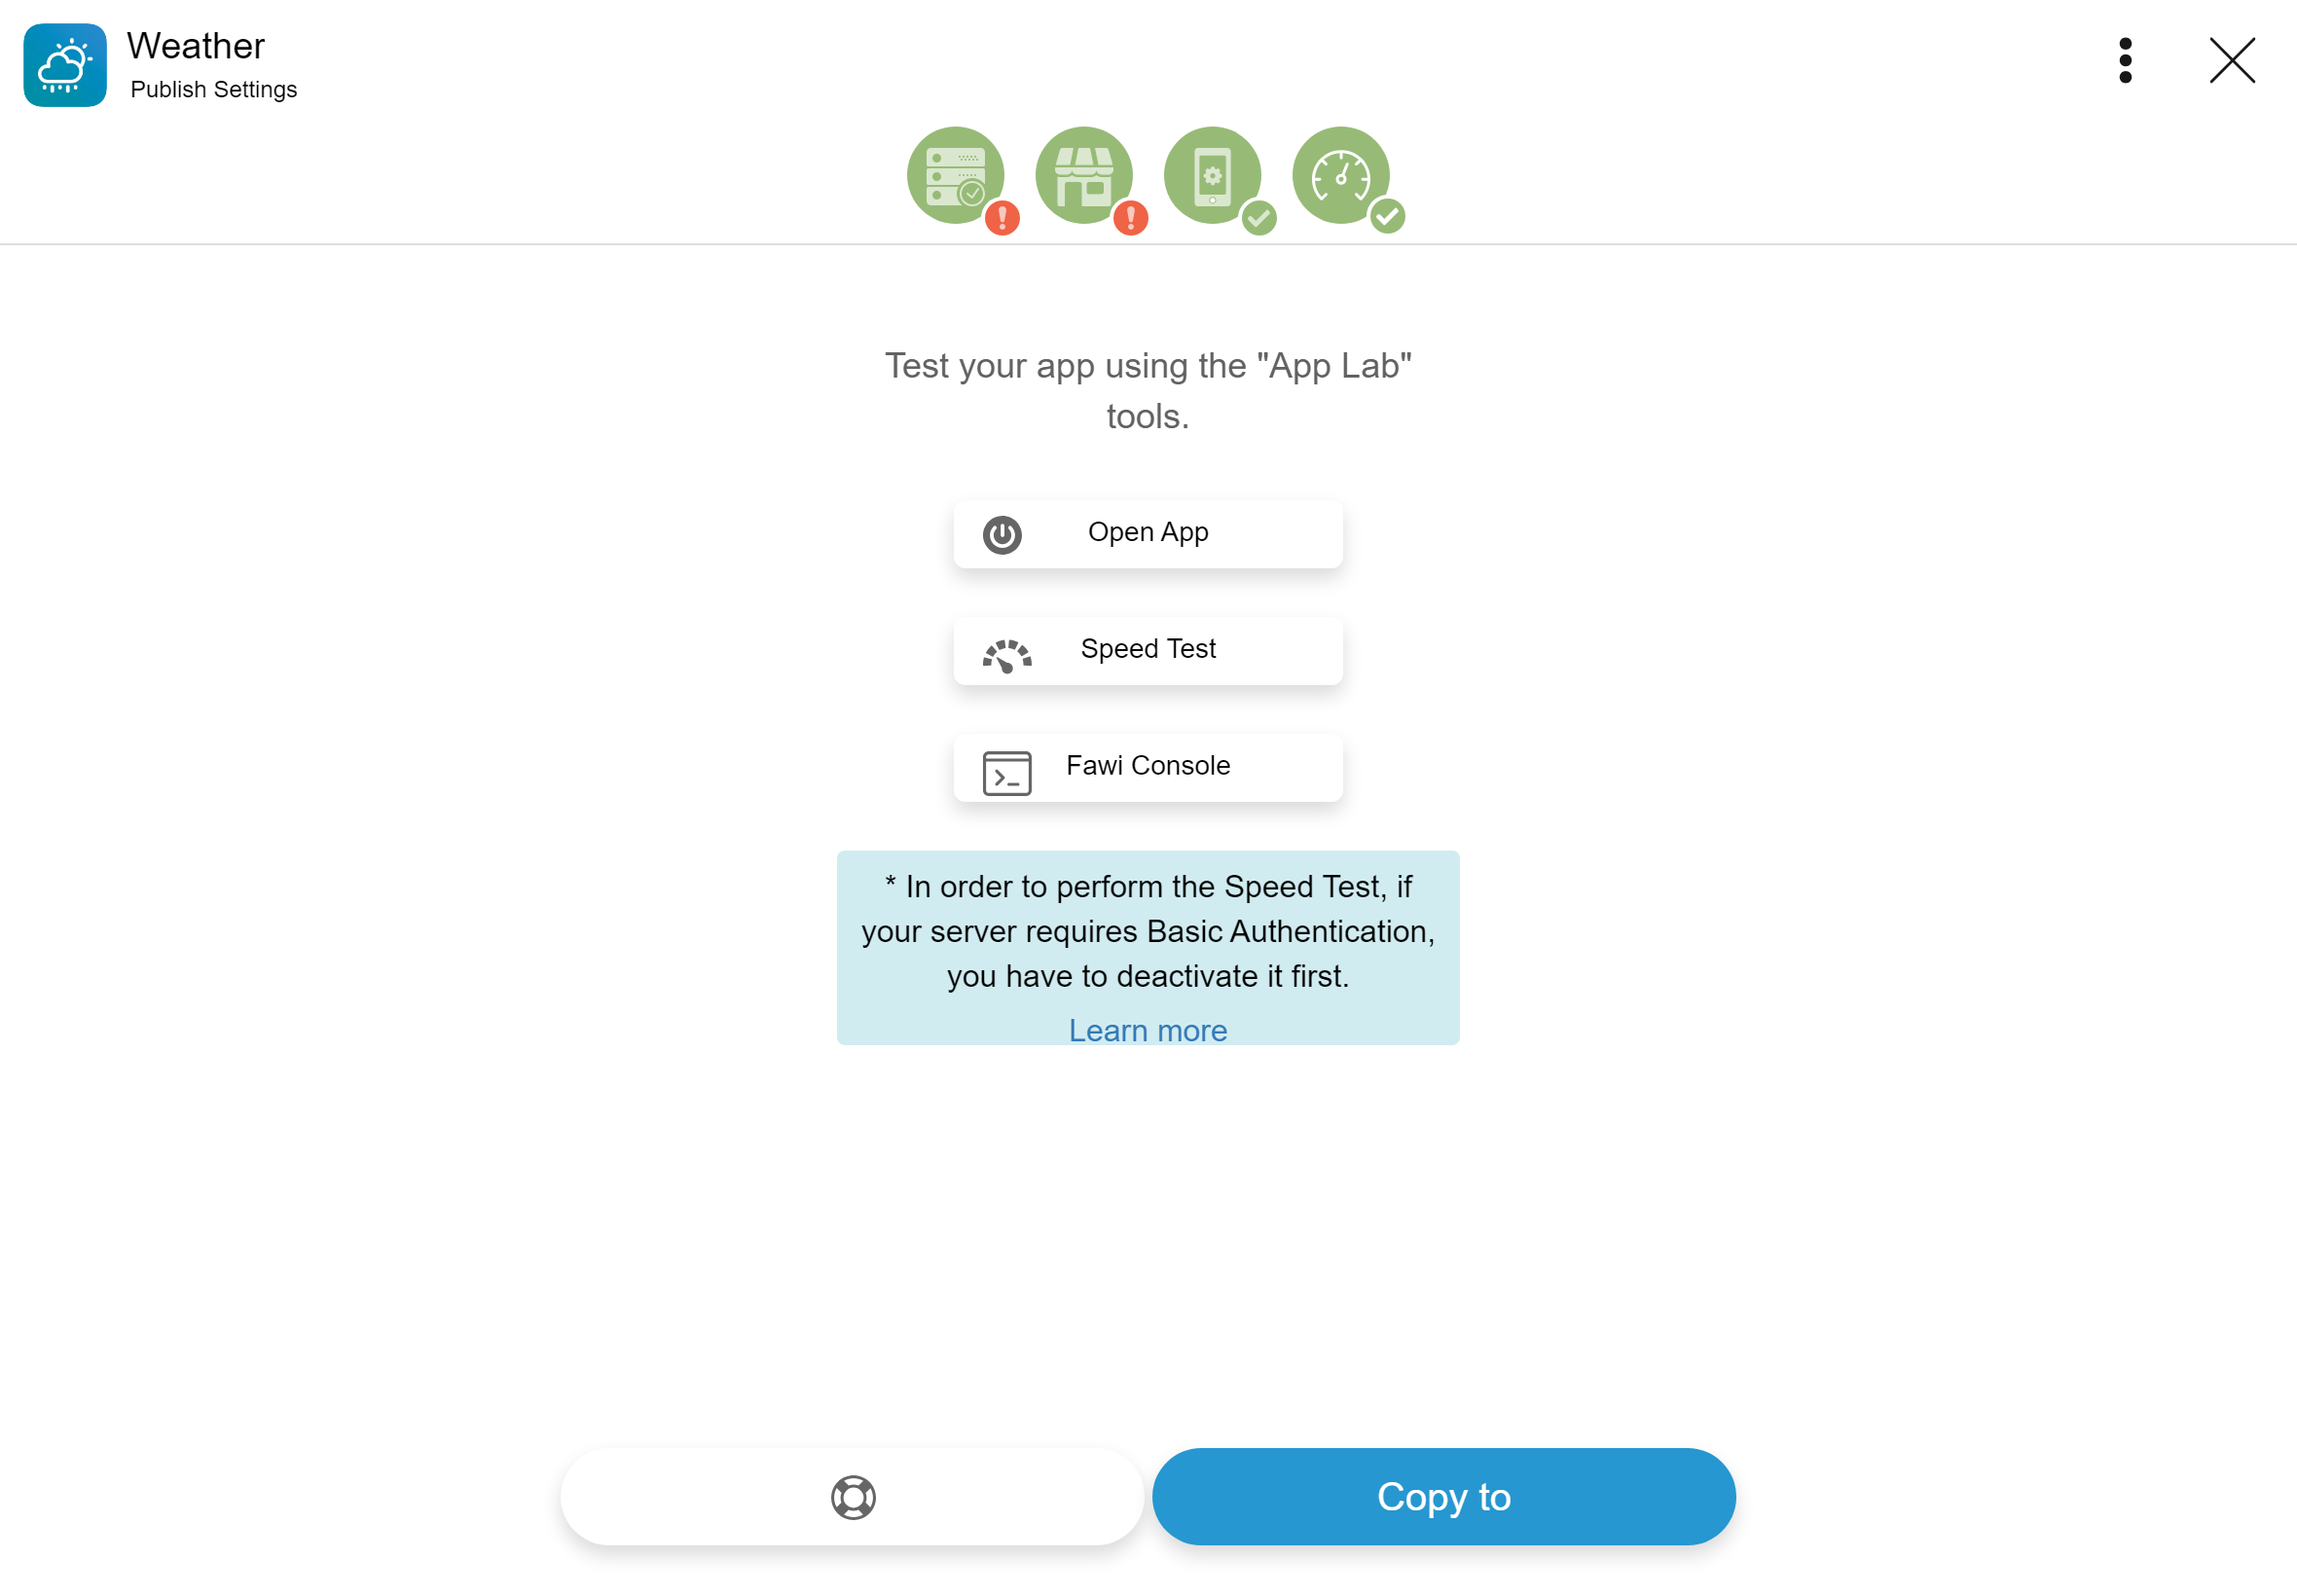
- Tap the App Lab tab.
- Test your app.
- Click the Open App button, to open the test app. NOTE: This functionality is only available on the Fawi Office app.
- Click the Speed Test button, to check the test app speed. NOTE: The test app App Base Url is required for this action.
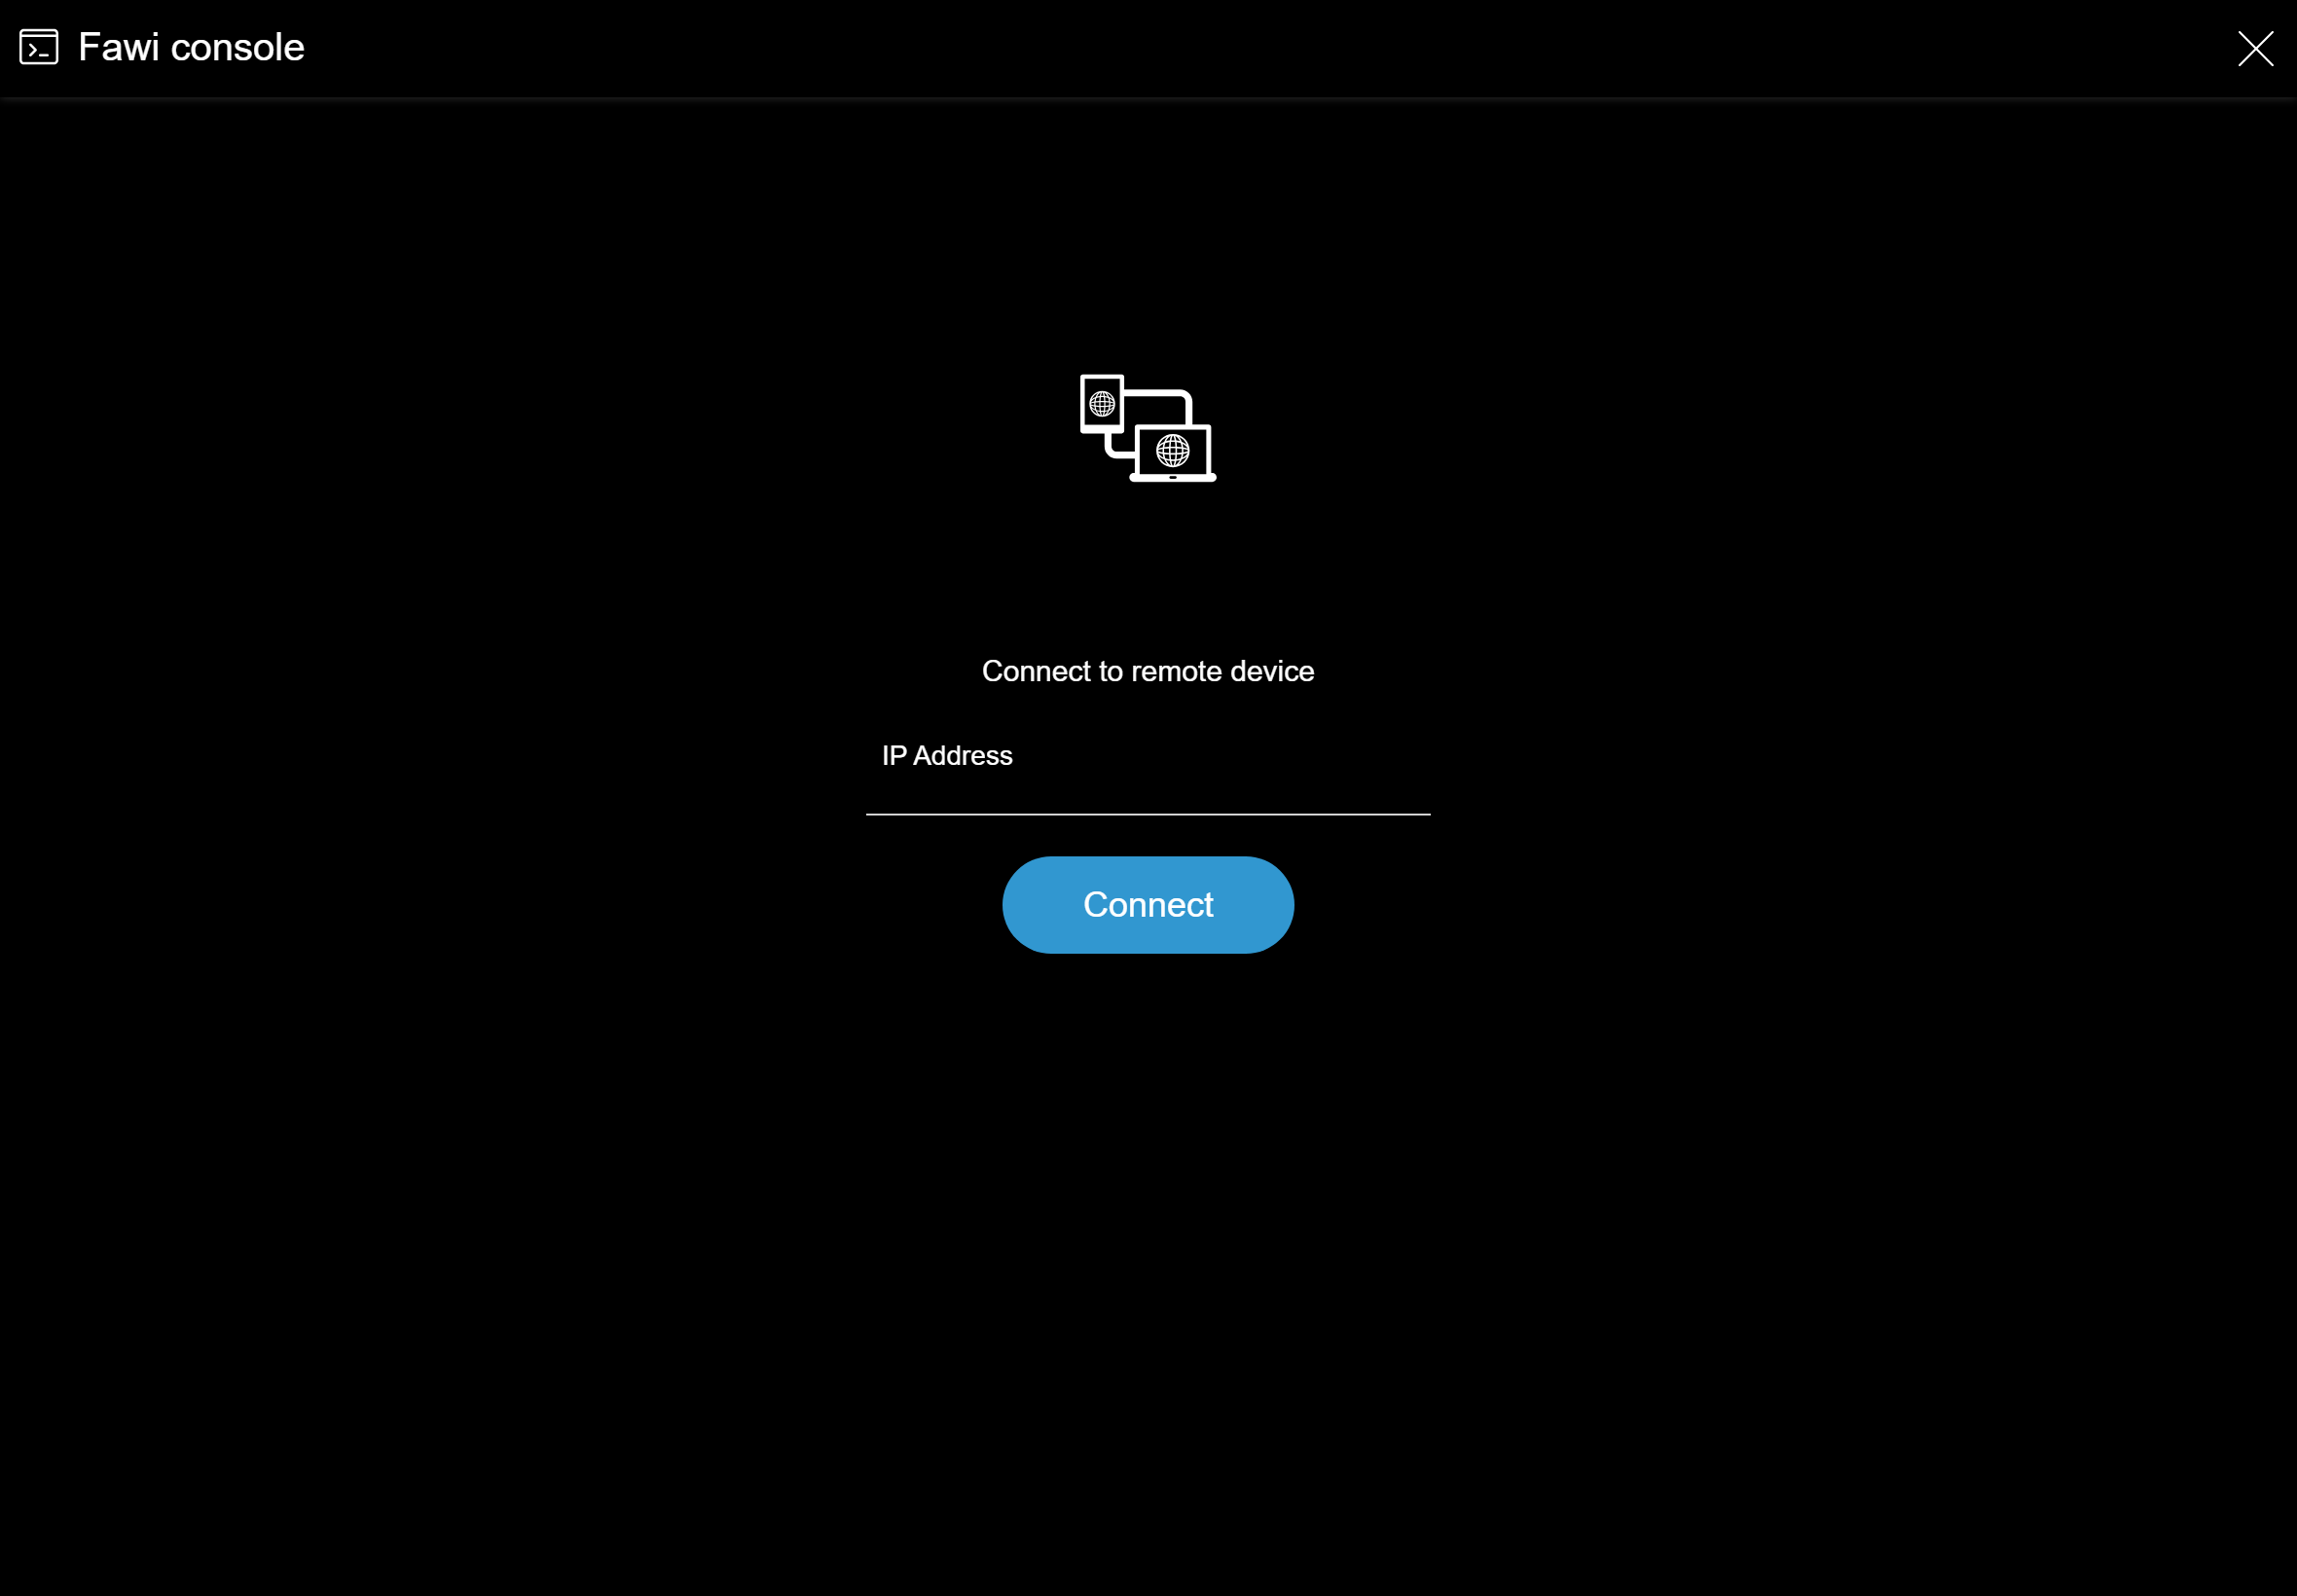
- Click the Fawi Console button, to open the Fawi Console page and debug your app.
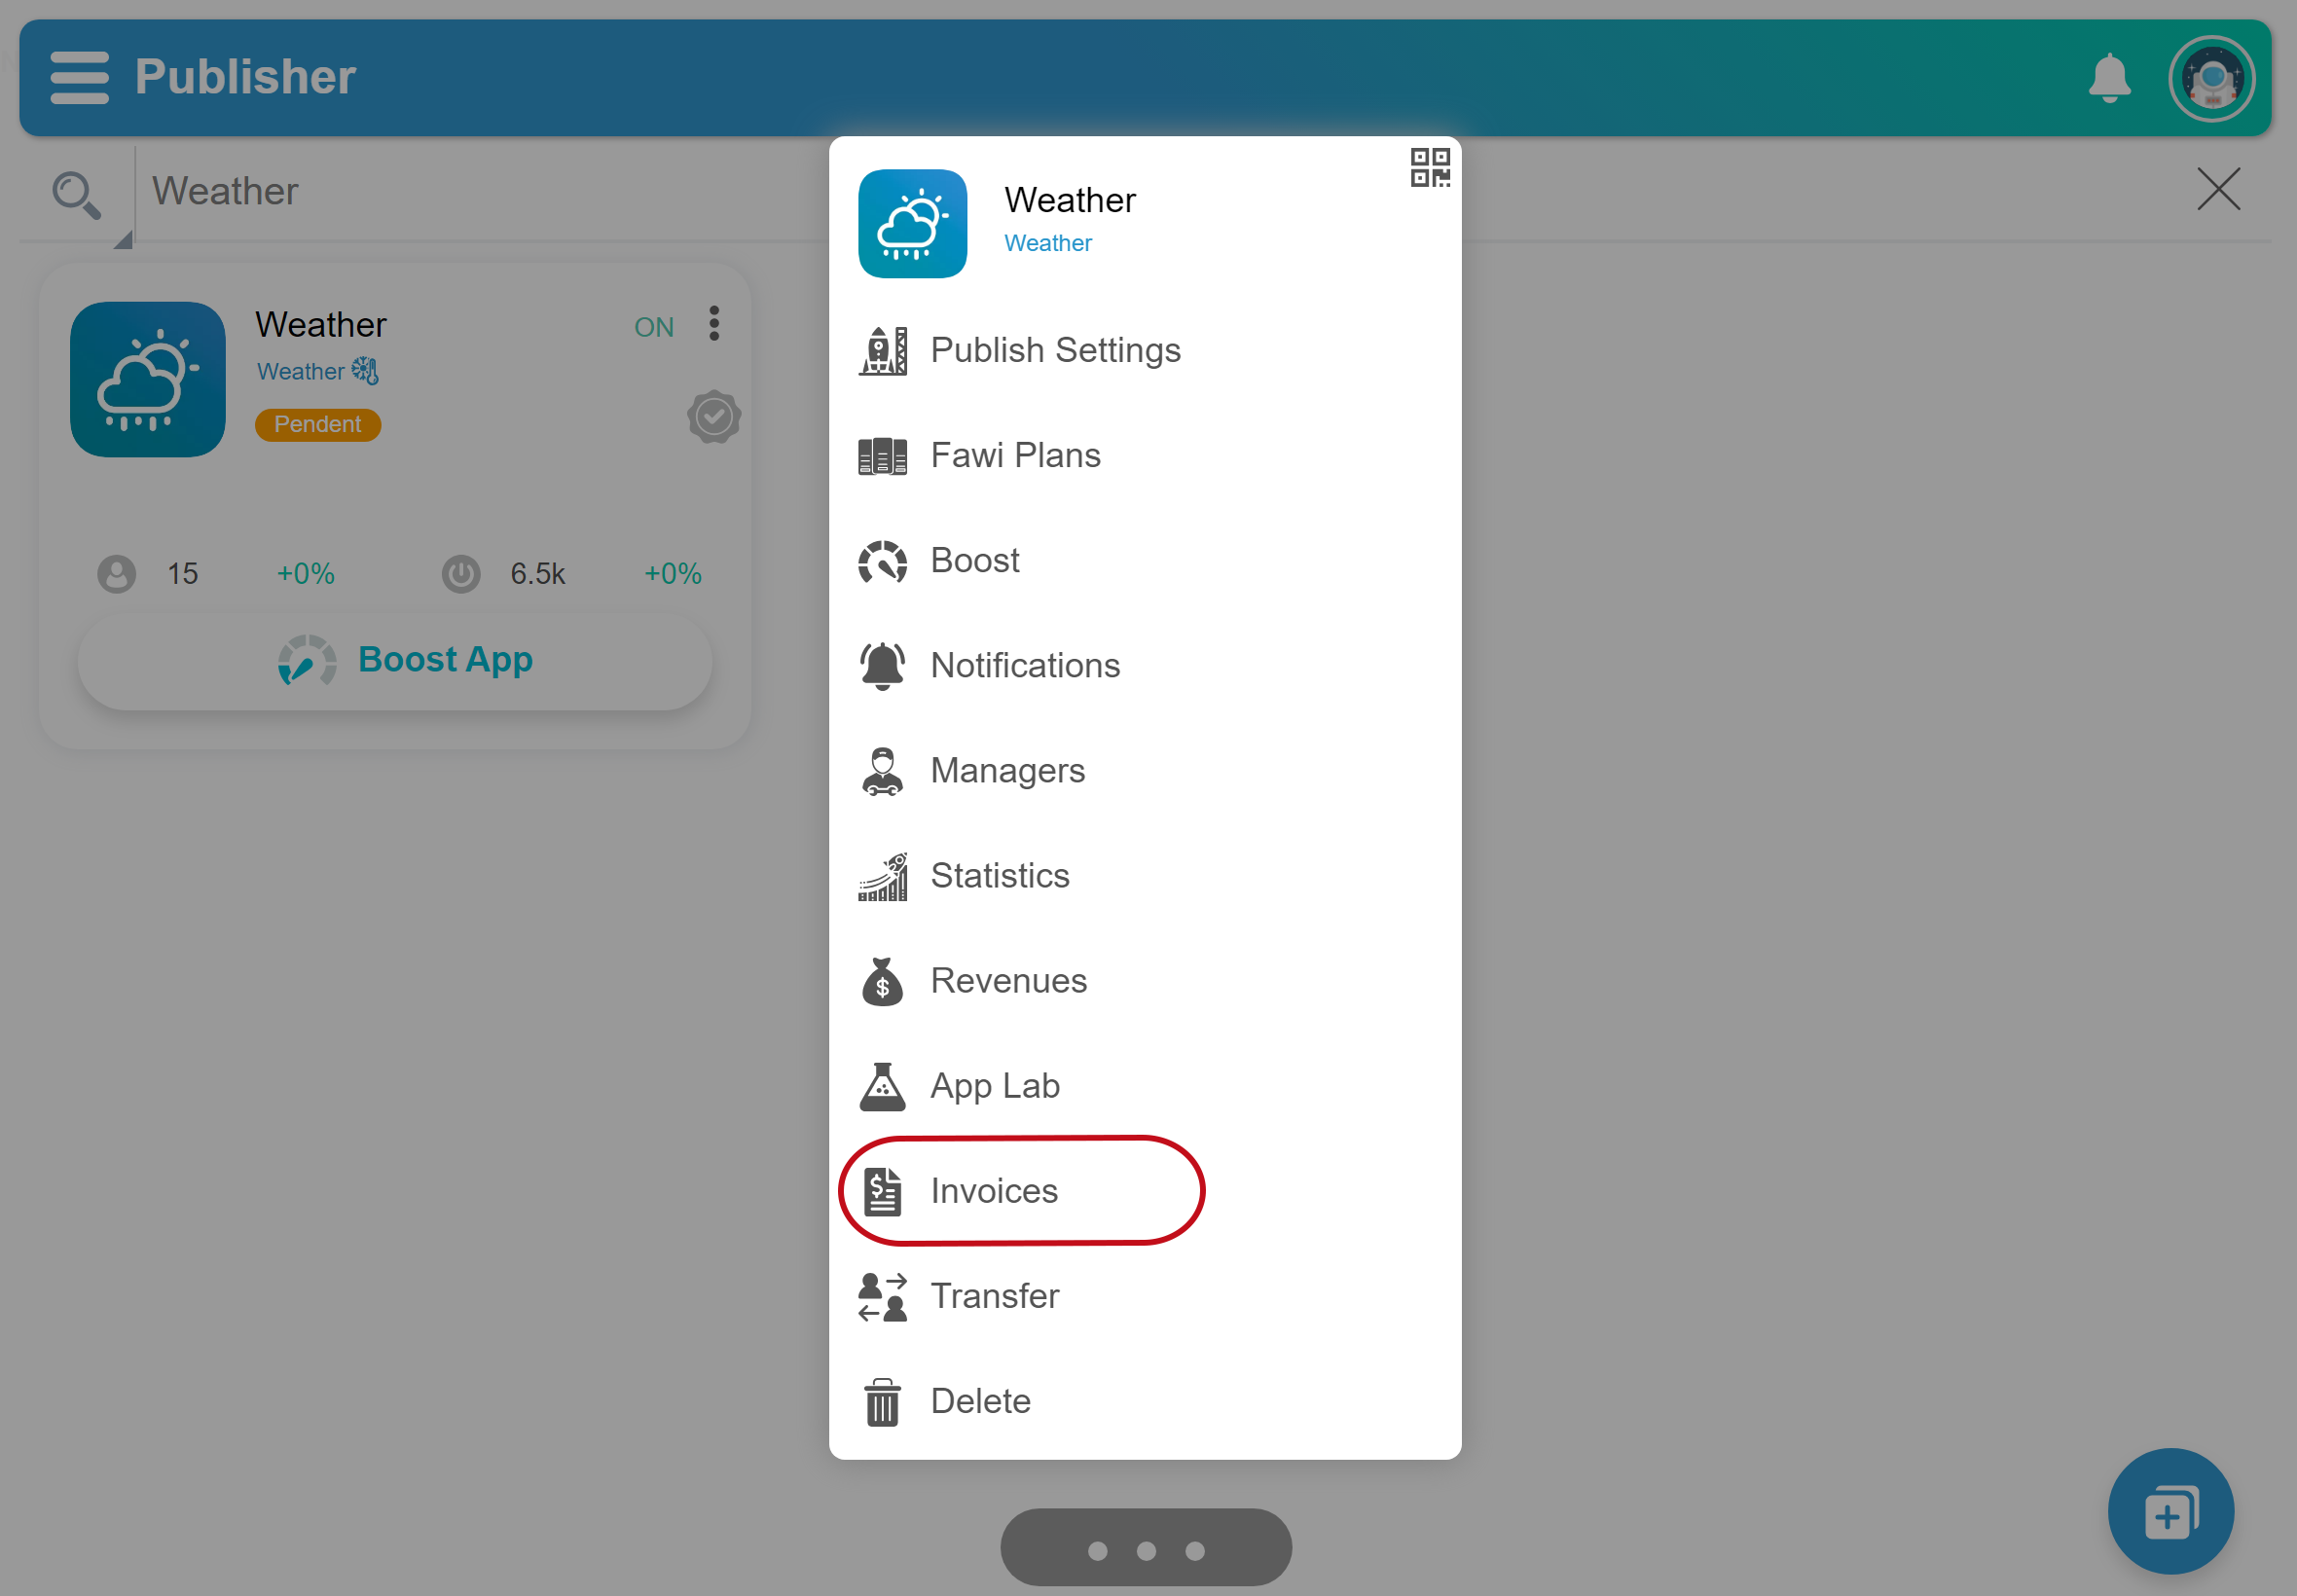
Invoices
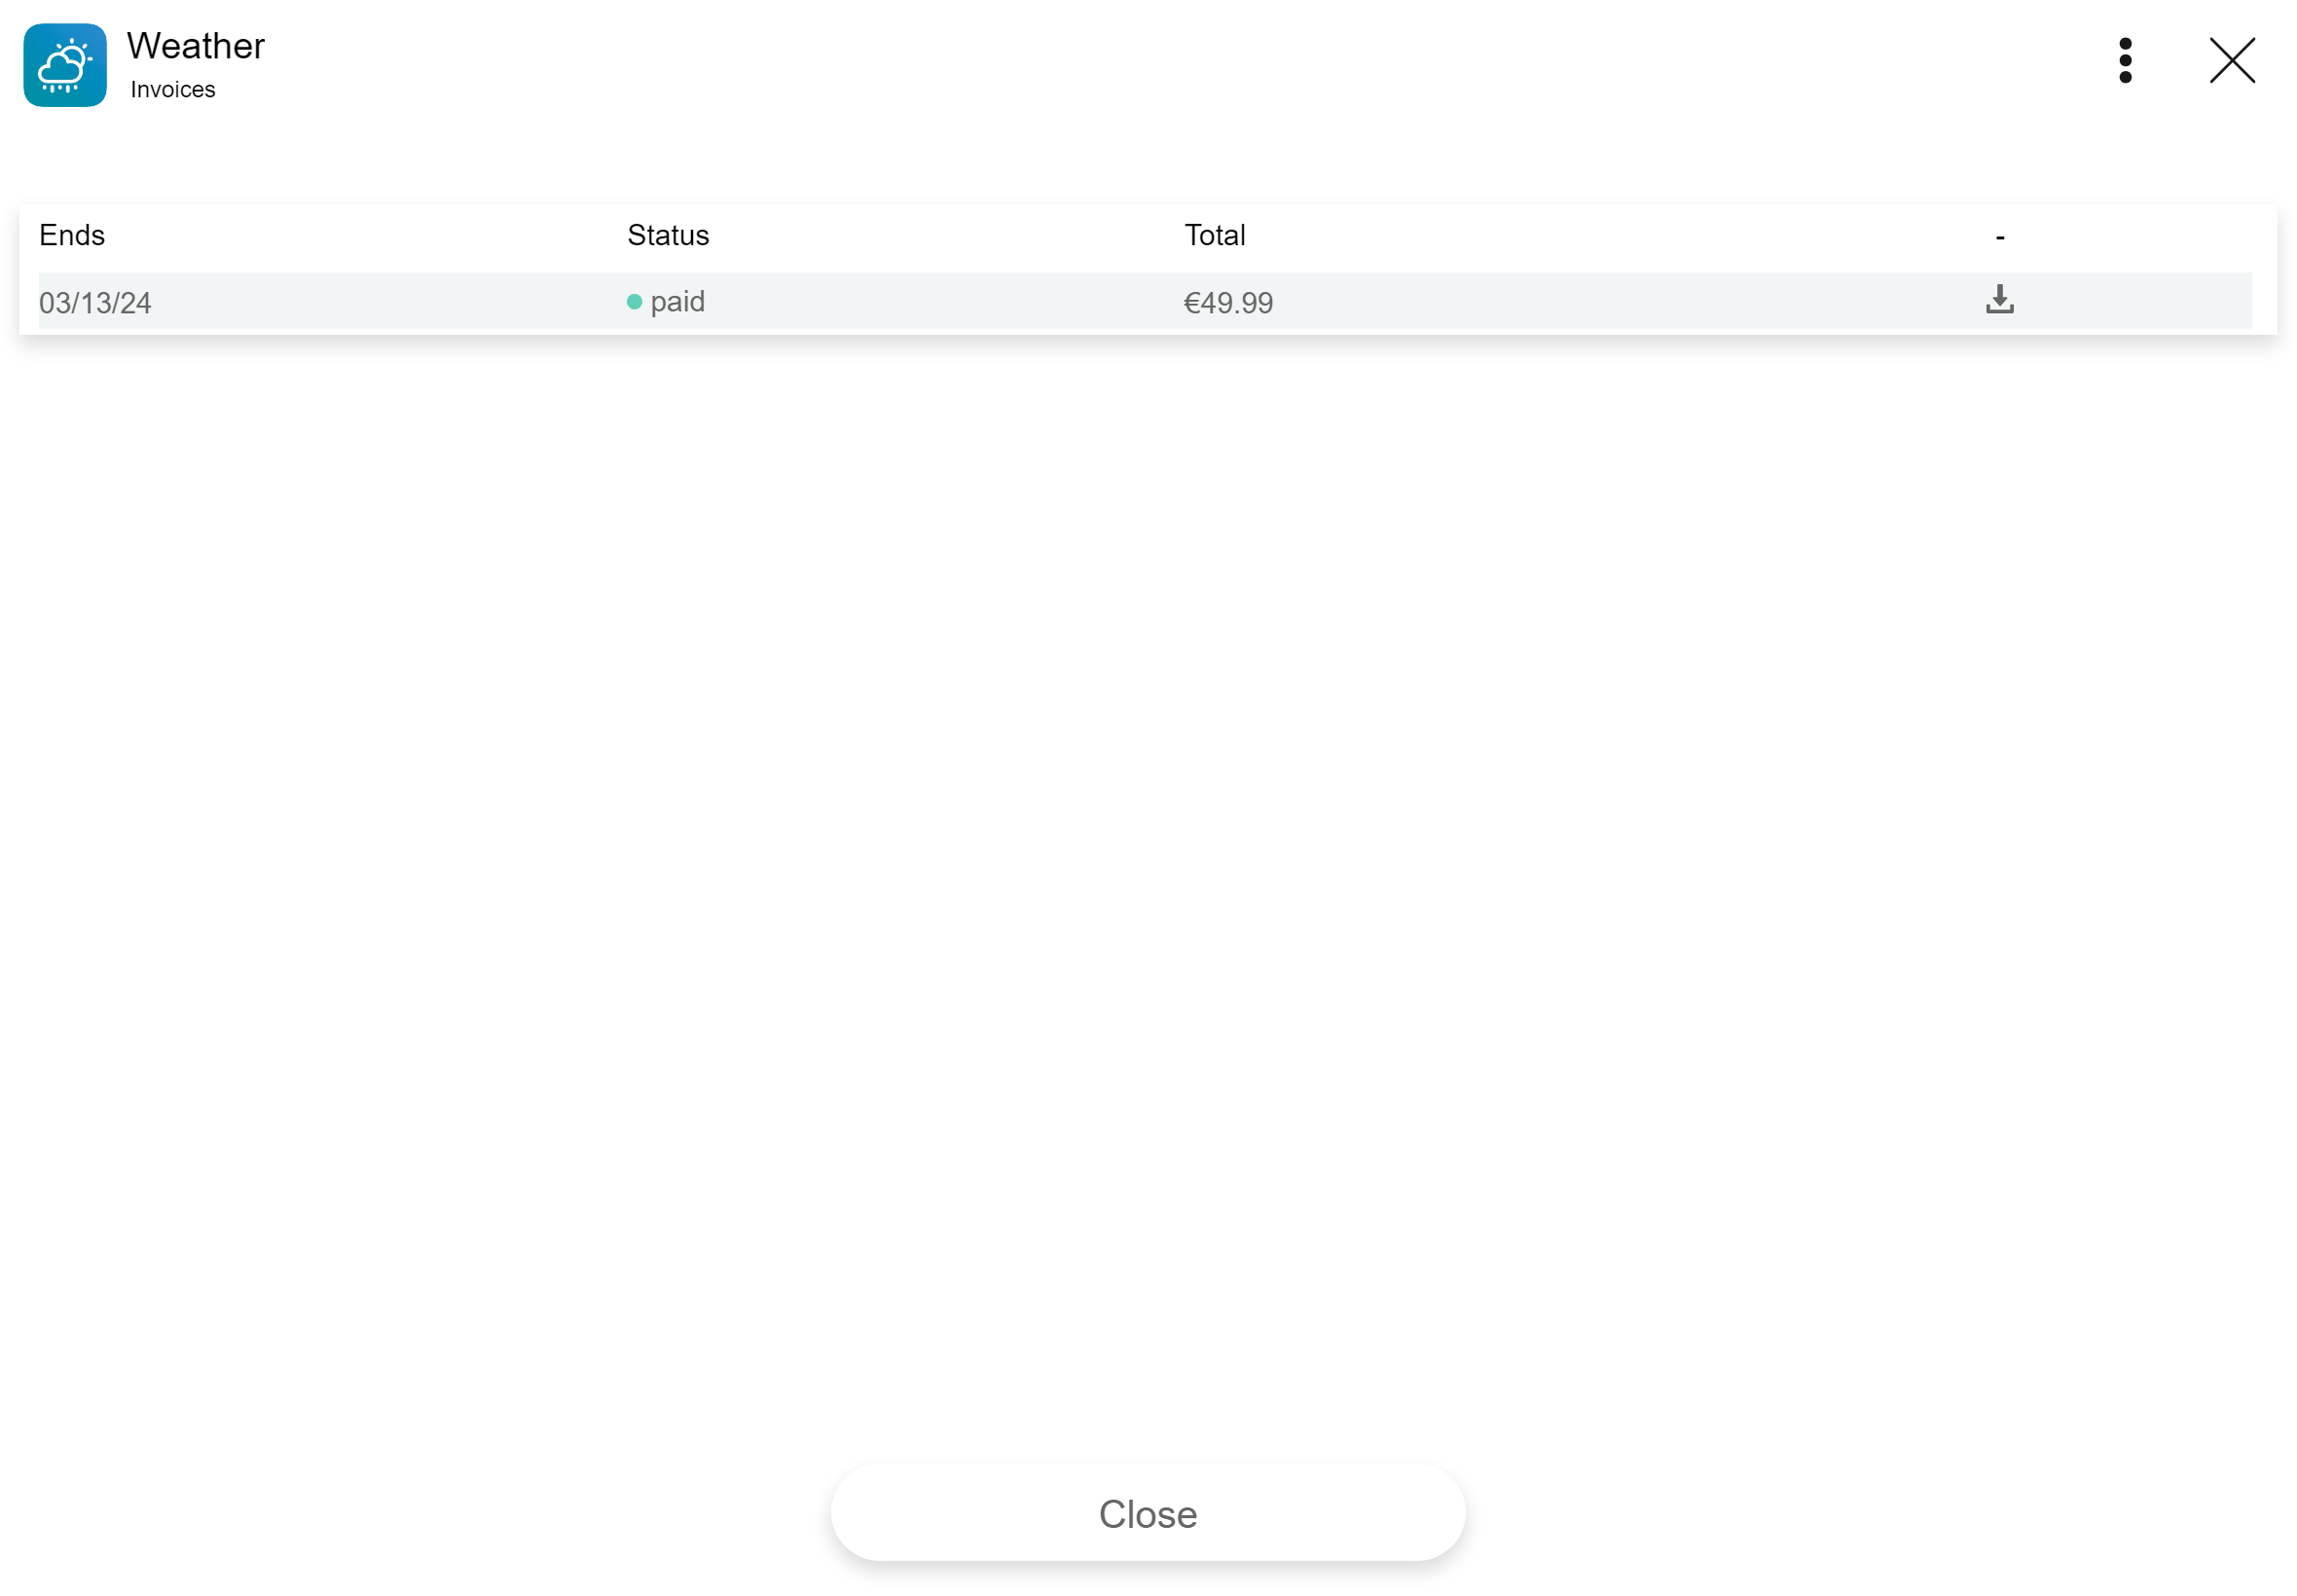
View all the invoices issued to an app.
- Open Fawi Office.
- At the top right of an app card, tap more .
- From the app main menu, select Invoices to open the Invoices page.
- Click download , to download an invoices.
Transfer
You can transfer the ownership of an app to another user by sending a transfer invitation. Once the recipient accepts the invitation, he gets all the ownership permmissions and the app is removed from your account.
- Open Fawi Office.
- At the top right of an app card, tap more .
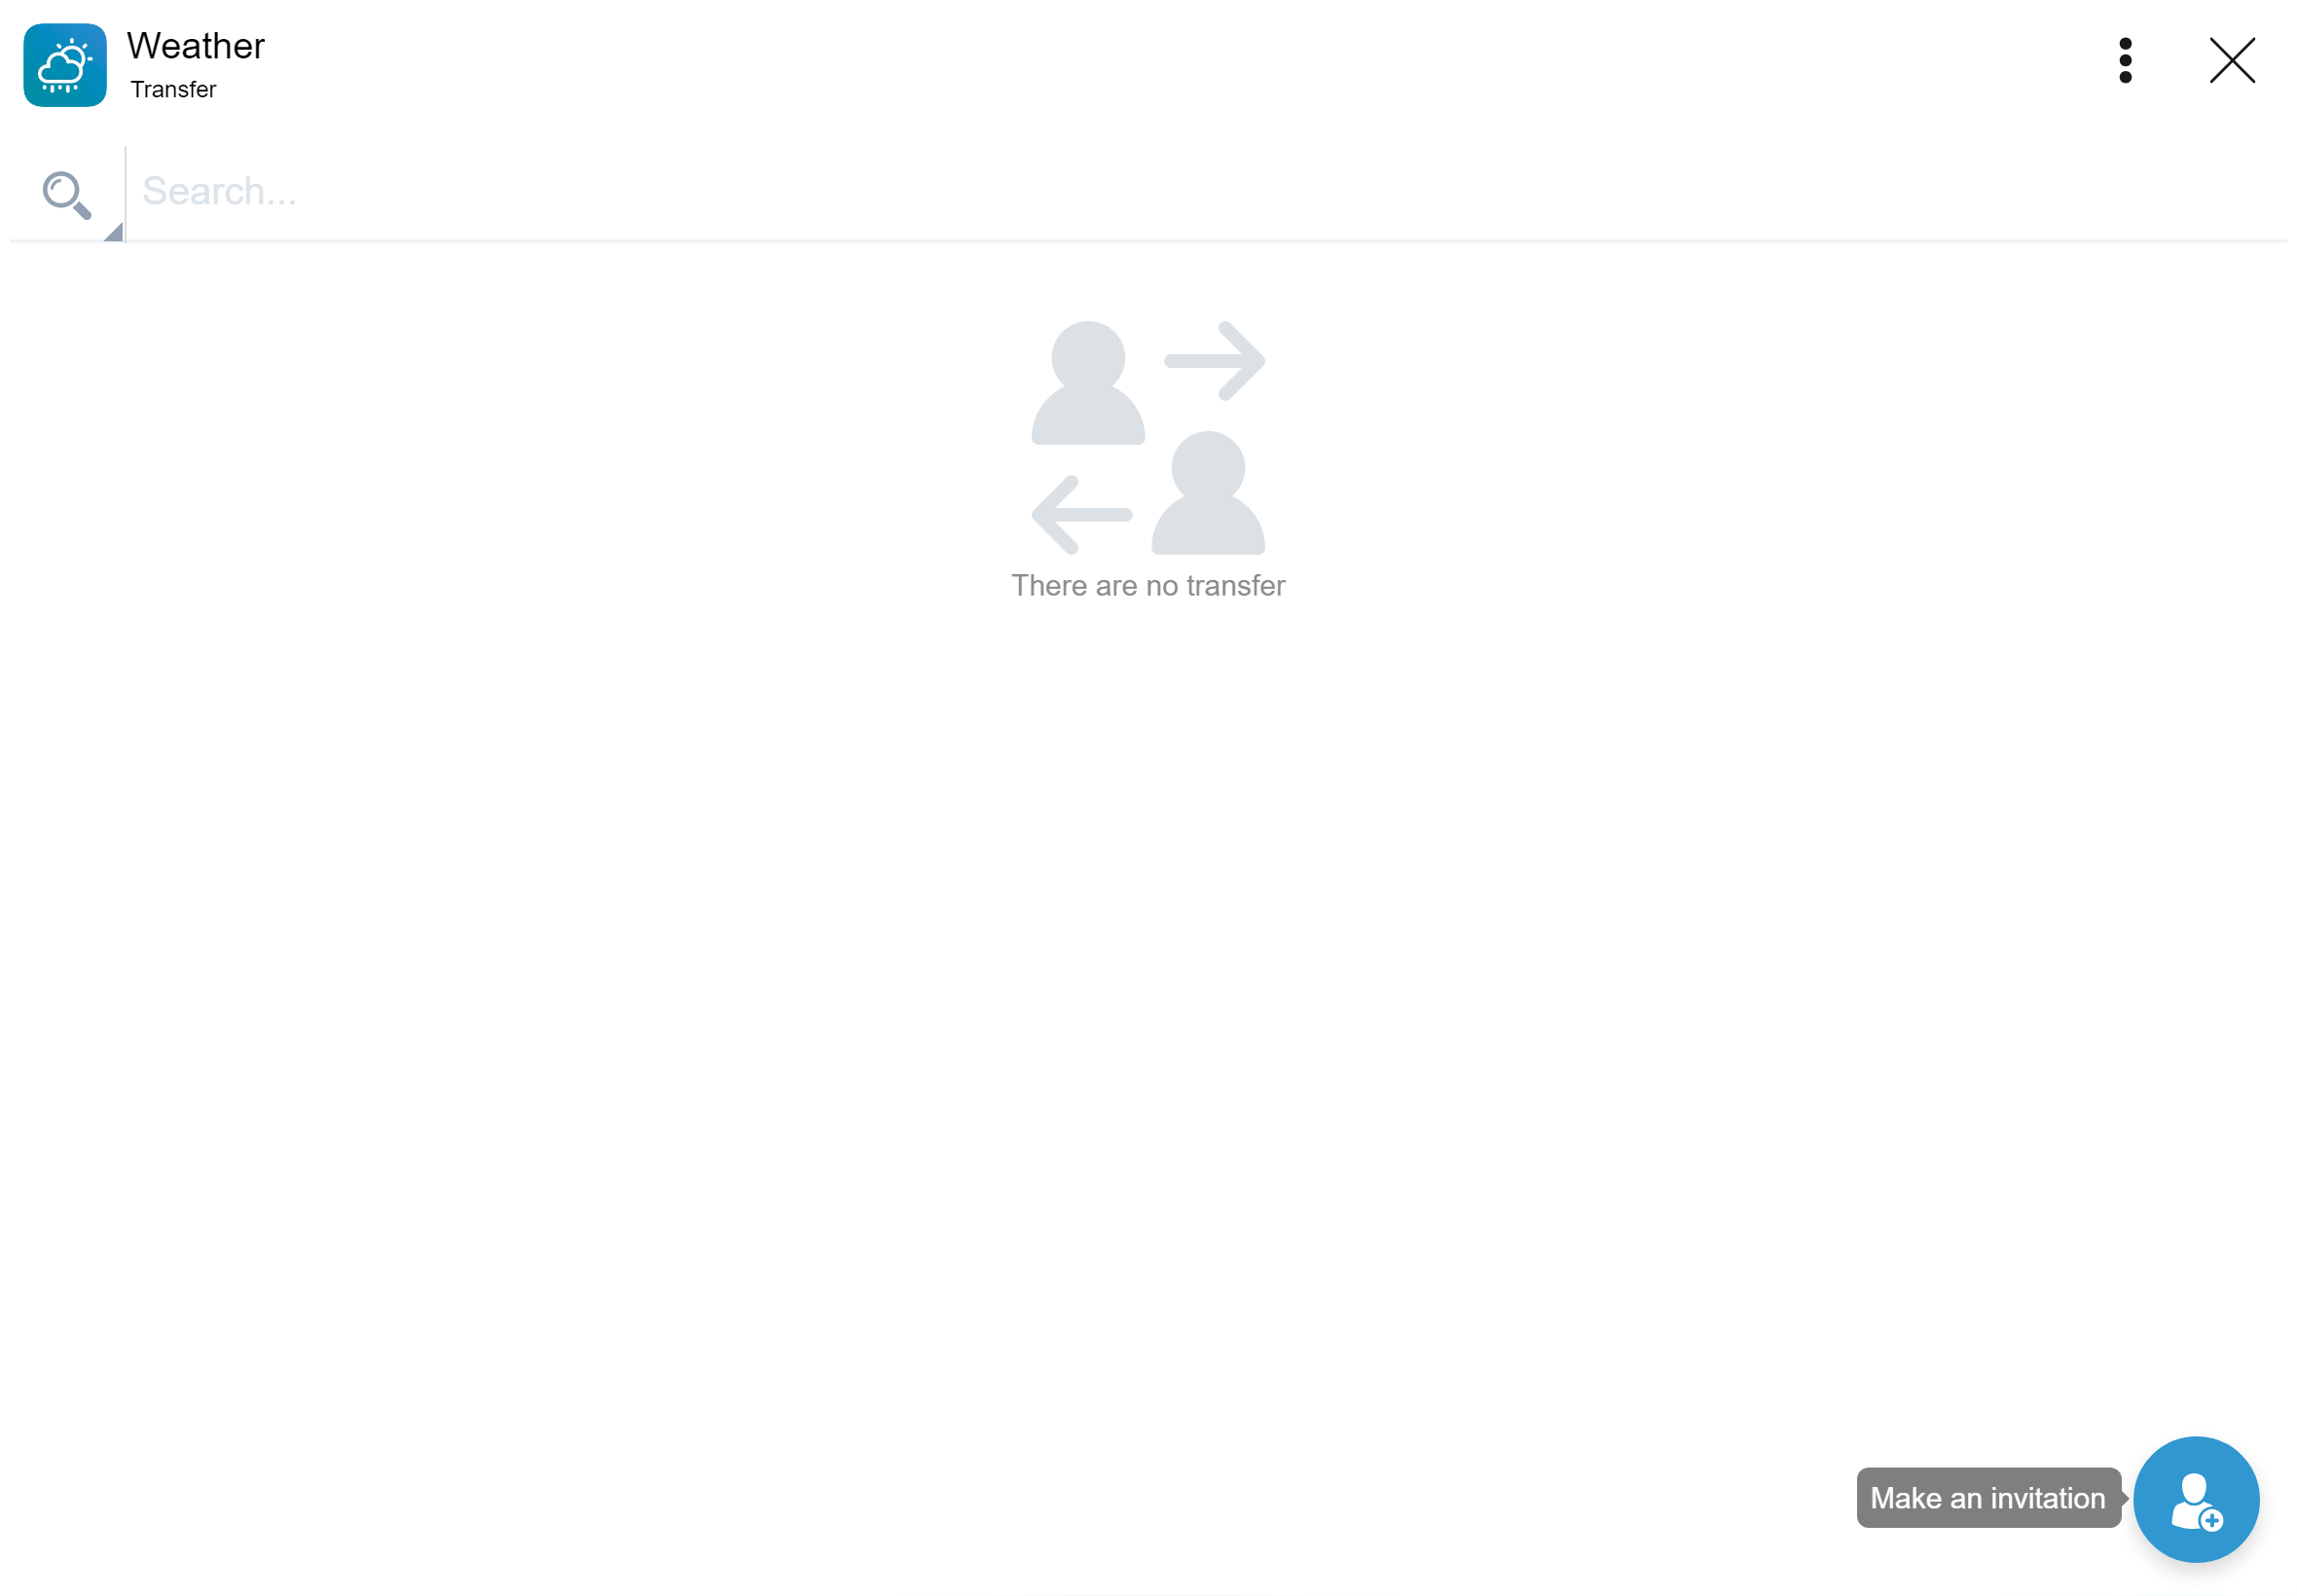
- From the app main menu, select Transfer to open the Transfer page.
- In the Transfer page, click the bottom right button to open the Invite dialog:
- Enter the recipient’s email.
- Click the OK button.
- Insert the Admin Password and click the Invite button. NOTE: The user appers in the Transfer page. You can cancel the invitation before the recipient accepts it.
What happens during and after an app transfer
After an app is transferred, the app is associated to the recipient’s user account. During a transfer the merchant Keys are not transferred along with the app, a new merchant Keys are created and associated with the recipient’s account.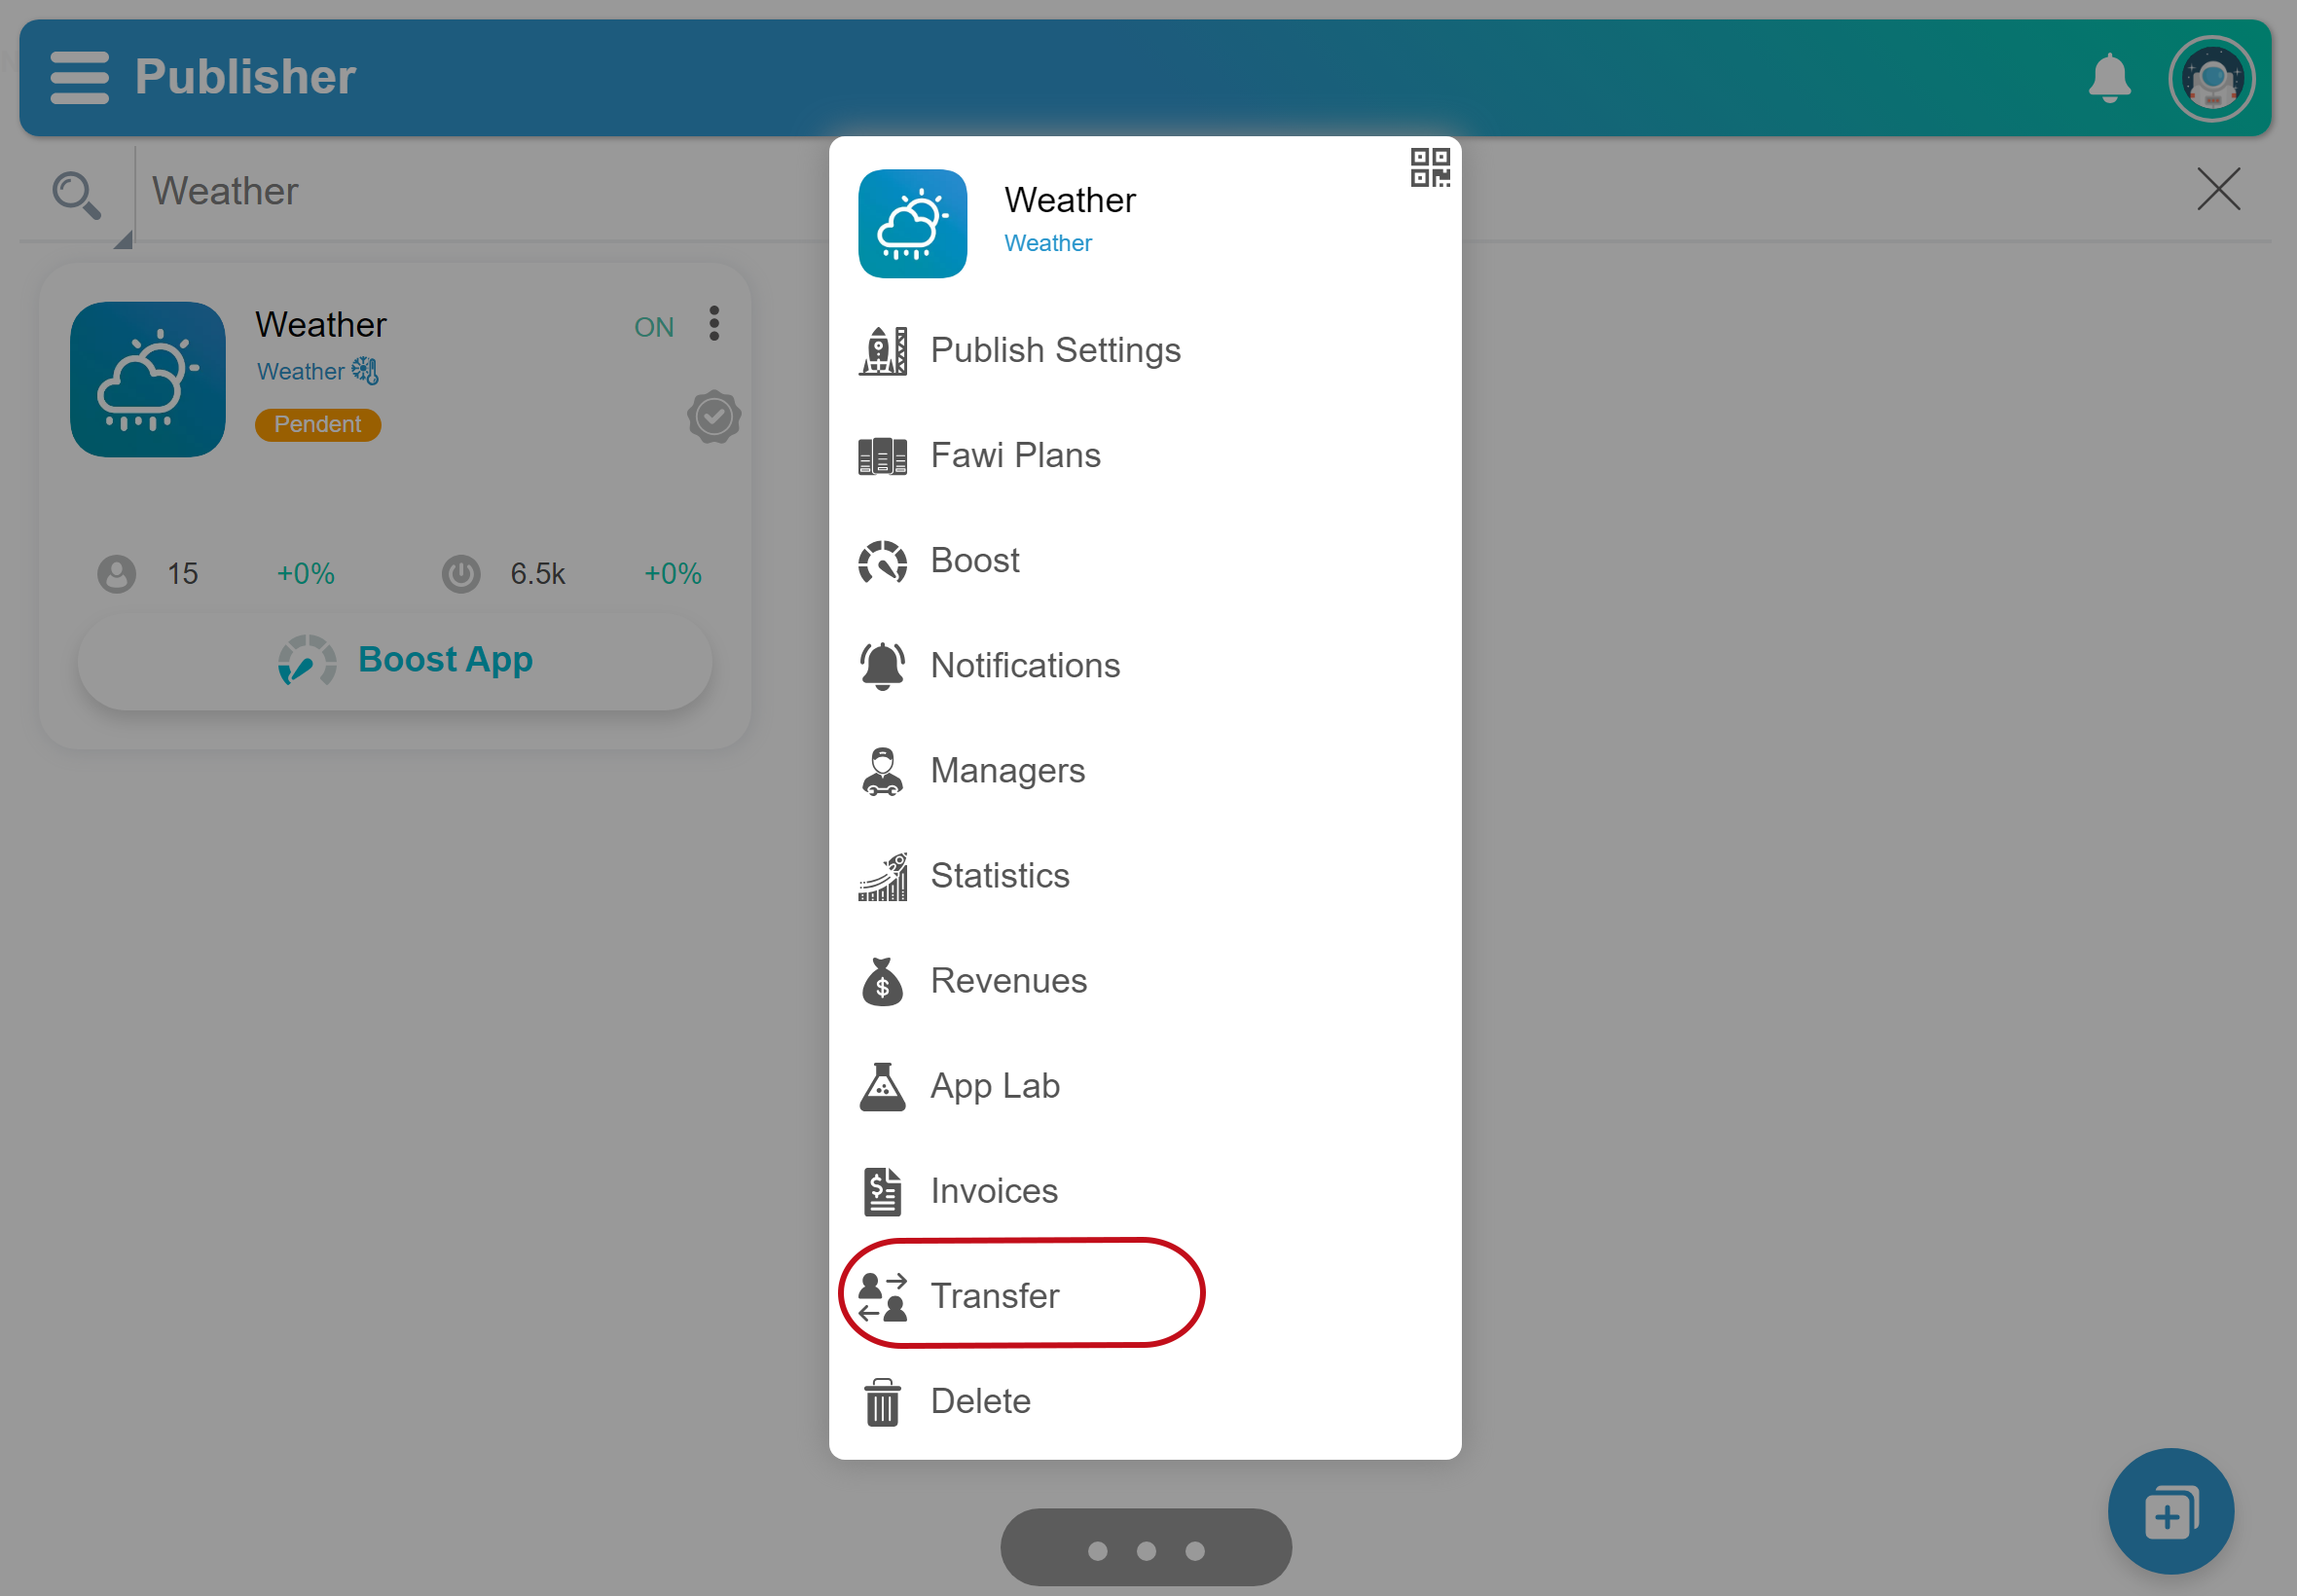
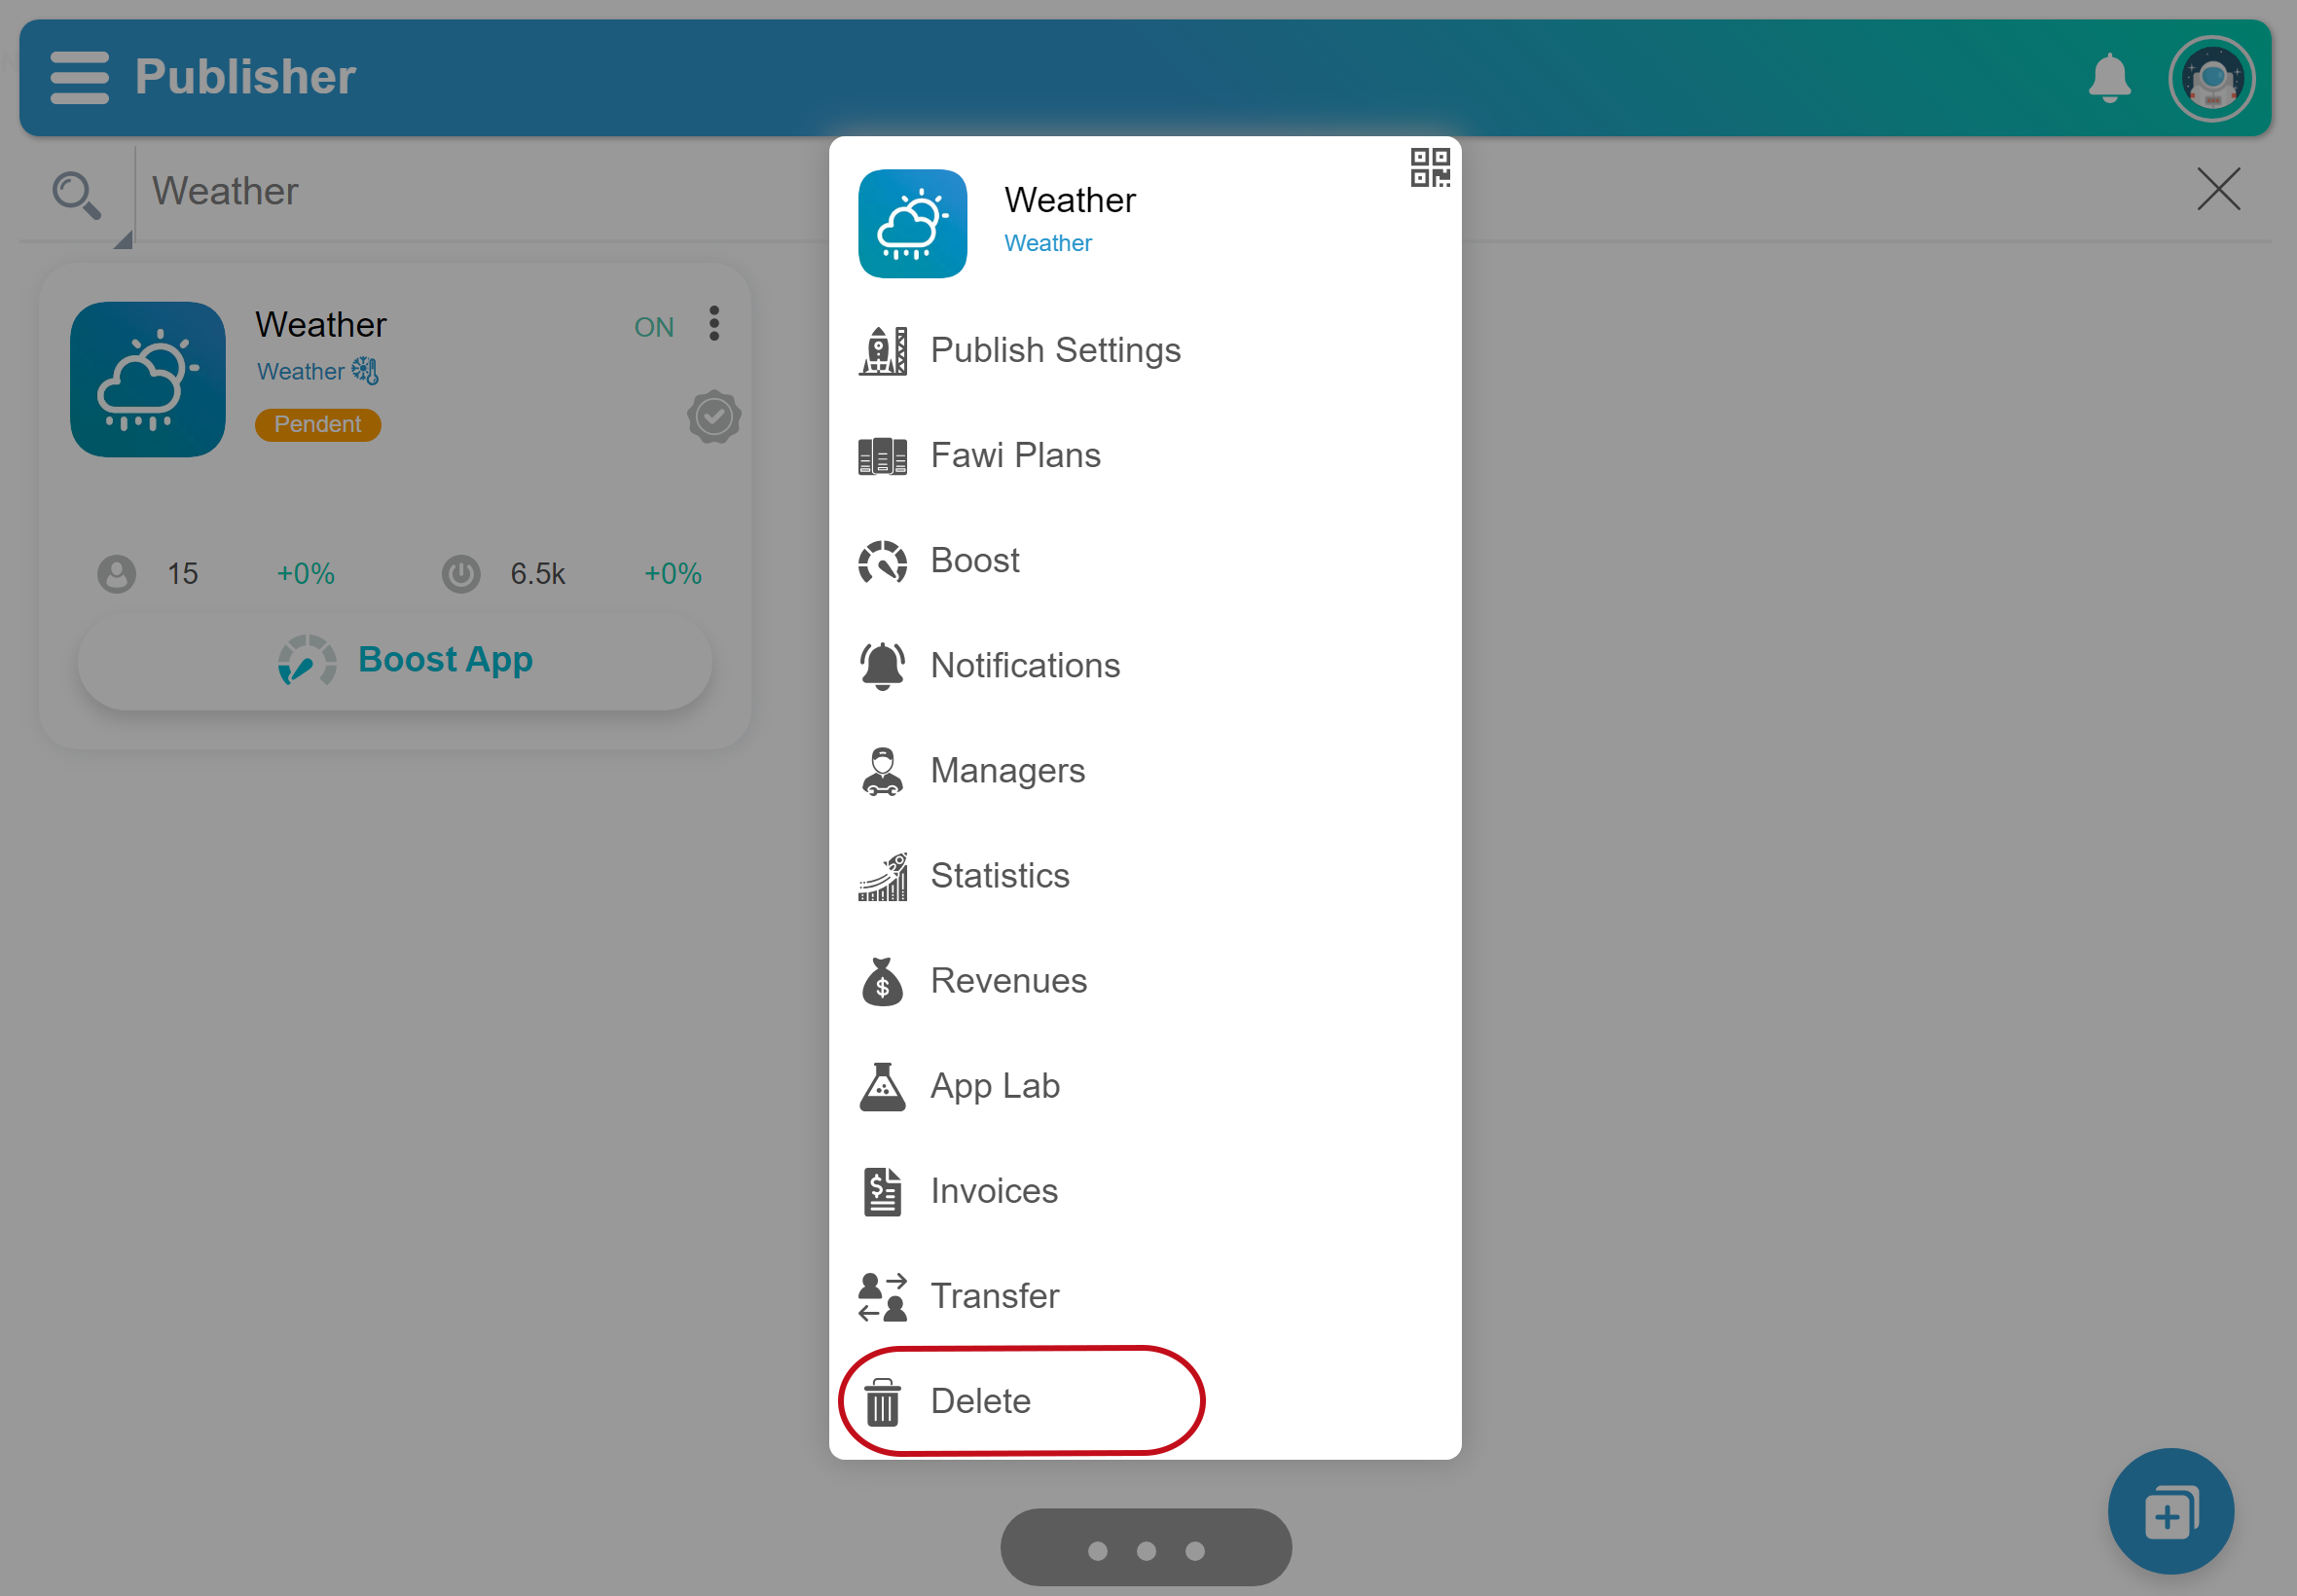
Delete
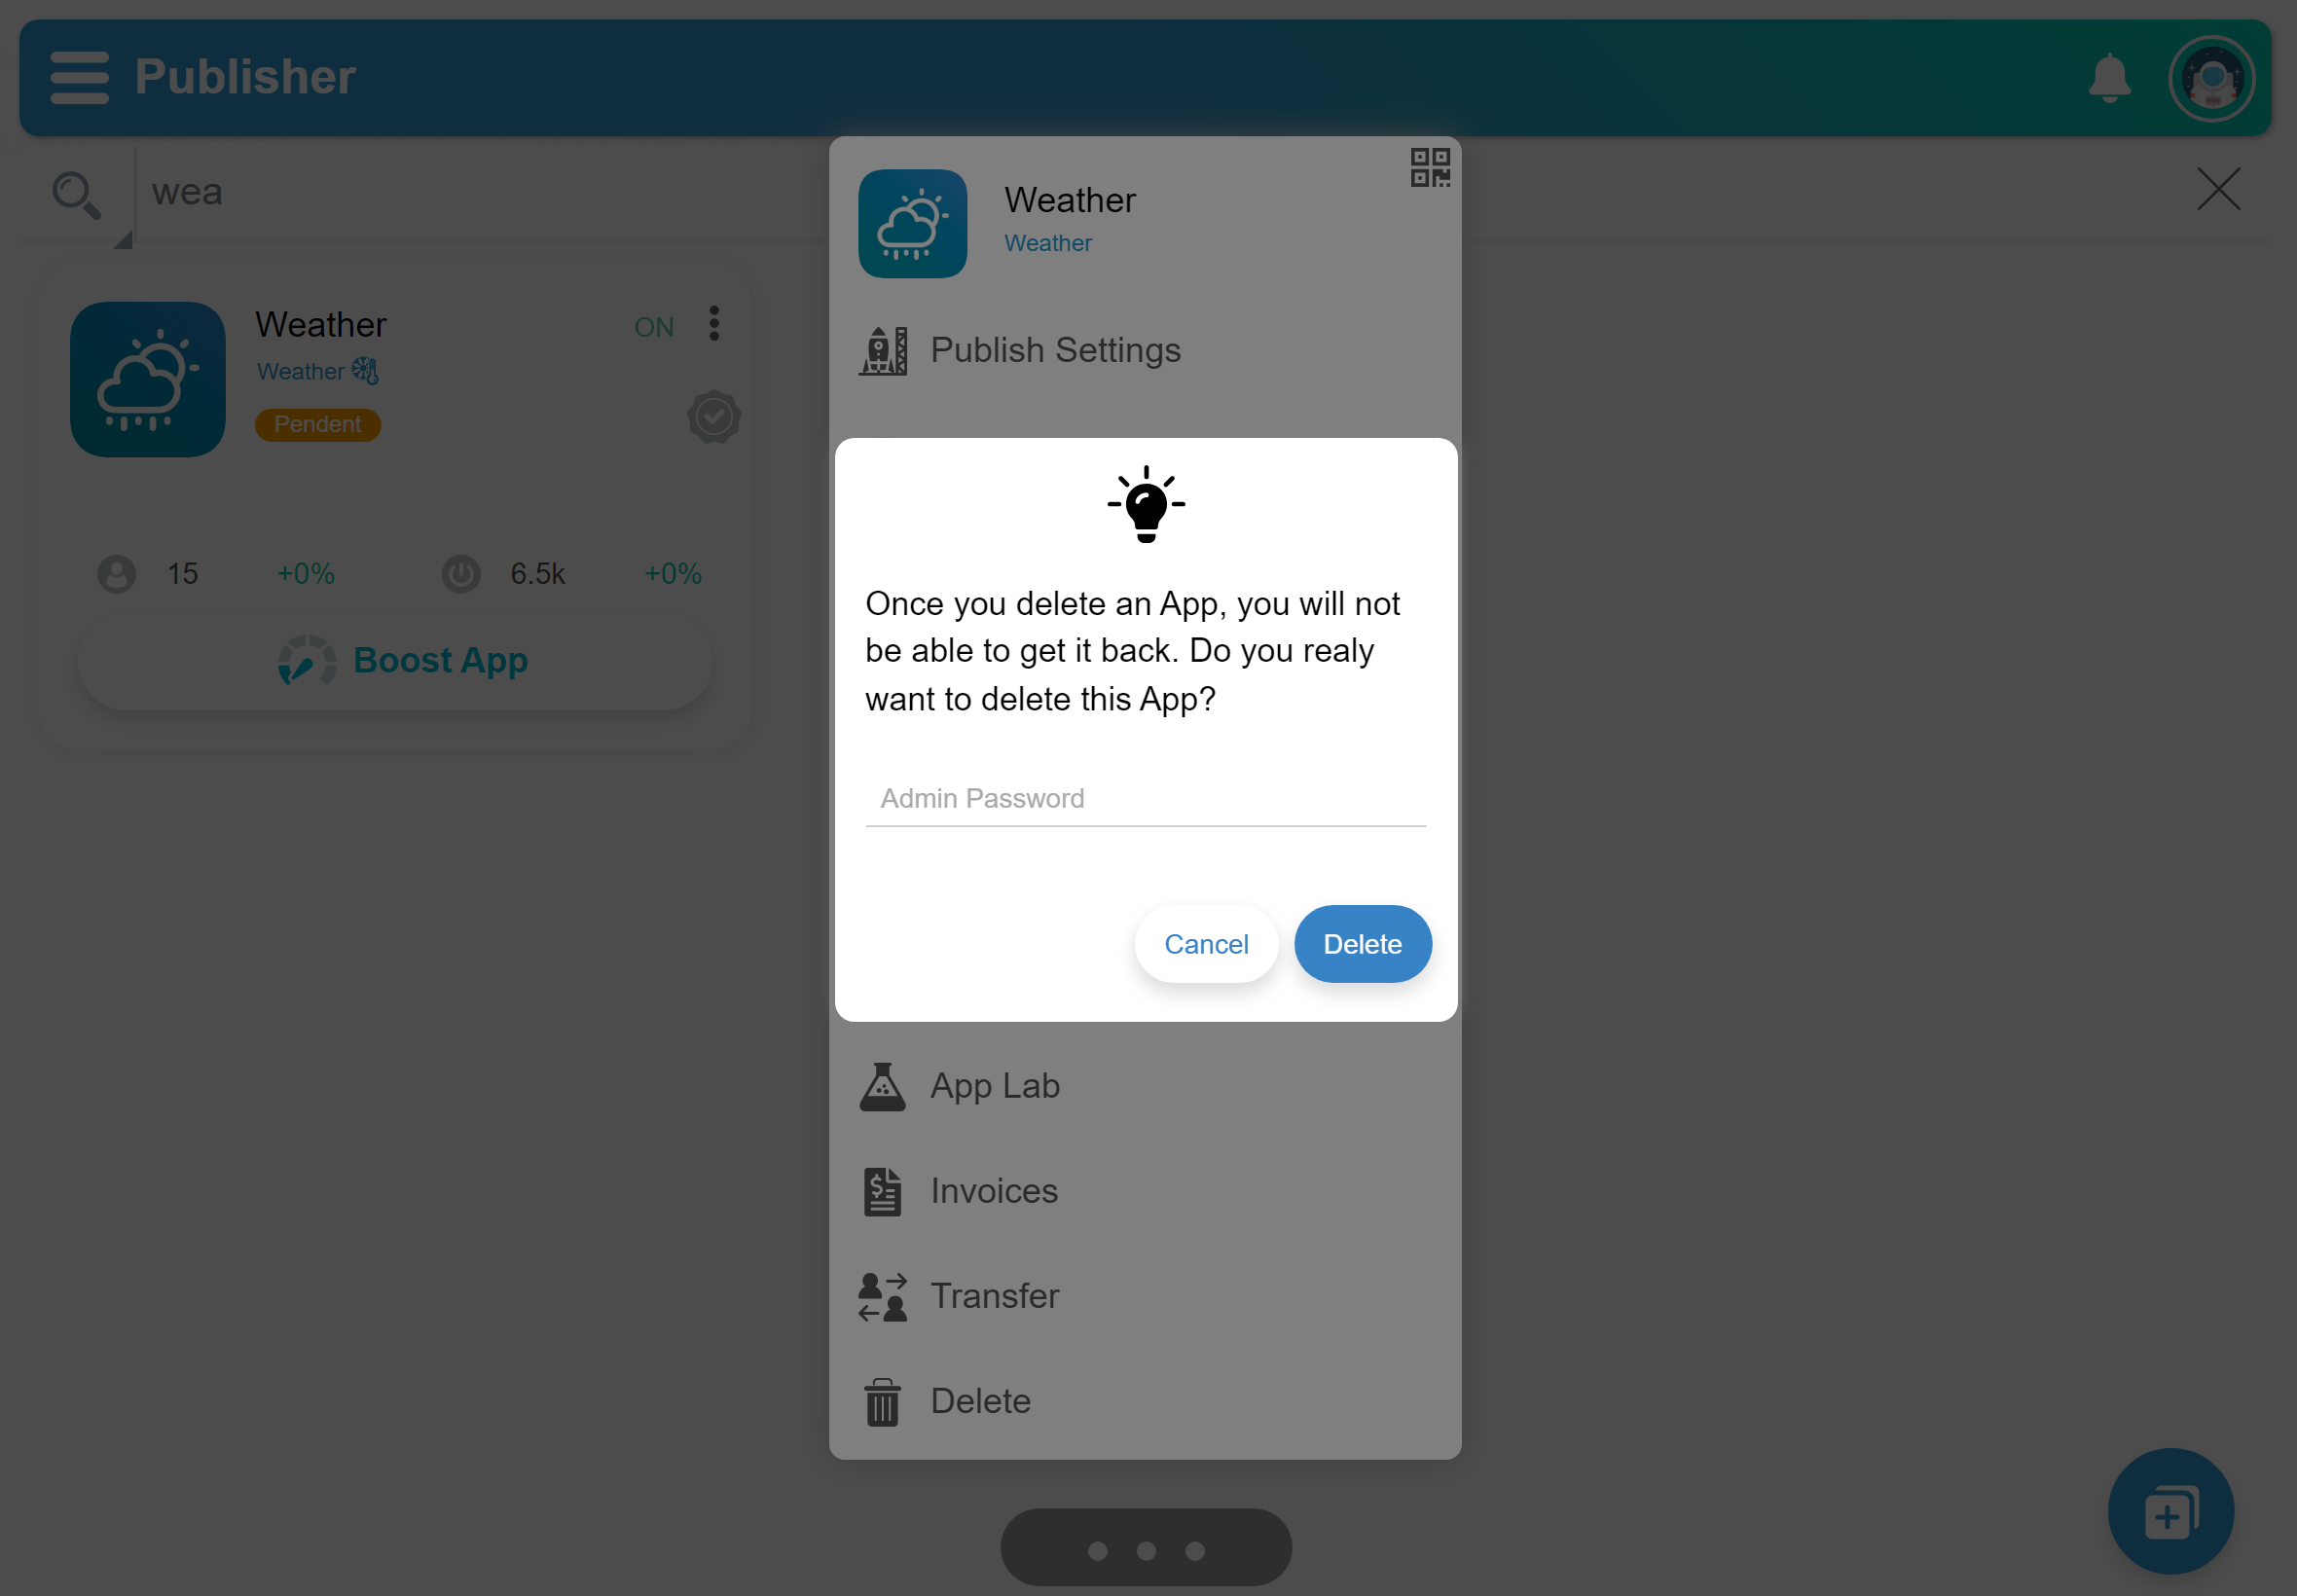
Once you delete an App, you will not be able to get it back.
- Open Fawi Office.
- At the top right of an app card, tap more .
- From the app main menu, select Delete to open the Delete dialog.
- Insert the Admin Password and click the Delete button. NOTE: The app is removed from your account.
App Deep Link
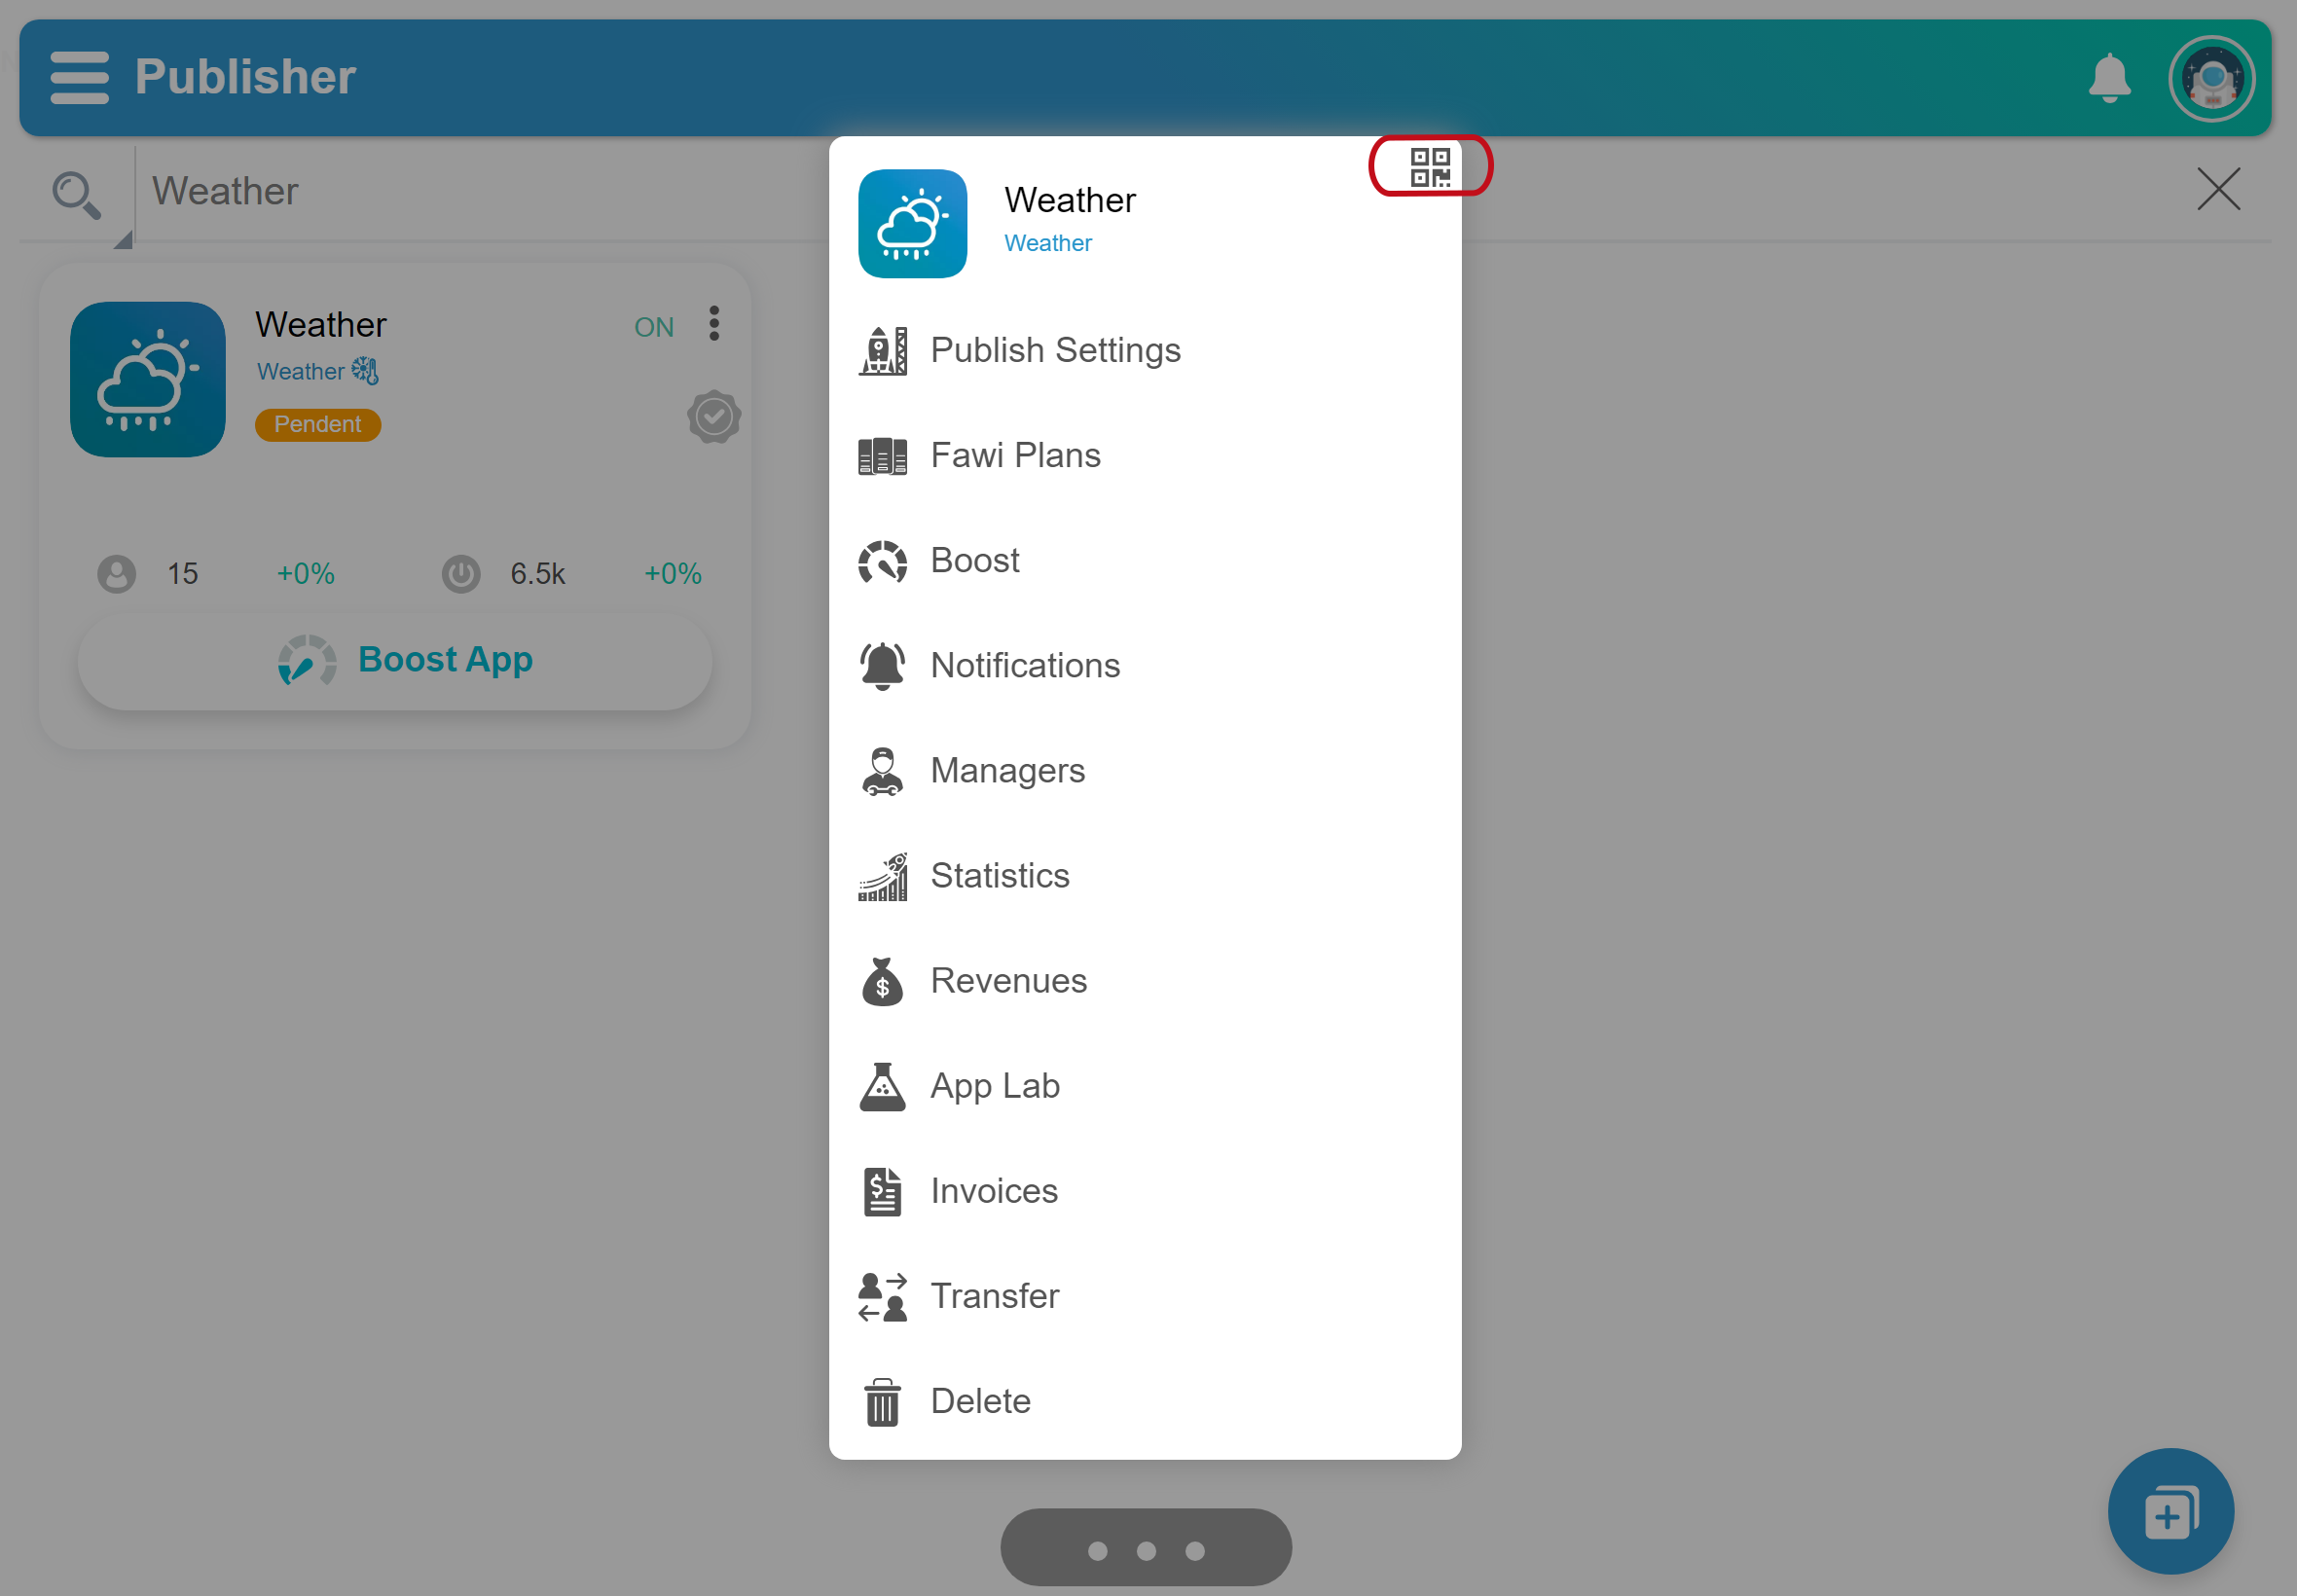
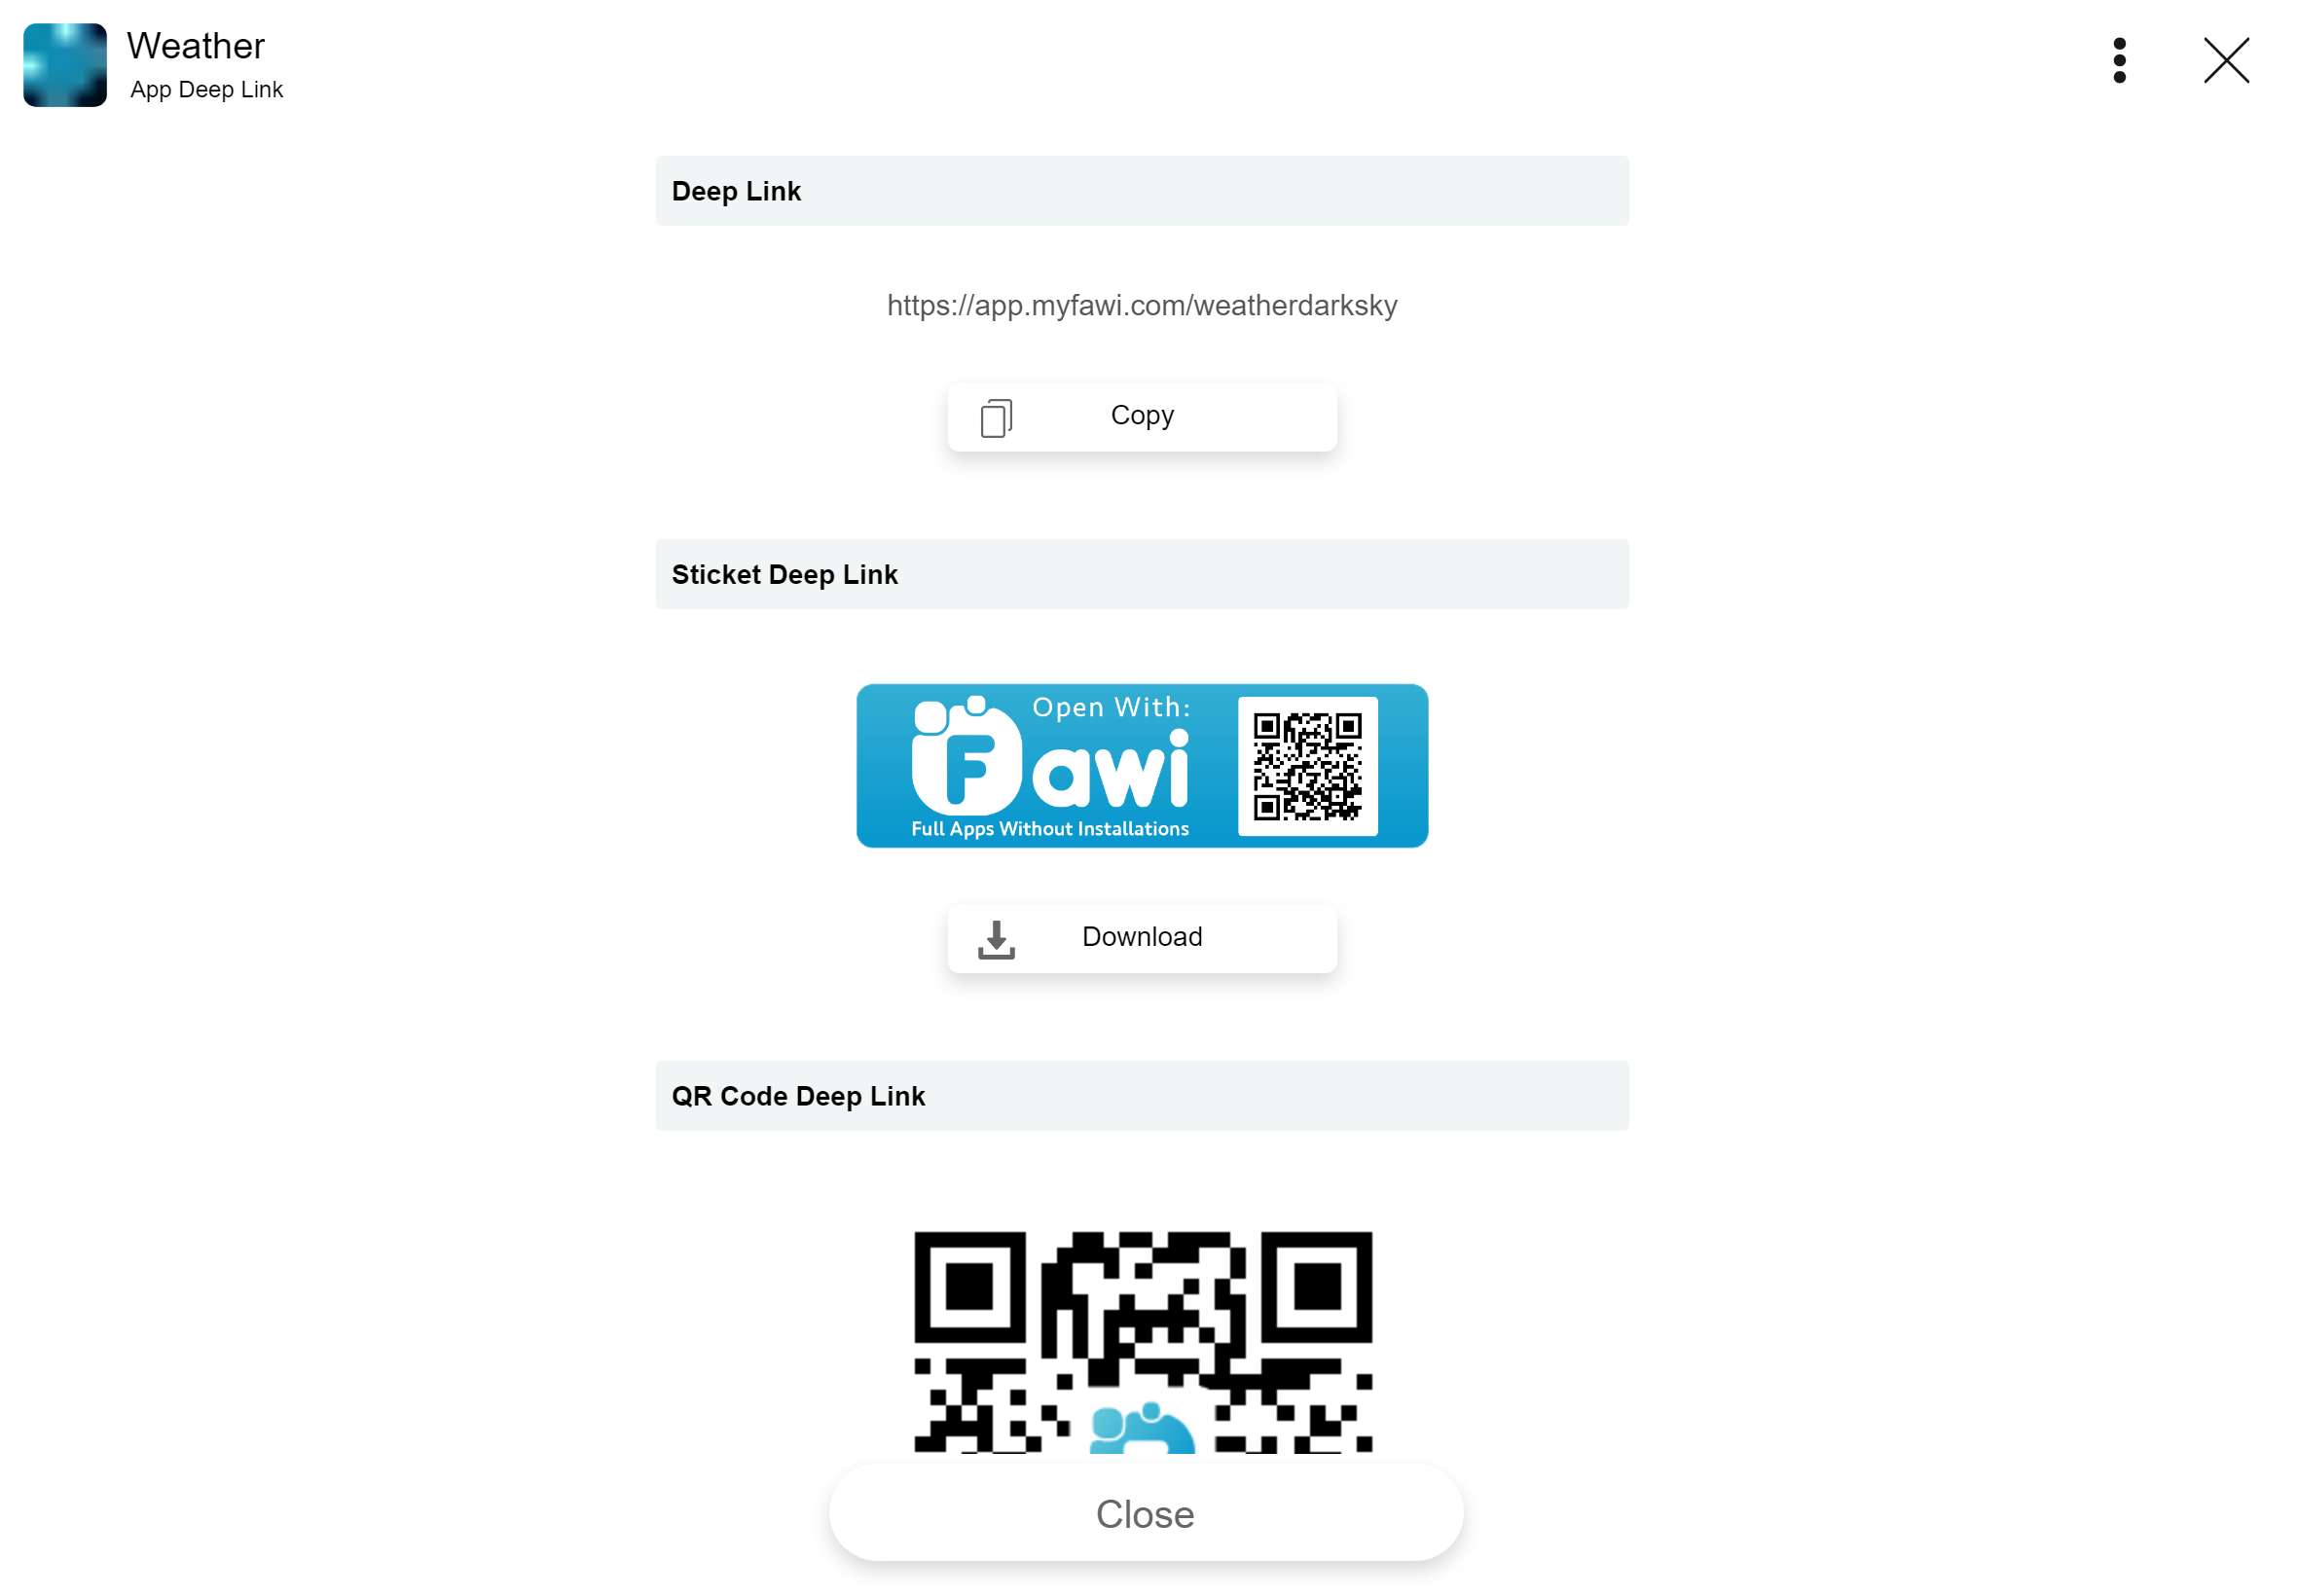
Open the App Deep Link from App menu to download the QR code so users can find the App through the link.
- Open Fawi Office.
- At the top right of an app card, tap more .
- At the top right of an app main menu, click QR Code , to open the App Deep Link page.
- Copy the Deep Link to the clipboard clicking the Copy button or click the Download buttons to download the Sticket and the QR Code.
If you want to pass any info to the app you can add that info in the deep link. eg: Without extra info: https://www.hybridstore.com/app/weatherdarksky With extra info: https://www.hybridstore.com/app/weatherdarksky/customView
To get this extra info the you needs to use the Intent plugin and it's gonna be available inside the "extras" property of the Get() method result object.